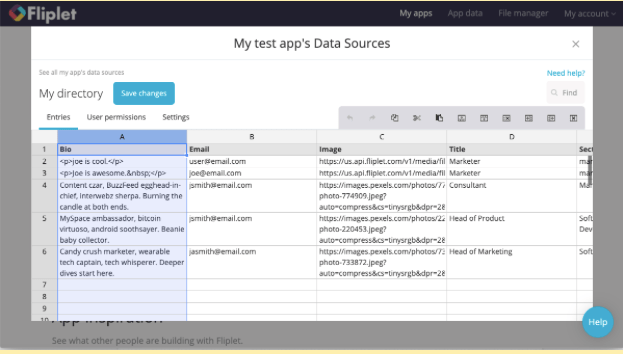
In Fliplet, data used in the app is stored in a data source. Apps can display data and write data to a data source.
Features
Managing data sources offers the following features:
- App builders can delete, add, and move columns or rows to gain more control over how collected data is organized.
- App builders can make sure information is being stored correctly by the app.
- Manage data source permissions.
Get Started
To manage data sources you will need to:
- Select an existing data source or create a new data source.
- Edit user permissions and the data source definition (optional)
- How to populate a data source with data
- How to export data from a data source
View app data and choose a data source to manage
There are three ways to find and open a data source:
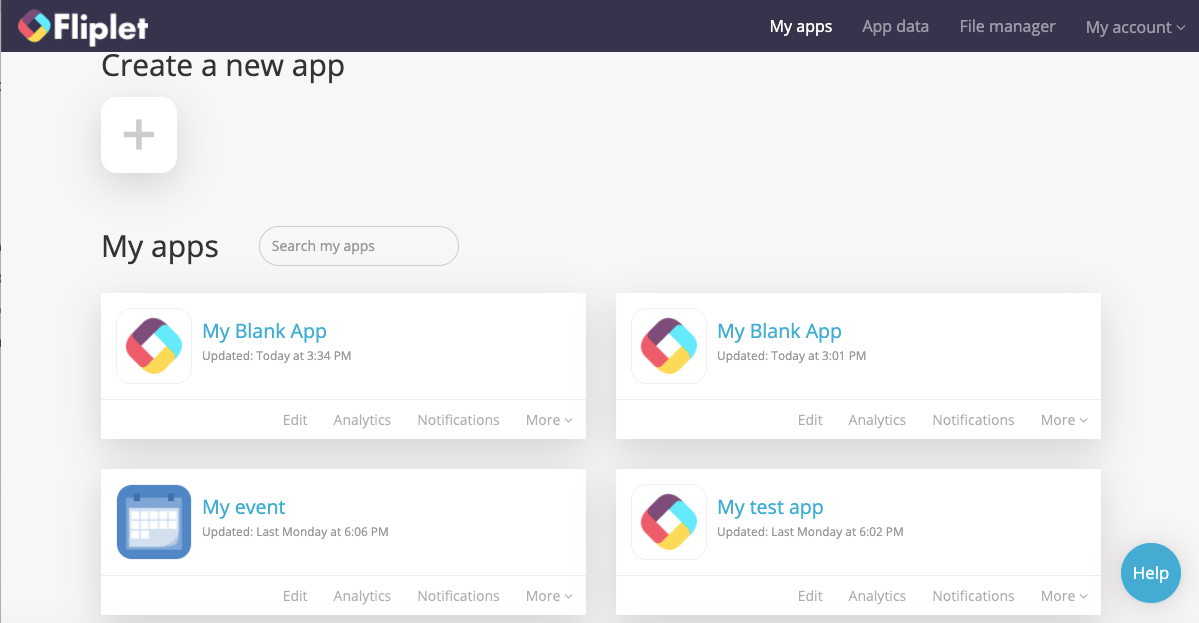
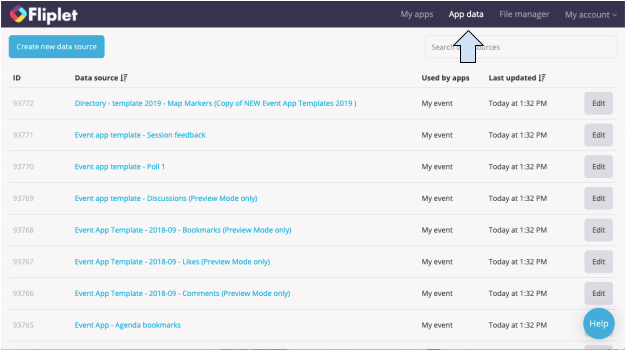
- From the “App data” section from the home screen. Here you will see all data sources you have access to.
- From within an app, from the “App data” section in the icon menu on the right. This will show you all data sources used by the current app you’re in.
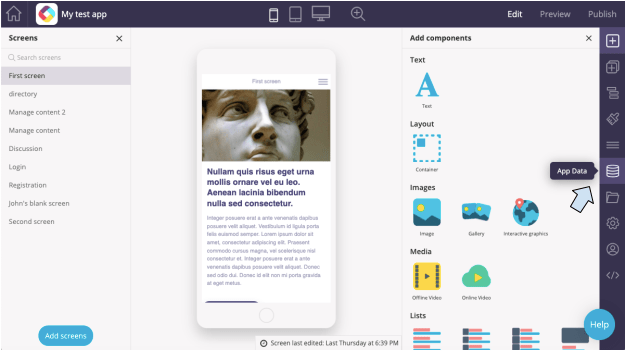
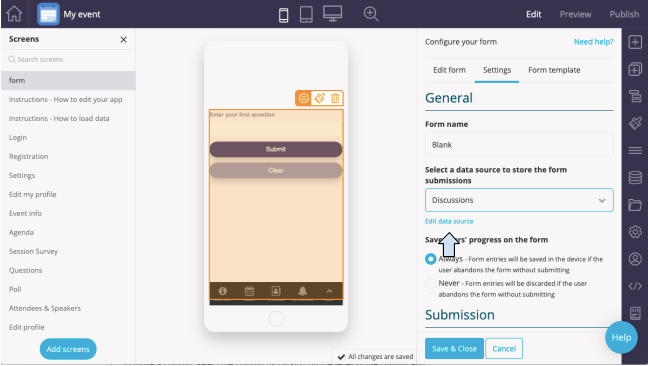
- From a component that uses a data source if you click “Edit data source”. This shows you the specific data source used by the component.
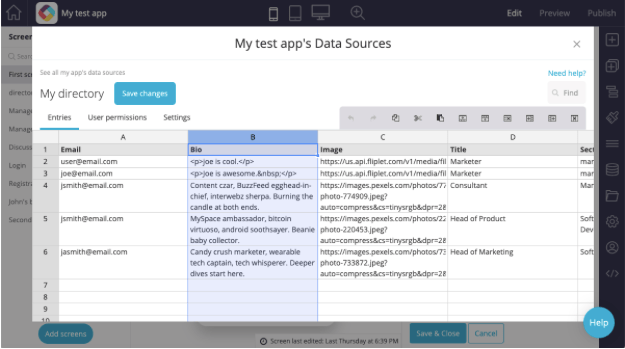
Move columns
- To move a column, select the column by clicking on the letter of the column and drag the entire column left or right.
- Drop it where you wish to place it, make sure you see a black vertical line showing where the column will be moved.
Before
After
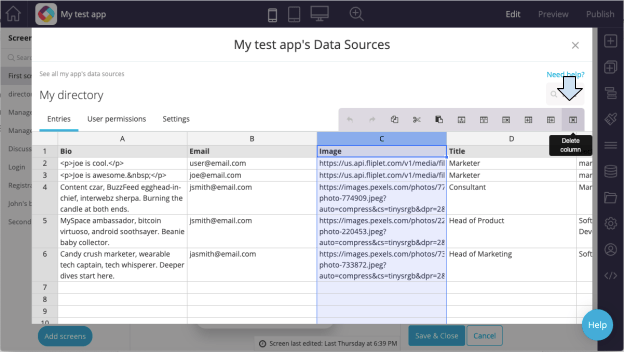
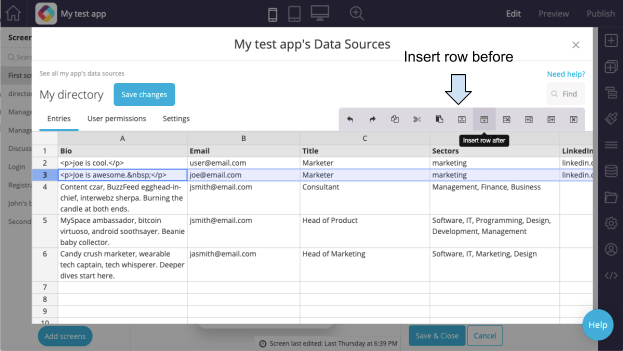
Delete columns/rows and add columns/rows
- To delete a column, click on the letter above the column heading to highlight the entire column. Then use the toolbar click on the “Delete column” icon.
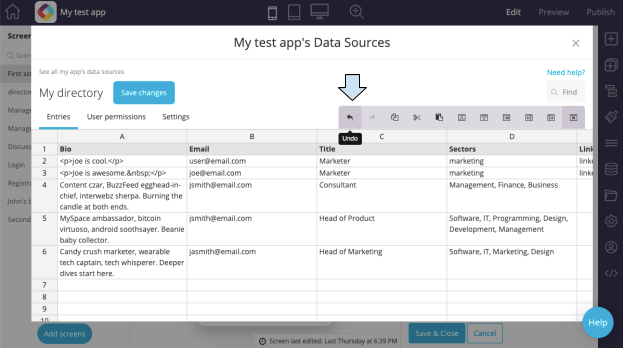
- To undo an action, click the “Undo” icon.
- To delete a row, highlight the entire row by selecting the number next to the row you would like to delete. Then click on the “Delete row” icon.
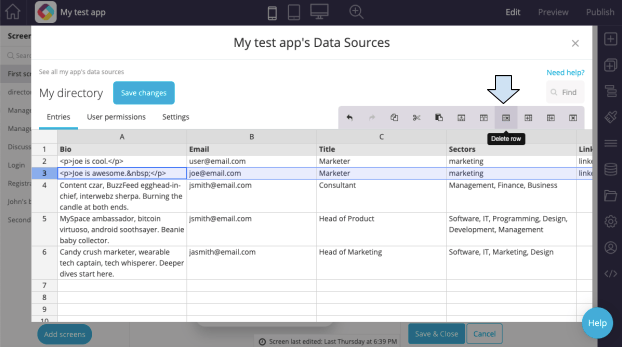
- To add a column or add a row before or after the highlighted column or row, hover over the icons/ buttons at the top right of the spreadsheet to see the different actions and choose the action you wish to complete. Some of the actions are pictured in the images below.

-
Click the blue “Save changes” button.
Edit user permissions and the data source definition (optional)
- To give a user permission to edit your data source, the best method is to give the user edit rights to the app that uses the data source. All app editors can manage data sources.
- If that isn’t an option, you can use the “User permissions” tab to give a user access.
- Click “Add new user” and add the user by their user ID.
- The user ID can be found only by your organization admin in the user section. Select what permission the user should have. To give a user full permission you need to type crudq, so a combination of the letters depending on the permissions you want to give them. The letters stand for:
- C = create
- R = read
- U – update
- D – delete
- Q – query
- The user ID can be found only by your organization admin in the user section. Select what permission the user should have. To give a user full permission you need to type crudq, so a combination of the letters depending on the permissions you want to give them. The letters stand for:
- To remove access, click “Delete permission” to delete a user.
Step 5 – How to populate a data source with data
- Open the excel or google sheets spreadsheet where the data you wish to use is stored.
- Highlight and copy the data.
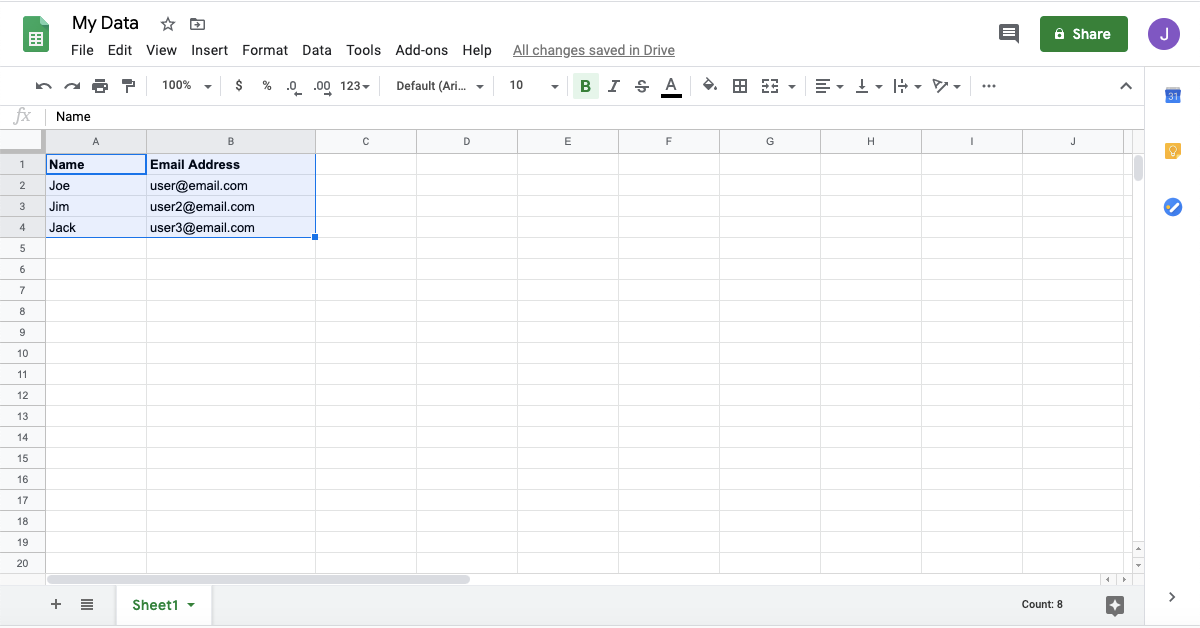
- Open a data source (see Step 2 below for more information on how to do this).
- Paste the data you copied from excel or google sheets in the data source.
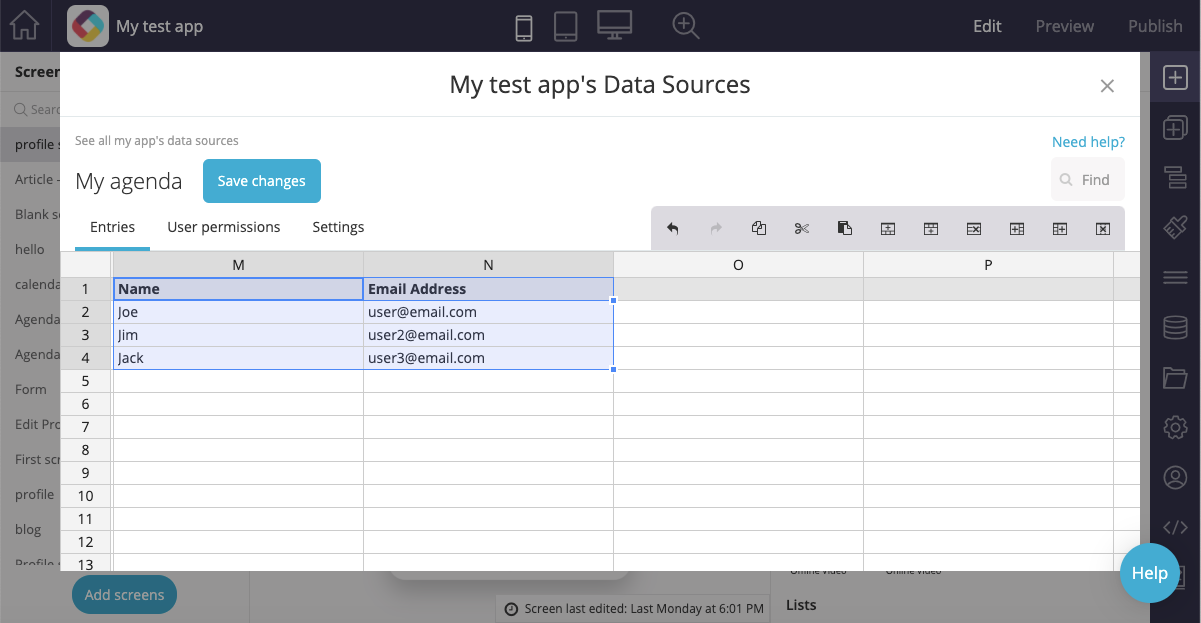
- Type directly in the cells in the data source interface.
- If you wish to store user data in the data source, create a form screen in your app to collect data from users and link it to the data source. For more information on creating a form, read this article.
Step 6 – How to export data from a data source
- Highlight all of the data (command + a on a mac, control + a on windows).
- Copy the data and paste it into excel or google sheets.
Related Articles
Was this article helpful?
YesNo