Precursor
The app must have a login.The chat feature allows users to have one on one or group conversations directly in the app.
Features
A chat feature offers the following features:
- Direct messaging
- Group chats
Get Started
Note: Chat requires you to provide a list of the users with access to chat.
To add a chat feature you’ll need to:
- Create a chat screen
- Configure the contact list
- Configure the security
- Test the chat feature
Step 1 – Create a chat screen
- Click on the blue “Add screens” button.
- In the heading choose the “MESSAGING/NOTIFICATIONS” option.
- Select the “Chat-messaging” screen.
- Click on the blue “Add 1 new screen” button.
- Enter a screen name for the screen.
- Click “Add screen”.
Step 2 – Configure the contact list
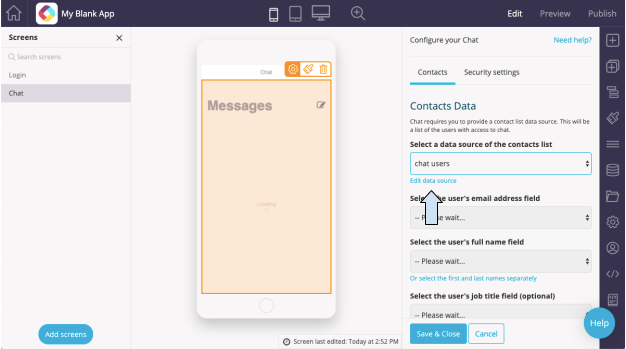
- Click on the chat screen to open the settings.
- Under Select a data source of the contacts list select “Create a new data source” from the dropdown options or use an existing data source if the app already has a contact directory.
- Name the data source (if new) and click OK.
- Click the blue “Edit data source” text.
- The required fields in the data source spreadsheet are:
- Name (you need this so the user shows up in the contact list)
- Email (this is how the app knows who the user is and can show the user’s messages)
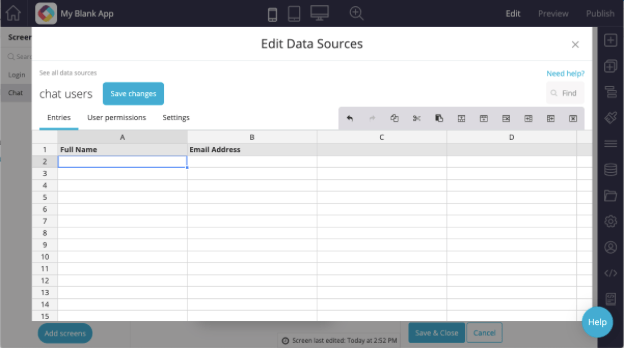
- Click the blue “Save changes” button.
- Under Select the user’s email address field, select the “Email”l field you created.
- Under Select the user’s full name field, select the “Name” field you created.

- (Optional) If you wish to add a “job title field” and/or an “image” field to your chat, go back and click on the blue “Edit data source” text and add those as two additional columns in the spreadsheet. Then select each one under the appropriate dropdown.
- If you have a large list of contacts, we recommend selecting the Number of contacts to show in the contacts list. We recommend loading no more than 25 contacts at any one time to make sure the contact list loads at a good speed. Users should use the search function to find a specific user to message.
Step 3 – Configure the security
- Go to the “Security settings” tab.
- Under Select a screen choose the “Login” screen. If you don’t have a login on the app yet, learn how to create one here.
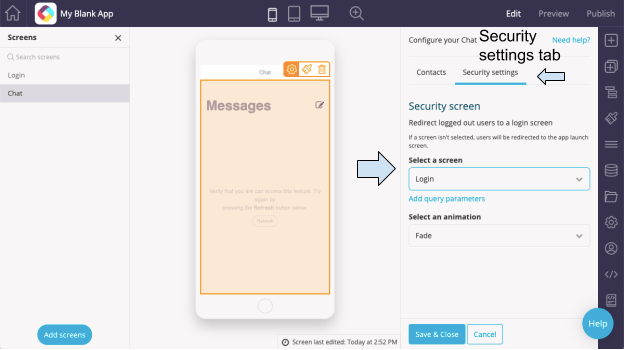
- Click “Save & Close”.
Step 4 – Test the chat feature
To test the chat screen:
- First, add yourself as a user and in the contact list. To do this click on the chat screen.
- Click the blue “Edit data source” text.
- Enter your Full Name and Email Address and a couple more entries so you can test viewing contacts and sending a message click “Save & Close”.
- Go to Preview mode.
- Login to your app.
a. Make sure the same email exists in the login data source as you have added in the contact data source. If these don’t match, the chat won’t work. - The chat will be empty at first as you won’t have any messages.
- Click the icon in the top right corner to view all contacts.
- Browse the list or use the search to find contacts.

- Click on the name and hit the “Next” button in the top right corner of your app to start a chat.
- To start a group chat, select multiple users before you click the Next button, and then you’ll be asked to give the group chat a name. Please note that at this time you can’t change the name later on.
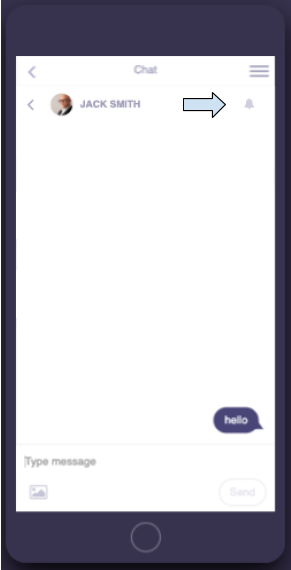
- Type a message and click the “Send” button. Check that the message appears on the screen. It should look like this:
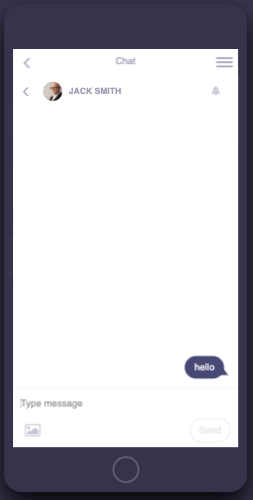
- Tap on the message to edit or delete the message.
- When your app is live and if you have configured push notifications, from the chat screen you can mute notifications by tapping the mute icon.
Related Articles
Was this article helpful?
YesNo