File Manager
The File Manager stores all images, documents, and other files used in your Fliplet apps. You can upload, organize, search, download, and delete files — and control who can access them with file access rules.
Contents
- What is File Manager?
- How to use the File Manager
- File Manager anti-virus
- Options in the File Manager
What is File Manager?
All assets — including documents, images, and icons — used in your apps are saved to the File Manager. You can access it from the File Manager menu on the main dashboard or the File Manager option in the right-side menu in Studio.
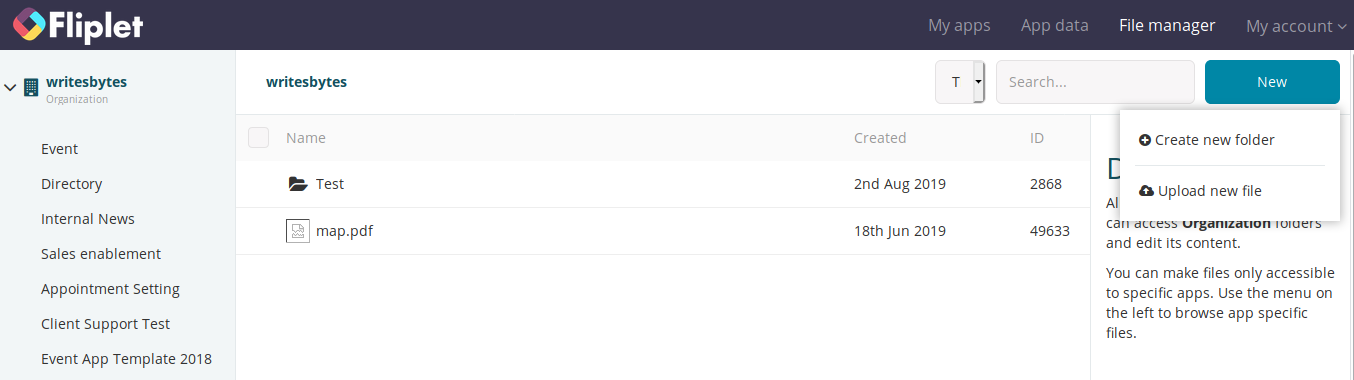
The File Manager displays files organized by app. Each app has its own folder, and you can create subfolders within them to keep files organized. A search bar helps you find files and folders across all your apps — search by file name or file ID.

To share files across apps within your organization, place them in Organization folders. These files are accessible from any app in the organization.
How to use the File Manager
Create a folder
Organization folder:
- In the File Manager, click your organization name on the left sidebar.
- Click New, then Create new folder.
- Enter a folder name and click OK.
App folder:
- In the File Manager, select the app from the left sidebar.
- Click New, then Create new folder.
- Enter a folder name and click OK. The folder is created inside the selected app.
Upload files
- Navigate to the folder where you want to upload files.
- Click New, then Upload new file.
- Select files from your computer.
You can also drag and drop files directly into the File Manager.
Open, rename, download, or delete files
Select a file or folder, then click Actions to open, rename, download, or delete it.
Restore or permanently delete files
Click the Trash icon in the left sidebar. Select a file or folder, then click Actions and choose Restore or Delete Forever.
Control who can access files
You can secure files and folders with access rules that control who can read, upload, update, or delete them. The Access column in the file list shows each item’s current permissions at a glance.
For full details on setting up and managing access rules, see File access rules.
File Manager anti-virus
Files are scanned for viruses as soon as they are uploaded. Scanning takes roughly 30 seconds. If a file is found to be infected, it is quarantined and moved to the trash folder.
- Infected files cannot be used in apps or downloaded by app users or Studio users.
- Antivirus definitions are updated daily.
Options in the File Manager
| Option | Description |
|---|---|
| Create new folder | Creates a folder in the Organization or an app folder. |
| Upload new file | Uploads a file from your computer. Upload to an Organization folder for cross-app use, or an app folder for use within that app. |
| Action – Open | Opens the selected file or folder. |
| Action – Rename | Renames the selected file or folder. |
| Action – Download | Downloads the selected file or folder. |
| Action – Access rules | Opens the Access Rules panel. See File access rules. |
| Action – Move to trash | Moves the selected file or folder to the trash. |
| Trash – Action – Restore | Restores a trashed file or folder. |
| Trash – Action – Delete Forever | Permanently deletes the file or folder. |
Related Articles