The eCommerce app solution is the easiest way to build your own shopping app. It includes essential features such as product listings, shopping cart functionality, and payment processing. It allows you to save time and focus on customizing the app’s design and adding specific business requirements rather than building everything from scratch.
App screens list
- Onboarding
- Terms
- Sign in
- Sign up
- Main menu
- About us
- Products
- Categories
- Cart
- Confirmation
- Canceled checkout
- My account
- Edit profile
- My orders
- Customer enquiries
- Manage support
- Notifications
- Admin menu
- Manage Stripe configuration
- Orders
- Manage orders
- Manage product
- Manage category
App screens
- Onboarding
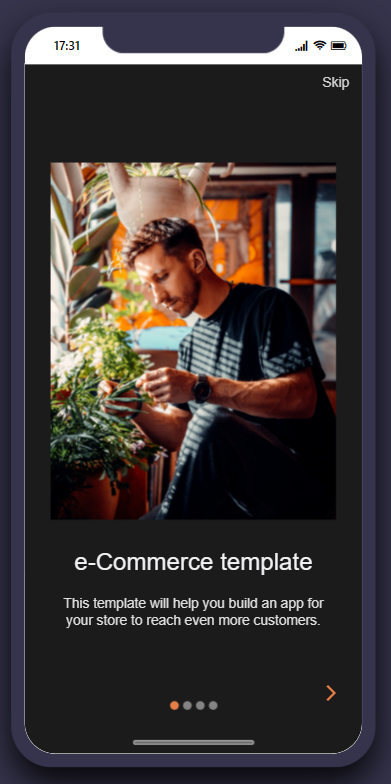
This screen introduces the user to the app and the various functions that it provides.
This screen can be configured to only display on the first use of the app, it can also include a skip link.
You can configure the number of slides to display and the text and imagery can be changed to create your desired look.
This screen uses the onboarding component, learn more here. - Terms
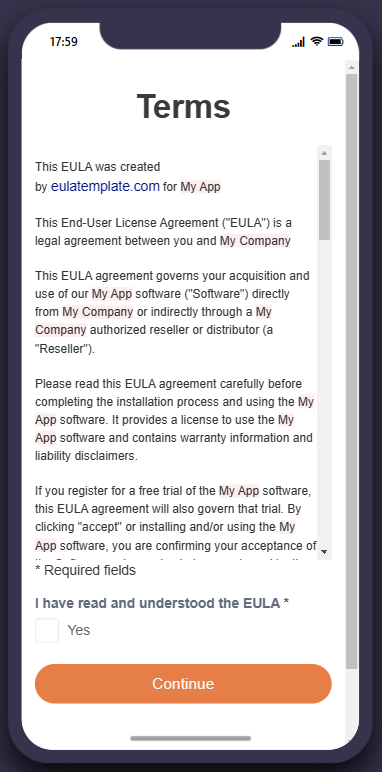
This screen will display the “terms of use” text and will only be shown the first time a user opens the app.
The text displayed should be amended to reflect the terms required for your app.
This screen uses the text component, learn more here. - Sign in
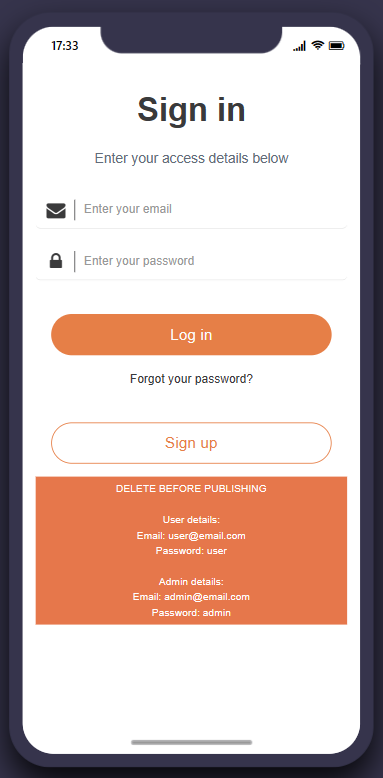
This screen provides security for the app only allowing access to registered users.
This screen can be configured to reflect your security preferences.
Logging in will also define the user and ensure the correct permissions are shown per user.
Click to learn more about the login component. - Sign up
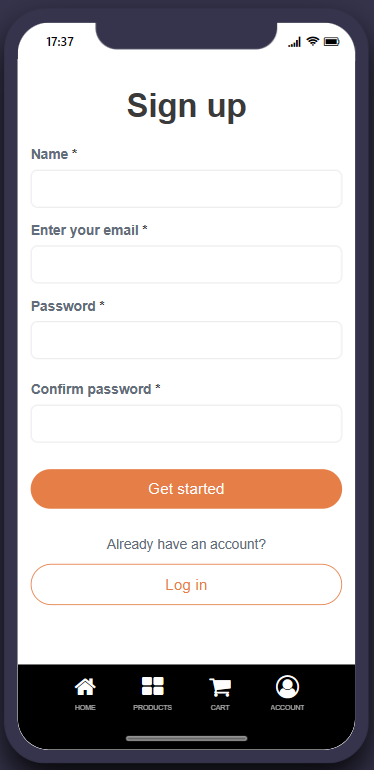
This screen provides the ability for users to register for access to the app, simply delete the screen if you do not want to enable self-registration.
This screen can be configured to include any signup requirements needed by adding or removing form fields.
This screen uses the form component, learn more here. - Main menu
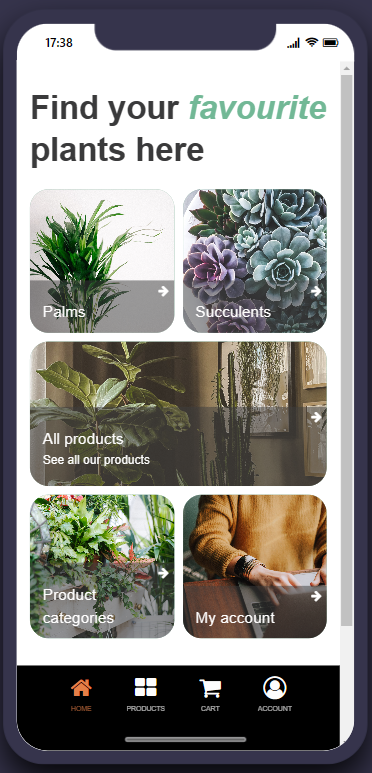
The main menu screen provides users with a clear and easy-to-use interface that allows them to navigate through the app, access the user’s profile, or access the admin settings.
We have set up a few menu items to filter the “Products” screen by the selected category. This allows users to see the products of a certain category quickly.
On this screen, users will be asked if they want to allow the app to send them push notifications.
This screen uses the grid component, learn more here, and to learn more about filtering products via a link, click here.
This screen includes the notification prompt, to learn more about push notifications, click here. - About us
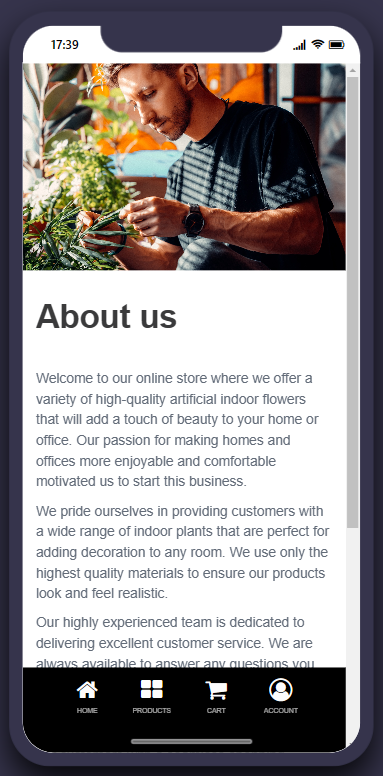
This is an informational screen with details about the organization, the business, and the app creators. Common examples of the content in “About us” screens include the company’s history, mission statement, and values. It may also include contact information for customers or potential collaborators. This screen serves as an opportunity to create a personal connection with visitors and establish credibility and trust.
There is a button that allows users to share your app online.
This screen uses the container, text, and button components. - Products
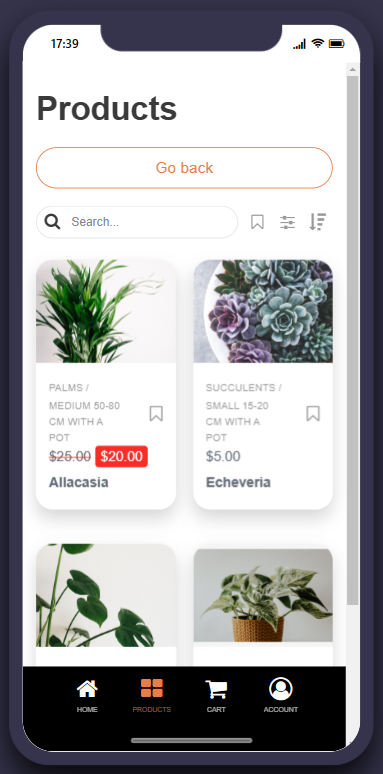
This screen includes the list of products for sale. This is a highly customized screen to allow users to select the products and quantity to add to the shopping cart. The List from data source component has been customized to display the quantity selector and the “+ Add” button in the product detail view, and the list view shows when a product is out of stock and when it has a sale price.
The shopping cart overlay will automatically appear on the screen and update the content and total cost as users add more items.
Clicking the “View basket” button will direct users to the “Cart” screen.
If the logged-in user is an Admin, they can add more products, edit, or delete products from this screen directly.
This screen uses the List from data source component, learn more here. - Categories
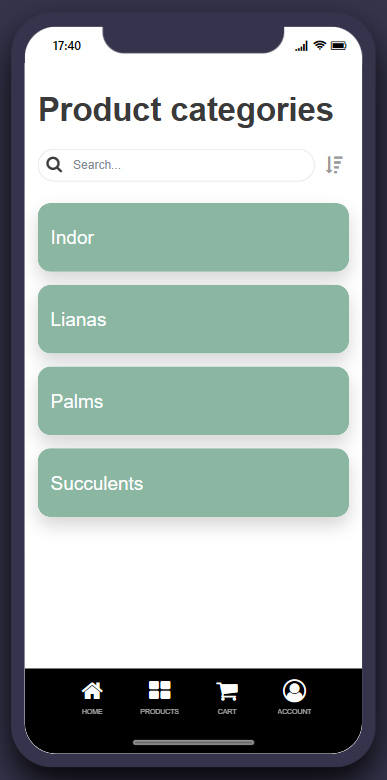
This screen lists the product categories. App users can click on a category to filter the “Products” screen by the selected category.
Admin users can create, edit and delete categories from this screen. The product categories can be added or updated when editing a product.
This screen uses the List from data source component, learn more here. - Cart
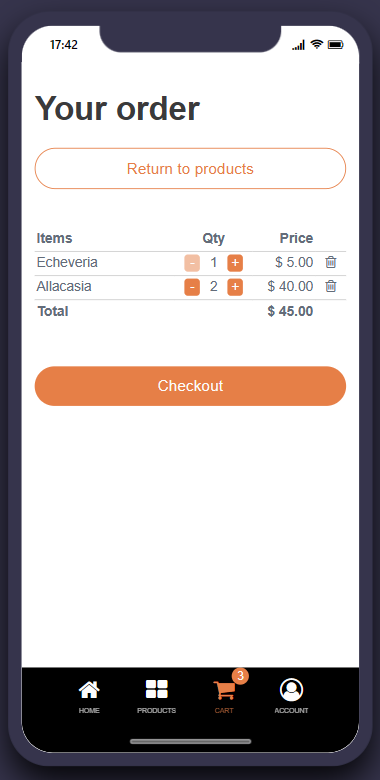
This screen will show the user the products they have added to their shopping basket and the total cost of the purchase. Users can remove products, or increase and decrease the quantity of a product.
This screen is highly customized so that you don’t need to build a checkout system from scratch. We have used Stripe to process the payments. You’ll need to create a Stripe account, which is free, and this feature is available on all our app plans.
Initially, the app solution is in Demo mode and which means that it won’t have any Stripe configuration set up and allows you to try the entire purchasing flow without setting up anything else.
We do recommend you then configure the app with Stripe test keys to test the purchasing flow with the Stripe checkout system. This won’t charge you as you will use a demo card. For more information see the Stripe configuration section of this article.
We have also implemented a “stock hold” feature that as soon as the user clicks “Checkout” the system will save those products and they will be removed from the total stock quantity for 30 minutes. If a user doesn’t complete the checkout within those 30 minutes, the checkout session will end and the products will be put back into stock for others to buy.
This screen uses the container, text, and button components to set the base layout. - Confirmation
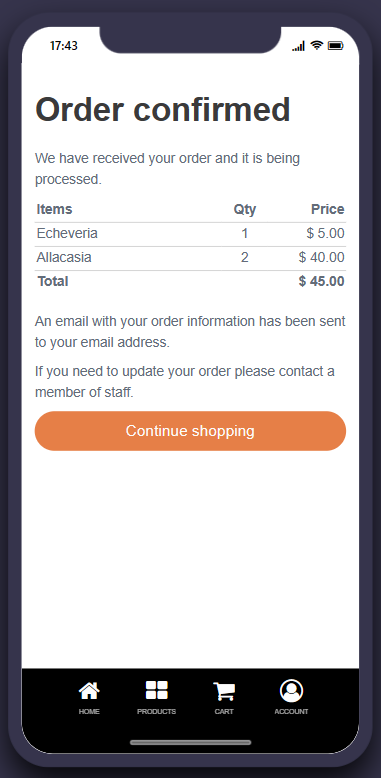
This screen is a customized screen that shows users a confirmation that the order was completed successfully.
This screen will also send users the confirmation email and clear the basket. This email contains the products the user has ordered and is sent to their email. The code for the email is in the screen’s JavaScript.
This screen uses the container, text, and button components to set the base layout. - Canceled checkout
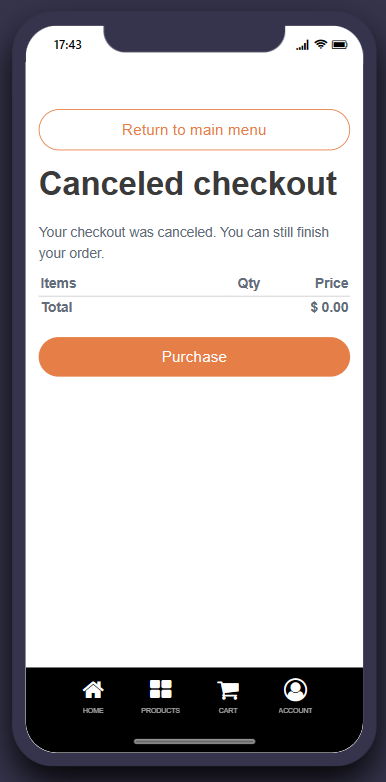
This screen is a customized screen that is shown to users either when they cancel the checkout, or when something goes wrong during the checkout process. If something goes wrong a detailed error message won’t be shown to indicate what the error was, but this screen allows users to retry checking out again.
This screen uses the container, text, and button components to set the base layout. - My account
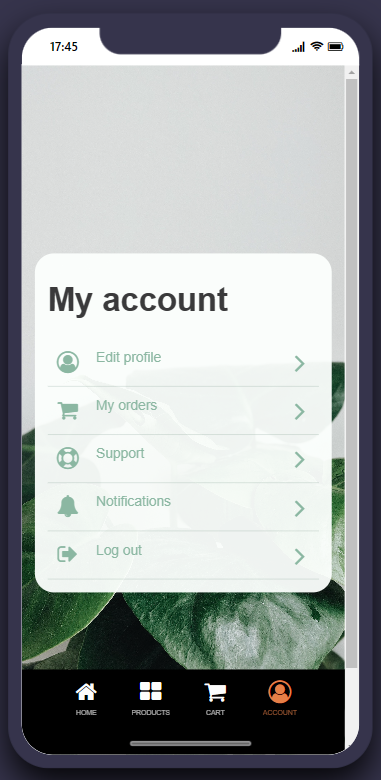
This screen displays a menu with links that allow users to edit their profile information, review and see the status of their orders, create a new support enquiry, see their notifications, or log out from the app.
This screen uses the List with small thumbnails component, learn more here. - Edit profile
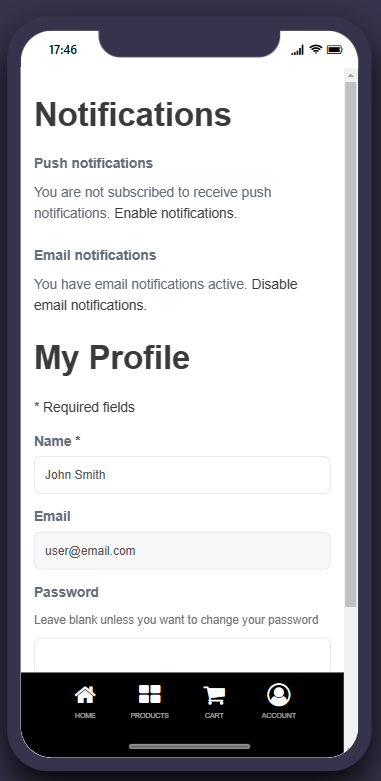
This screen enables the user to edit their profile. It can be accessed from the “My account” menu by selecting “Edit profile”.
Users will also be able to adjust their notification settings by enabling or disabling push and email notifications individually. Email notifications are enabled by default.
Users will be shown a confirmation screen when they save the changes.
This screen uses the form component, learn more here. - My orders
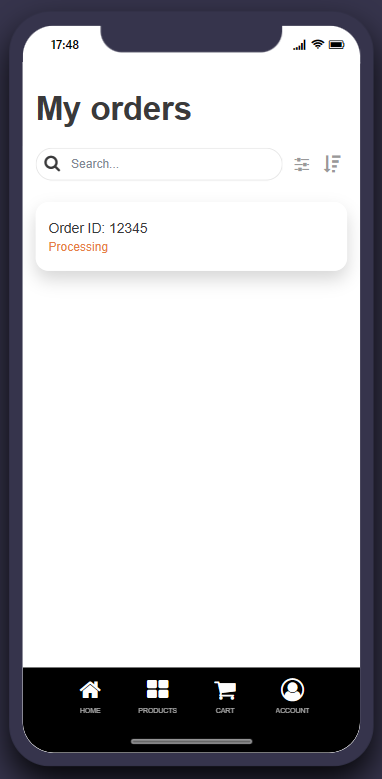
This screen allows users to see their orders. Users are able to see the order status at a glance and see all of the details in the detailed view.
This screen uses the List from data source component, learn more here. - Customer enquiries
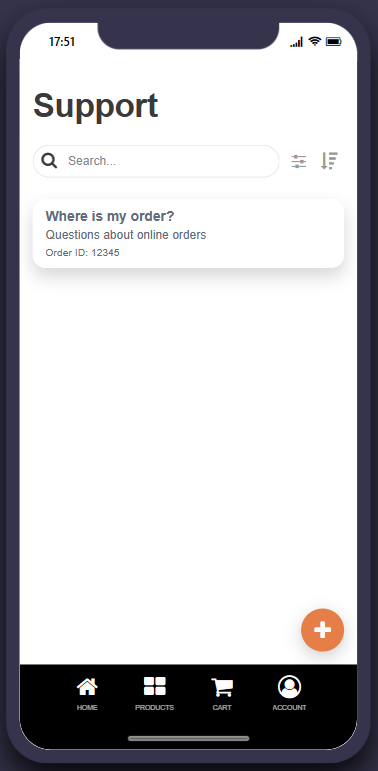
This screen allows users to create a support enquiry and see their existing enquiries. Users are able to search and filter the enquiries by category and date created.
When a user clicks the “+” button to create a new enquiry, the user will be directed to the “Manage support” screen.
Note: With this version of our app solution it’s not expected that further replies to the enquiry are done in the app, this will be done via email, and the app owner can configure this form to receive an email notification when a new enquiry is submitted.
This screen uses the List from data source component, learn more here. - Manage support
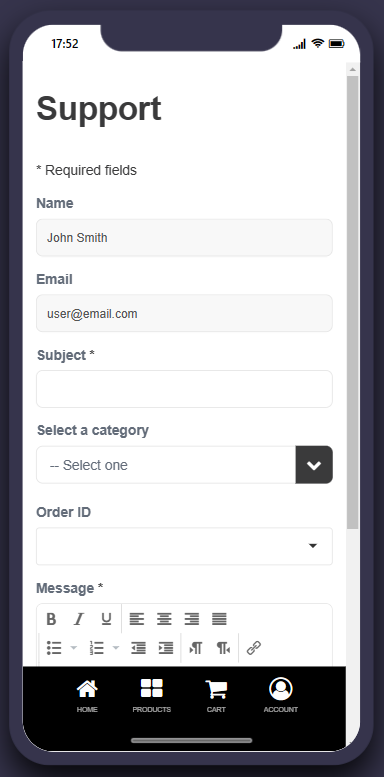
This screen enables the user to create a new support enquiry. The name and email fields will be automatically filled in, and the user will be able to select the order ID from the list of their previous orders.
Admin users can use this screen to update the status of the enquiry.
This screen uses the form component, learn more here. - Notifications
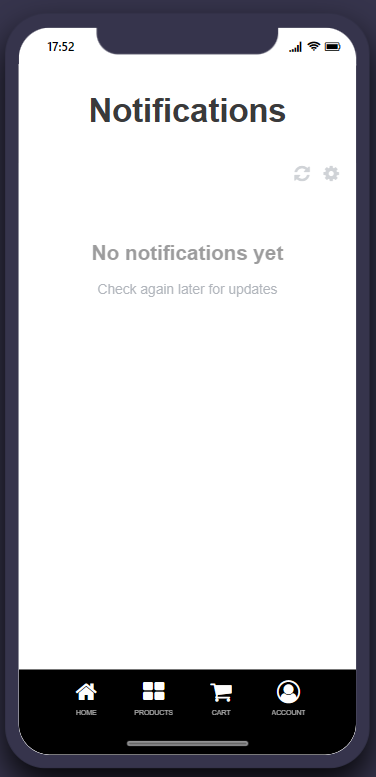
This screen displays all the push notifications that have been sent to the user.
Push notifications are sent by the app when an order or a support enquiry is updated, or when an admin sends an in-app notification via Fliplet Studio.
This screen uses the notification inbox component, learn more here. - Admin menu
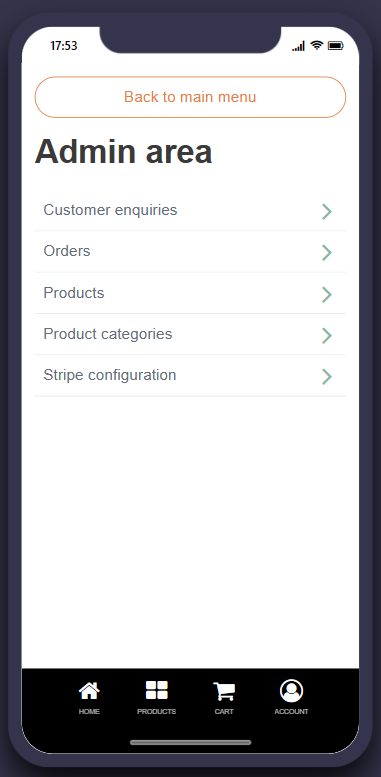
This screen displays a menu with links to the management screens. App admins have access to all customer enquiries, and all orders placed by the app users, they can add, update and delete product categories, and manage the Stripe configuration settings.
This screen uses the List small thumbnails component, learn more here. - Manage Stripe configuration
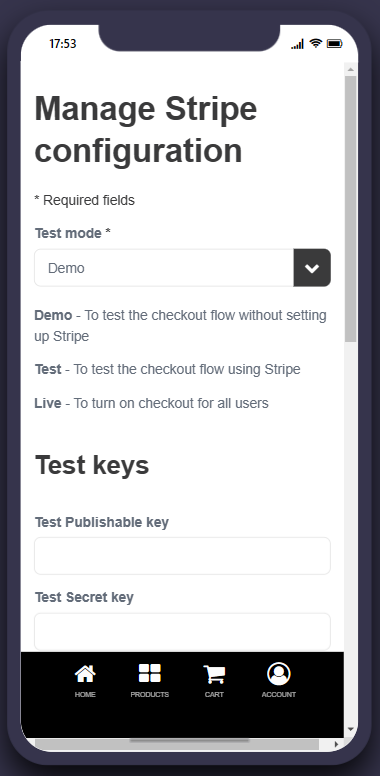
On this screen, you’ll be able to configure everything related to the Stripe integration, including the test and live API keys, the currency used at checkout, the allowed shipping countries, and the shipping rates.
This screen is essential and must be configured for you to be able to test the product checkout before publishing the app. We recommend you set up both Test and Live keys and then use the “Test mode” field to select between the modes. We recommend you start with the “Demo” mode just to try the purchase flow, then change to “Test” mode to test the actual checkout of a product with a sample card, and finally when everything is done and working as expected you should switch to the “Live” mode before publishing the app and share it with your customers.
A more detailed guide on how to get each of the required items and IDs is displayed at the top of the screen and in the Stripe configuration section in this article.
This screen uses the form component, learn more here. - Orders
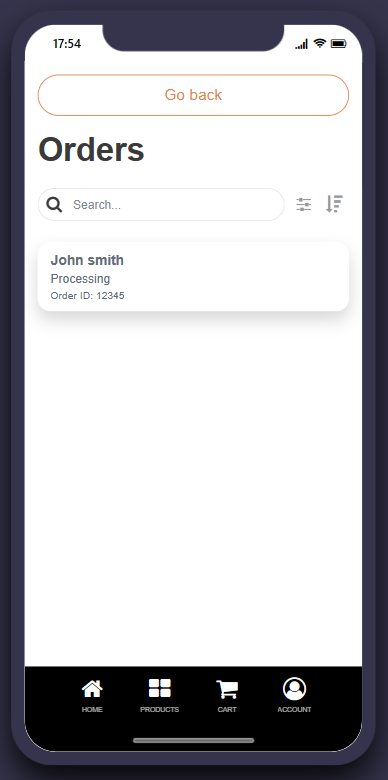
This screen allows admin users to see the order history. Admin users are able to update or delete an order.
This screen uses the List from data source component, learn more here. - Manage orders
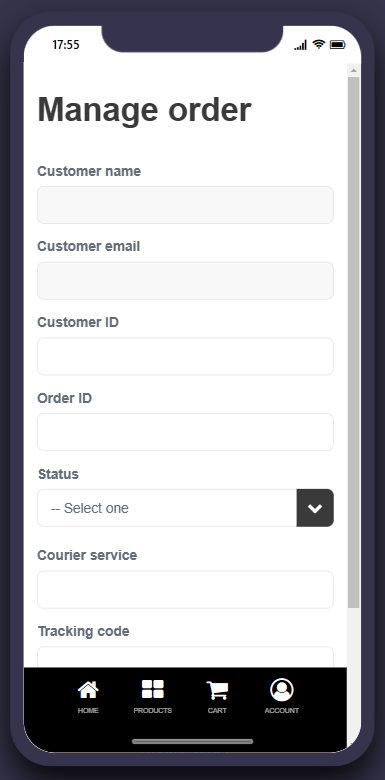
This screen enables the admin users to edit an order from the “Orders” screen.
Admin users can update the order status, and add a tracking code and a courier service to help the customer track their shipped order.
Note: Fulfillment and shipping of orders can’t be done via the app in this current version. If you are selling physical products, fulfillment and shipping must be either done outside the app or you’ll have to ask a developer to integrate the services you use with the app. Learn more about integrating with external APIs. Depending on the type of integration you may have to upgrade your app plan. See our pricing details.
This screen uses the form component, learn more here. - Manage product
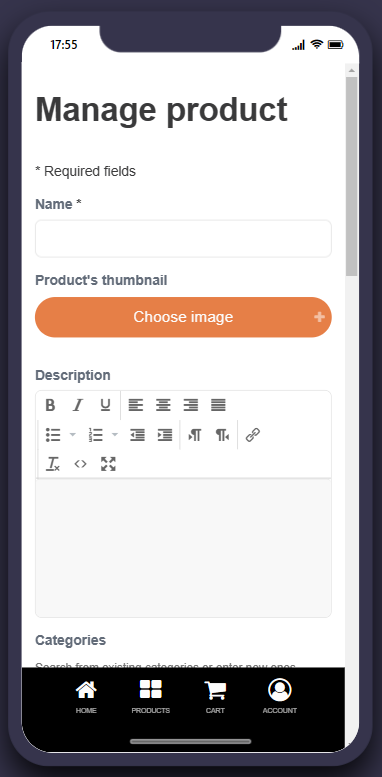
This screen is used to edit or create a new product to be listed.
When creating a new product, admin users will need to create the product in Stripe first and then come back to this screen to complete it. Detailed instructions on how to create products in Stripe can be found at the top of this screen and in the Stripe configuration section in this article.
While editing or creating a product, any new categories that are assigned will be automatically added to the list of product categories.
This screen uses the form component, learn more here. - Manage category
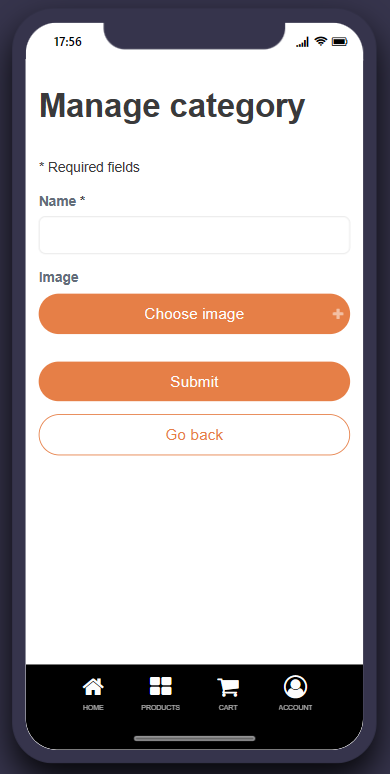
This screen is used to edit or create a new product category.
Categories can then be assigned to products and new categories can be created by typing a new category in a product listing.
This screen uses the form component, learn more here.
Stripe configuration
- Create a Stripe account
- Go to Stripe’s registration website page (https://dashboard.stripe.com/register) and fill in the required fields and press “Create account”.
- On the next screen, you’ll be asked to verify your email address by clicking a link sent to your email.
- Choose if you want to start filling in your business details or do it later. If you chose to do it later, you will find a link in the top left corner called “Continue activating” which will take you to the form you need to fill in. This is a required step to receive payments.
- If you choose to fill in your business details, select your account type: either “Individual” or “Business”, and Stripe will prompt you to fill out some additional information about yourself or your business. This may include your address, bank account details, tax ID number, and other relevant information.
- After filling in your business details, or if you skip it, you’ll be taken to your Stripe dashboard. From there, you can set up your payment processing preferences, including creating products, setting prices, and managing subscriptions.
Congratulations! You’ve now successfully created a Stripe account. If you have any questions or issues, you can contact Stripe’s customer support team for assistance at any time.
- Change between Stripe Test and Live modes
You’ll need to activate payments on your account to enable the Live mode, otherwise, Stripe will default it to Test mode.
Once you can toggle between the Live and Test modes, you will find the toggle button on the top right corner called “Test mode”. When the toggle is on, it becomes orange which means that you are in Test mode.
Live and Test modes are independent of each other, this means that products, API keys, shipping rates, etc, won’t be copied between modes, you will need to create them on each mode individually.
We recommend trying out the Test mode before you move on to the Live mode. - How to get the Stripe Test Publishable and Secret keys
Once logged into your Stripe account, you will be directed to the Stripe Dashboard. Here make sure you enable the Test mode, and after that, next to it you will find a button called “Developers”.
Pressing it will take you to the technical section of Stripe. Choose “API keys” from the top menu and you will find both keys under the “Standard keys” section.
The Publishable key is visible and ready to be copied, you can simply click it to copy it. The Secret key is hidden and shouldn’t be shared with anyone.
To reveal the Secret key, click the “Reveal test key” button, and then click the key to copy it. - How to get the Stripe Live Publishable and Secret keys
Once logged into your Stripe account, you will be directed to the Stripe Dashboard. Here make sure you disable the Test mode, and after that, next to it you will find a button called “Developers”.
Pressing it will take you to the developer-focused section of Stripe. Choose “API keys” from the top menu and you will find both keys under the “Standard keys” section.
The Publishable key is visible and ready to be copied, you can simply click it to copy it. The Secret key is hidden and shouldn’t be shared with anyone.
To reveal the Secret key, click the “Reveal key” button, and then click the key to copy it. - How to get the Stripe Signing key
Once you have both the Publishable and Secret keys, go to your app, and switch to prewiew mode. Once in preview mode, log in using your admin login details.
- Whilst in preview mode, navigate to the Admin menu > Stripe configuration, enter the Publishable and Secret keys in the respective fields, and save the settings.
- Making sure to stay in preview mode, navigate to the Products screen. The screen will show you an alert that starts with “Copy the following webhook URL to configure in Stripe…”, at the end of that alert you will have a URL to copy, make sure to copy this.
- Log in to your Stripe account and then click “Developer” on the top right corner. Once on the developer-focused section, choose “Webhook” from the top menu, and next click “Add an endpoint”.
- Paste the URL you copied into the endpoint URL field, and in the “Select events to listen to” field select the following 3 events:
- customer.subscription.updated
- customer.subscription.deleted
- customer.subscription.created
- Click “Add endpoint”.
You will be taken to the webhook details page and where it says “Signing secret”, click the “Reveal” button and copy the key that is shown.
- Add a new product with a price
Once logged into your Stripe account, you will be directed to the Stripe Dashboard.
- From the very top menu, click the “Product” link.
- Click the “+ Add product” button on the right corner.
- Enter the name of the product you want to add, and then enter the price details for the product including the value and the currency. Since the eCommerce app solution doesn’t support subscriptions yet, you should choose “One time” under the price value.
- You can set up more than one price, if you have a Sale price, you can add another price by clicking the “+ Add another price” button, and following the steps mentioned above.
- Once done, click the “Save product” button on the top right corner.You’ll be directed to the product detail page and here you will have your prices IDs to copy, in the “Pricing” section. The ID you need is the string of characters under “API ID”. Copy the ID and paste it into the “Stripe Price ID” (or “Stripe Sale Price ID”, if it is a sale price) in the product edit form.
Important: If you change the currency in the Admin menu > Stripe configuration on your app, you will need to update the prices in Stripe to match the same currency.
- Add or update a price to an existing product
If you have products already created you can add or edit their associated prices.
Once logged into your Stripe account, you will be directed to the Stripe Dashboard.
From the very top menu, click the “Product” link. Once you are on the Products page you will see a list of all your products. Click the one you want to edit:- In the Pricing section, you will see the prices associated with the product. Click the “…” of the price you want to edit., and then click “Edit price”.
- If the price was never used in a purchase before, you are free to edit every field in the price and then click “Save”.
- However, if the price has been used before, you will need to archive the current price, you can do this by clicking the “…” of the price you want to archive, and then clicking “Archive price”.
- Next, you will need to create a new price, to do that click the “+ Add anotherOh price” button to the right of the Pricing section.
- Fill in the price details and click “Add price”.
The new price will have a different price ID, and you will need to copy it to add to your app. The ID you need is the string of characters under “API ID”.
Copy the ID and paste it into the “Stripe Price ID” (or “Stripe Sale Price ID”, if it is a sale price) in the product edit form. - How to get the price ID
Once logged into your Stripe account, you will be directed to the Stripe Dashboard.
- From the very top menu, click the “Product” link. Once you are on the Products page you will see a list of all your products. Click the one you want to price for.
- Go to the Pricing section of the product details page, and you will find the list of prices of the product.
- The ID you need is the string of characters under “API ID”.
- Copy the ID and paste it into the “Stripe Price ID” (or “Stripe Sale Price ID”, if it is a sale price) in the product edit form.
- How to create a shipping rate and get their ID
Once logged into your Stripe account, you will be directed to the Stripe Dashboard.
From the very top menu, click the “Product” link. Once you are on the Products page, click the “Shipping rate” link on the top menu and then:- Click the “+ Create shipping rate” button.
- Enter the amount or leave it at 0 for Free delivery.
- Give it a description that will be shown to your users.
- Optionally, but recommended, enter the estimated shipping time.
- Click the “Save” button.You will land on the shipping rate detail page, and here you can find the ID you need to copy in front of the label “ID”. Click the ID to copy it and paste it into the Admin menu > Stripe configuration on your app.
To add another shipping rate, follow the same steps mentioned above.
Related Articles