To create a screenshot of an app in a certain state please follow these instructions. You will need to use Google Chrome as your browser for this process.
Features
Interactive screenshots offer the following:
- Fliplet users can take screenshots of their app in use.
Get Started
To take your interactive screenshots you will need to:
- Launch your app as a web app
- Capture the screenshots
Step 1- Launch your app as a web app
- Using Fliplet Studio open your app.
- Select the “Publish” option in the top right of the screen.
- Next to “Publish to the web via a URL” press “Select”.
- On the popup window, click “Publish”. The popup window will refresh and display the link to the app’s URL. To go to the app, simply click on the link.
Step 2 – Capture the screenshots
- In your web app, navigate to the screen you wish to screenshot.
- As the app is live you can use the app as you wish to create the page you want to screenshot.
- Once you have the correct screen, open the developer options. To do this, use Command + Option + J on Mac or F12 on Windows.
- Click the “Toggle device toolbar” icon.
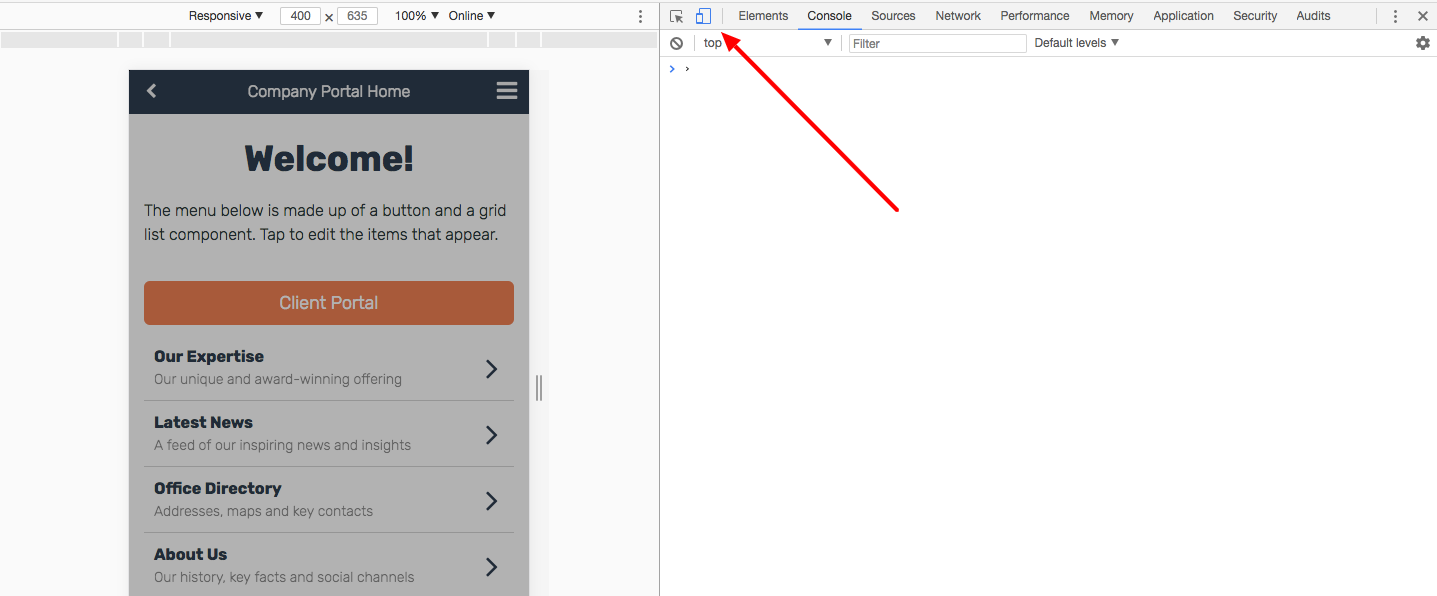
-
Using the top bar, select the device size you want to capture.
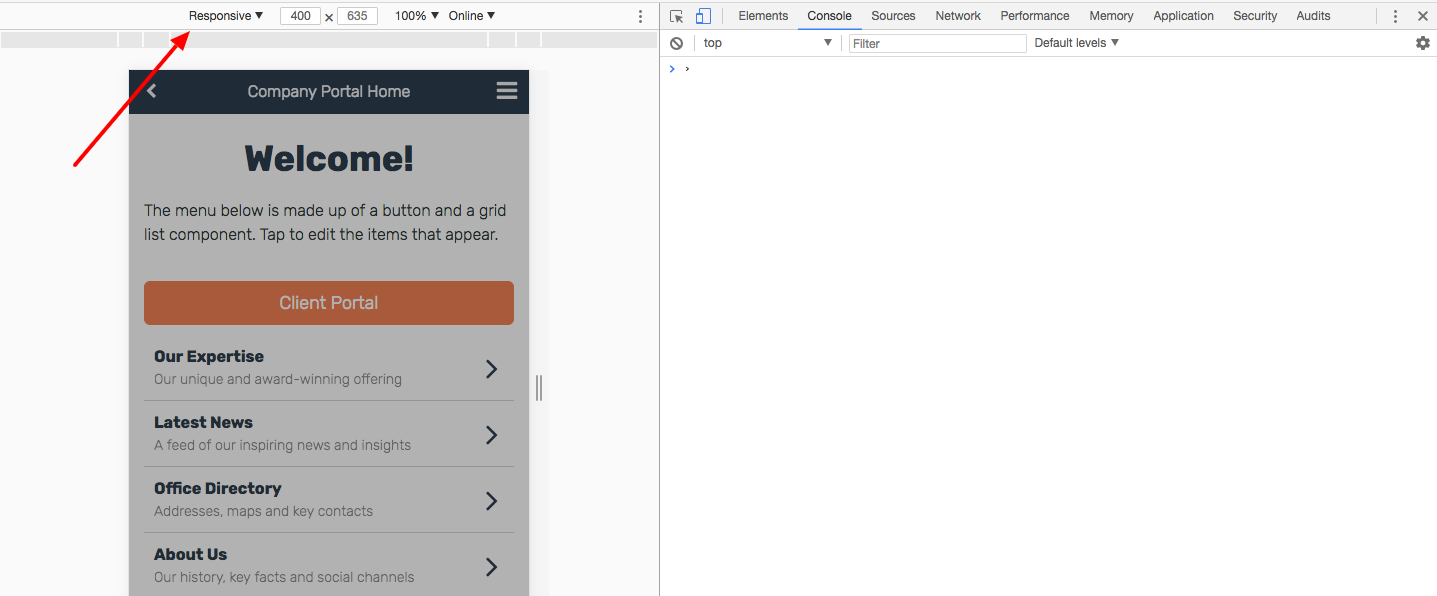
-
If the device size you want to screenshot is not listed, select “Responsive”.
-
Then enter the sizes that you require.
Apple and Google require the following sizes:-
Apple app store requires three different sizes:
-
1242 x 2208 px
-
1242 x 2688 px
-
2048 x 2732 px or 2732 x 2048 px
-
-
Google play store:
-
720 x 1280 px
-
1080 x 1920 or 1920 x 1080 px
-
-
-
To take the screenshot, click on the three dots icon in the same top bar
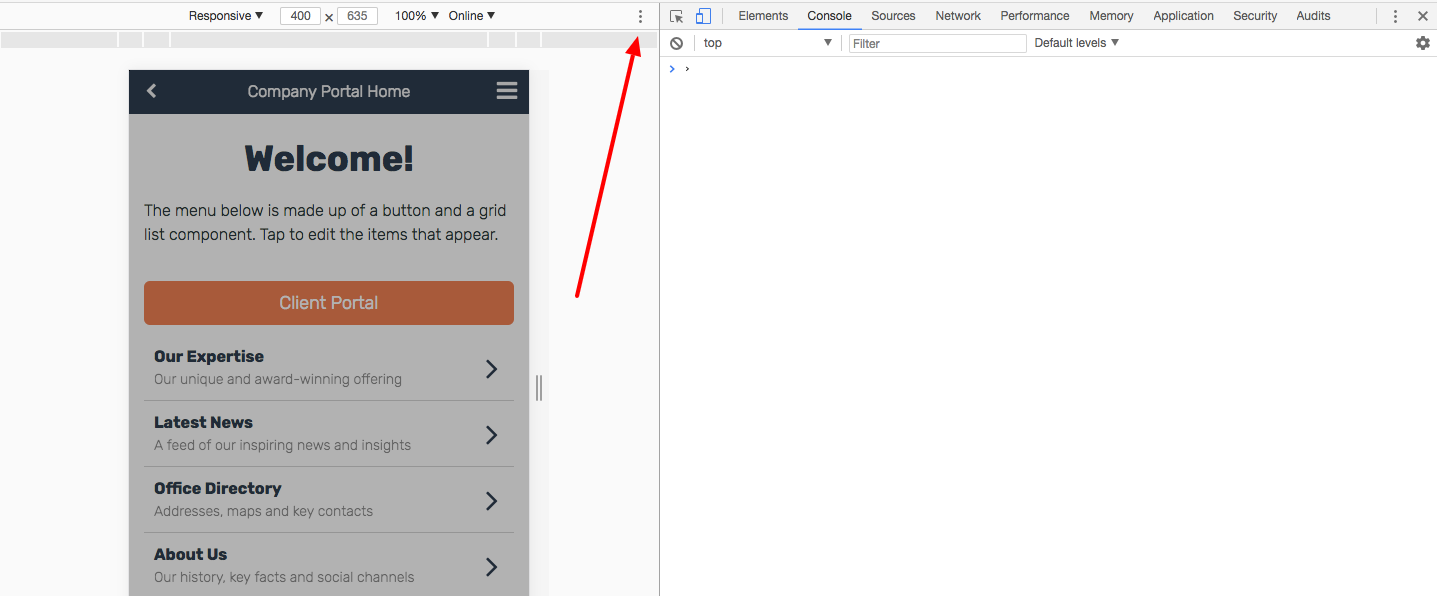
-
Choose “Capture screenshot”
-
The screenshot will then be saved, or you will be asked to save the screenshots, depending on your browser settings.
Related Articles