Using the app language settings, Fliplet apps can be made multilingual
Get Started
There are three options for building and managing apps in different languages in Fliplet:
- One app, multiple languages
- One app per language, deployed through a portal
- Separate stand alone apps per language
Option 1 – One app, multiple languages
Pros
End users only need to download one app
With only one app to manage, it’s less maintenance than with multiple apps
Easy to swap the language back
Considerations
Requires code to show the correct languages in the hamburger menu
Code is not supported on the bottom bar menu, so the app has to use the hamburger menu
When publishing, all screens in all languages will be published
All screens have to be duplicated and set up in every language, depending on the number of screens and languages this can get difficult to manage in one app
Requirements
Configure your app in another language
Add the select language screen template
Set up additional screens per language
Set up the app menu in different languages
Option 2 – One app per language, deployed through a portal
Pros
Can have different users editing and managing the individual apps
Users still only download one app
Considerations
Not as seamless to switch between languages
More app maintenance, including the app with the portal
Requirements
Configure your app in another language
Add apps to a portal
Option 3 – Separate standalone apps per language
Pros
Best if you have your app in one language and don’t expect users to switch language
Can have different users editing and managing the individual apps
Considerations
Can’t switch between languages, would have to download individual apps in the different languages
Requirements
Configure your app in another language
Add the select language screen
This screen ensures that the user is taken to the correct screen after they select the language and that everything in the app is shown entirely in the selected language. If your app will only have one language, this is not required.
- Add the “Select Language” screen template to your app using the ‘Add screen’ button
- The select language functionality is configured using the data source
- Click the select language component to open up the data source settings on the right, and then click view data source
- The data source includes four columns by default:
- Name
This is where you can add the country or language name - ISO code
ISO country codes are internationally recognized codes that designate every country and most of the dependent areas a two-letter or a three-letter combination; it is like an acronym, that stands for a country or a state
This is where the language code needs to be.
Note: the functionality will work even if you don’t add the standard ISO code for a country; any combination can work as long as it matches the prefix in the screen names for your app
For example, on our template, English is set as EN, and Mandarin is CN.
It’s important to set this up correctly as these codes will be part of the prefixes for the screens that are set up in different languages and it’s how the app recognizes which screen is in which language
For example, the app will know that “EN – Register” is in English and that “CN – Register” is in Mandarin - Flag
This is where you can add an image, by default we have added country flags but this field can have any image
To ensure that this is set up correctly add the option to the image field on the data view settings - Screen name
This is where to add the screen that you want the user to be taken to after clicking on the desired language
Please ensure that the screen name on the data source is exactly the same as the screen name on Fliplet Studio to work correctly
- Name
- Once you have configured your data source, click save changes
Set up additional screens per language
- When adding multiple languages to your app, you will need to set up the screens in the required language
- Any screen content, such as your text, menu titles, etc will need to be translated manually
- Ensure all screens you want for your app are set up in the required language
- For these to be recognized by the select language screen, they will require a prefix on the screen name
- For any screen that you wish to translate, select it from the screen list on the right-hand side, click the settings cog and choose “rename”
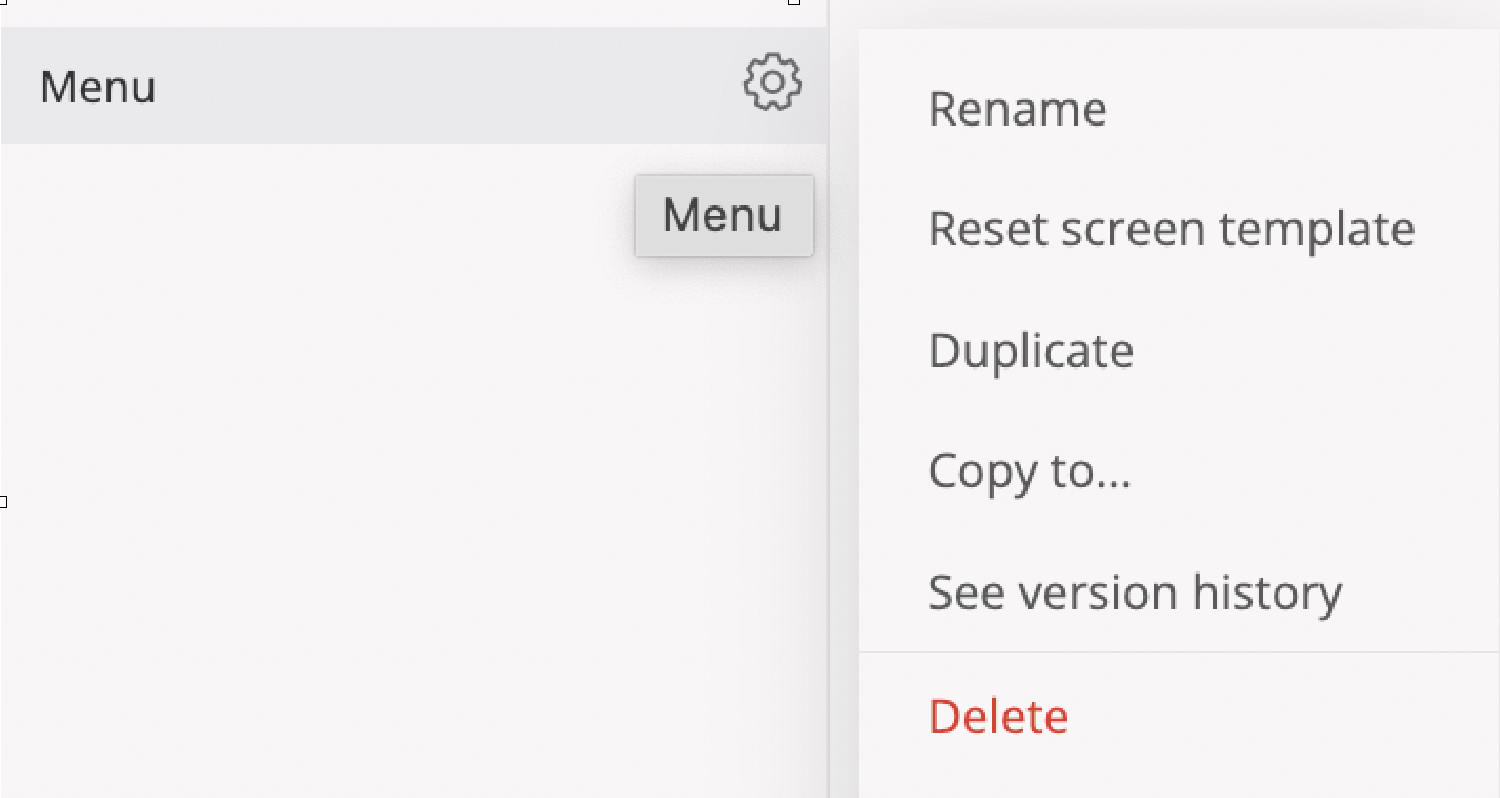
- Add the relevant prefix to your screen name.
The prefixes for each language are as follows:- Chinese – CN
- English – EN
- For example, the addition of “EN – ” should be added for English screens. If your screen is named “Menu” it should be changed to “EN – Menu”
- Now, ensure all of the screens you want to translate have the correct prefix on the screen name
Set up the app menu in different languages
When adding multiple languages to your app, there are some steps required to ensure only the selected language screens show in the apps menu
- For any screen that you wish to translate, select it from the screen list on the right-hand side, click the settings cog and choose “rename”
- Add the relevant prefix to your screen name.
The prefixes for each language are as follows:- Chinese – CN
- English – EN
- For example, the addition of “EN – ” should be added for English screens. If your screen is named “Menu” it should be changed to “EN – Menu”
- Ensure all of the screens in your app have the correct prefix on the screen name
- For this functionality to work and for the app menu to only show the screens in the language that has been selected on the select language screen, you will need to paste the following code in the global JavaScript:
- Open the developer options by clicking the </> icon on the right-hand side toolbar
- Choose the global option
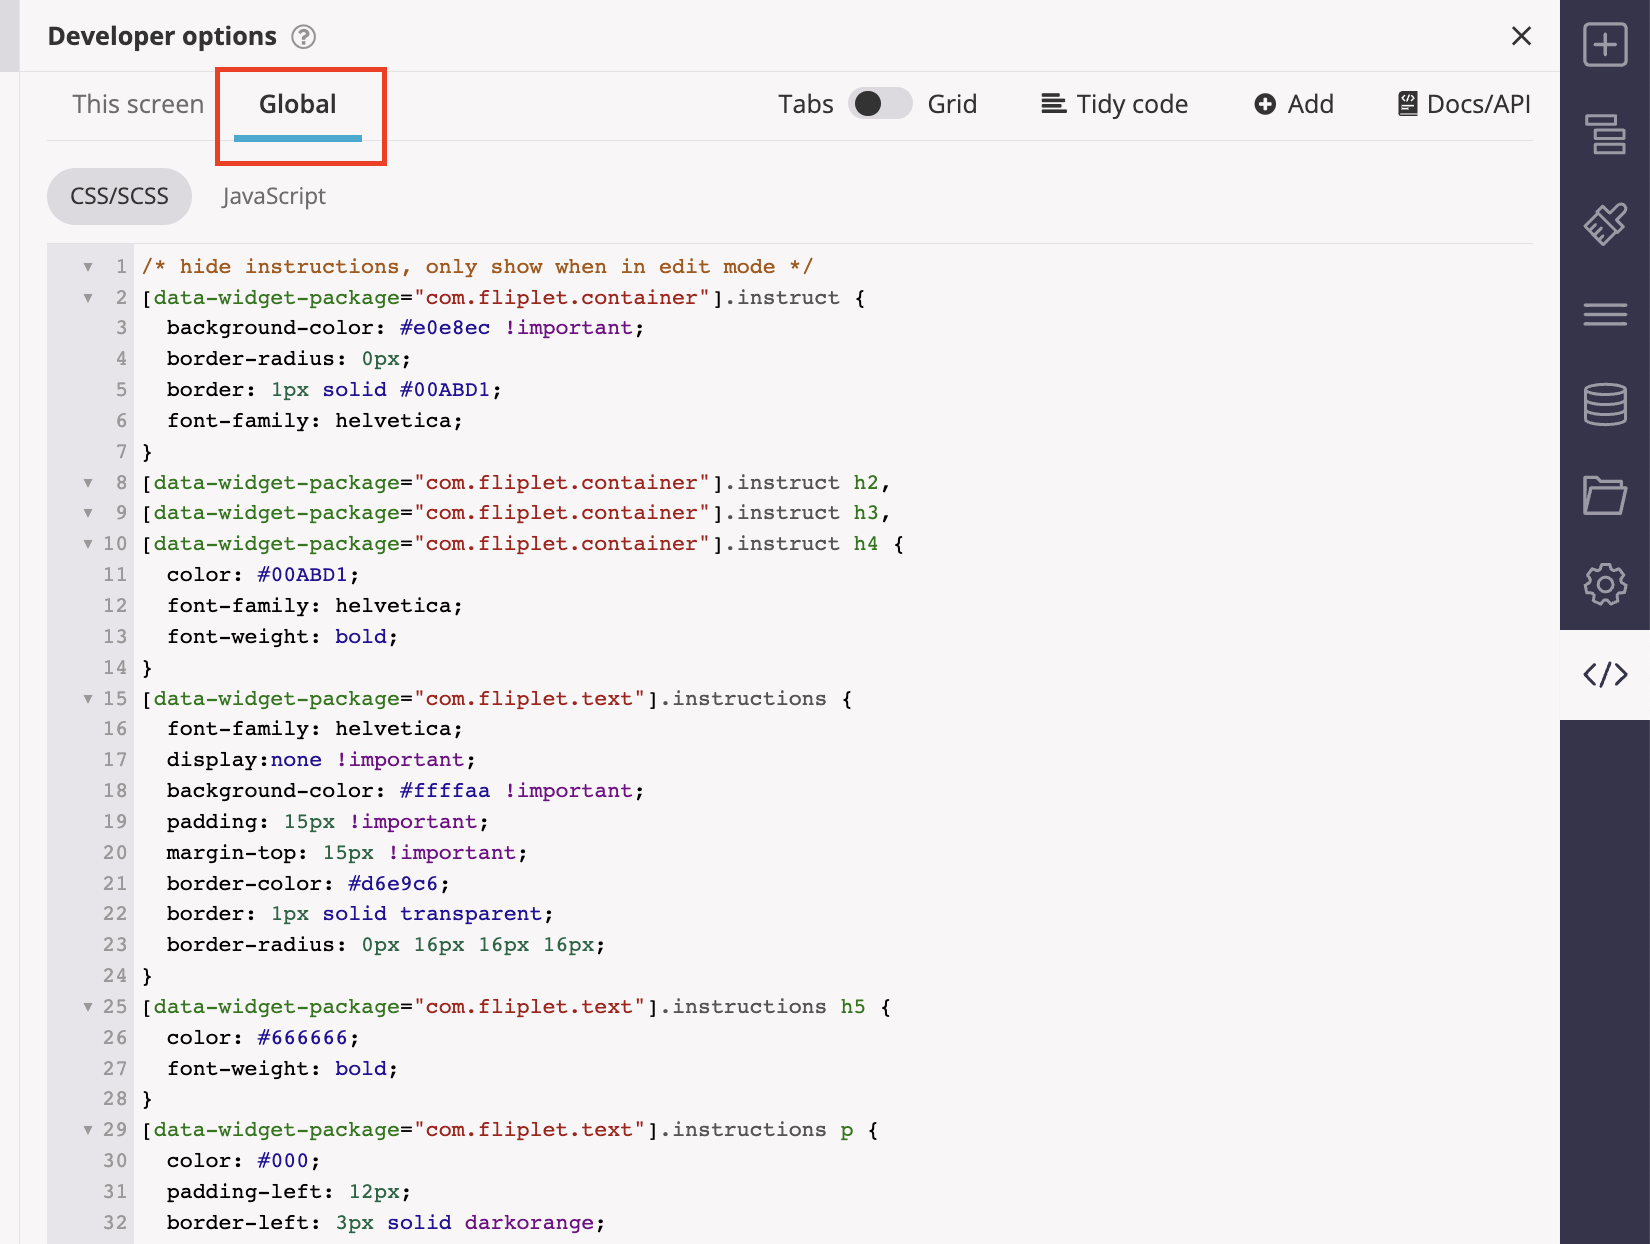
- Paste in the following code on a new line
Note: By default, this code is selecting either the English screens or the Mandarin screens, if the prefixes used on the language selection data source are different, then this will need to be updated in the code.
If the screen names have different prefixes, then this will also need to be updated in the code.
Fliplet().then(function() {
  Fliplet.App.Storage.get('sl').then(function(value) {
    if (value) {
      if ($('.fl-menu-body ul li').length > 0) {
        let html;
        $('.fl-menu-body ul li').filter(function(index, element) {
          $(element).each(function(i, element) {
            html = $(element).html();
            var isLastElement = index == $('.fl-menu-body ul li').length - 1;
            if (value === 'zh-cn') {
              if (html.indexOf('EN') >= 0) {
                $(element).hide();
              } else {
                if (html.indexOf('CN') >= 0) {
                  $(element).html(html.replace('CN - ', ''));
                }
                let ulhtml = $('.fl-menu-body ul').html();
                if (ulhtml.includes('More')) {
                  if (isLastElement) {
                    var $el = $('.fl-menu-body ul'); //move element down one step

                    if ($el.not(':last-child')) $el.next().after($el); //move element up one step

                    if ($el.not(':first-child')) $el.prev().before($el); //move element to top

                    $el.parent().prepend($el); //move element to end

                    $el.parent().append($el);

                    $('.fl-menu-body ul:last').remove();
                  }
                }
              }
            } else if (value === 'en-us') {
              if (html.indexOf('CN') >= 0) {
                $(element).hide();
              } else {
                $(element).html(html.replace('EN - ', ''));
              }
            }
          });
        });
      }
    }
  });
});
Related Articles