The list with tabs screen template is a no-code screen. It enables you to add tabs to your LFD (List from data source) detail view, similar to what you can find if you use our Directory Solution.
This article explains the steps required to add the tabs using the LFD settings.
This article assumes you understand how to create an LFD and configure the data view settings. For more support on configuring your LFD see here.
Get Started
Step 1 – Add the screen template
- Add the “LFD with tabs” screen template to your app using the “Add screen” button
- Click on the LFD to open the settings on the right-hand side
- If you need to create the data, select view data source and update the sample data and click save changes
- If you already have a data source, select “change” and choose the relevant data source from the list
Step 2 – Add the tabs to the LFD
To add a tab with data inside your LFD detail view:
- Click your LFD and select “data view settings” from the settings panel on the right
- Scroll down to “Detail view fields”
- Each field that you want to display a tab in will require at least 4 data fields.
- The first item will be the list of tabs to add to the LFD
- The second will be the tab start
- Underneath the start tab as a third field, you can add the field name (or names) to add the data to a specific tab
- The fourth field will be the tab end.
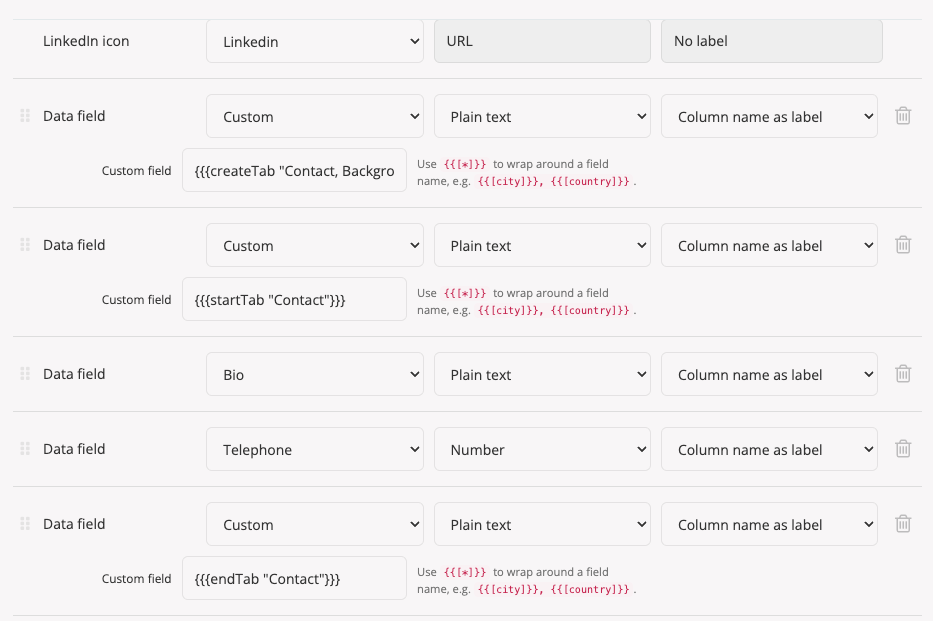
- The below example demonstrates the list of tabs to show using comma-separated values
{{{createTab "Contact, Background, Skills"}}}and the fields “Bio” and “Telephone” being added to the “Contact” tab:
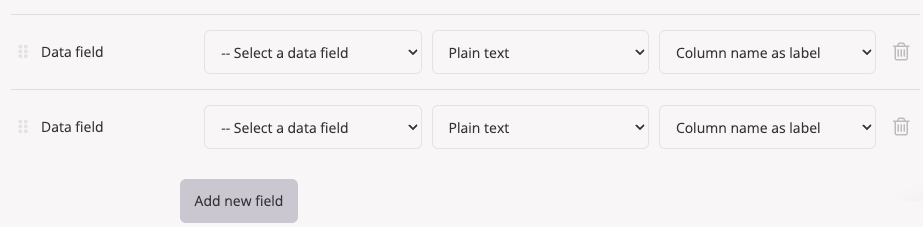
- To add the tabs to your LFD select “Add new field” as required:
- Data field one will require the Field Name set to “Custom”, the Field type as “Plain text” and the Field label as “Column name as label”
- You will now see an additional “Custom field” option. Enter the following text, using comma-separated values update the words “Test” “Test 2” and “Test 3” to the name of the tabs that you want to display in the detailed view:
{{{createTab "Test, Test 2, Test 3"}}}- Note: you can add as many tabs as you’d like but please be mindful of the space these tabs will take, especially on smaller screens.
- Data field two would be your first tab, this could be “Test” for example, please note that you need to add the exact word that was added to the “createTab” option on the start tab:
{{{startTab "Test"}}} - Then add the data fields you wish to display on this tab, to learn more about the LFD and displaying data in the LFD see here.
- Repeat this step for the data fields you want to display inside a single tab. If you want to display multiple fields inside a tab, you should add an additional data field for each one and ensure they are inside the tab fields.
- The next data field is the end tab, this will require the Field Name set to “Custom”, the Field type as “Plain text” and the field label as “Column name as label”
- You will now see an additional “Custom field” option. Enter the following text, updating the word “Test” to the exact name of the tab, it needs to match the “startTab” option exactly:
{{{endtTab "Test"}}} - Repeat the above steps to add more tabs to your LFD.
- Click Save & Close
Step 3 – Test the tabs
- Click Preview in the top right corner
- Click on an LFD item to test
- The detail view should open
- Check if your data is inside the relevant tabs, if you have multiple tabs click on each one individually.
Related Articles
Was this article helpful?
YesNo