Precursor
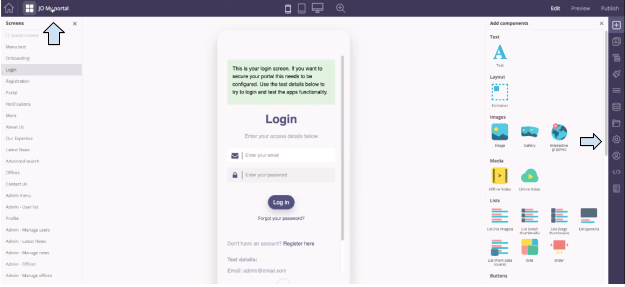
The app should already have a login screen or SAML2 login, or an email/SMS verification, and a lock if you choose to use a lock as an additional security layer.
If your app has a login you need to set up a security rule to enforce the security.
Features
Securing your app offers the following features:
-
Additional layers of security
-
Protection from unwanted users
-
Verify by password, email, or SMS
-
Prevent users from accessing certain screens
Get Started
To secure your app you’ll need to:
Step 1 – Set up a security rule
-
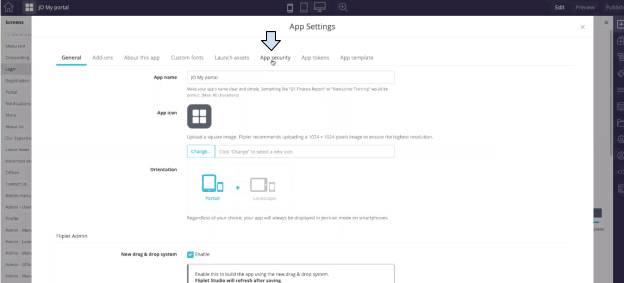
Go to “App Settings” either by clicking on the App title in the top left of Fliplet Studio or by clicking on the gear icon from the list on the far right.
-
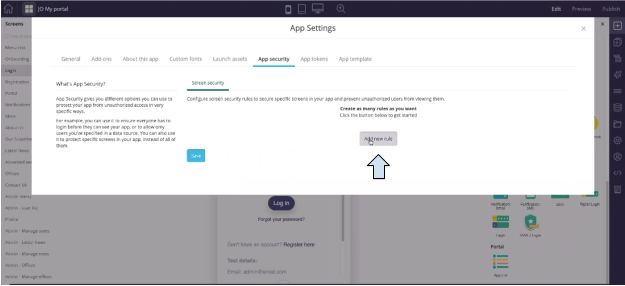
Click on the “App Security” tab.
-
Click the gray “Add new rule” button.
-
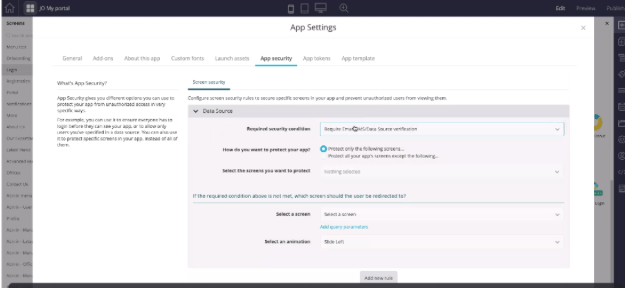
Select the Required security condition which refers to the kind of security that you are using in your app.
-
Select the SAML2 option ONLY if you are using a SAML2 component as your login.
-
If you are using the login or Email/SMS verification components, select the “Require Email/SMS/ Data source verification” option.
-
The “Require a valid Fliplet login” option should be used if you wish to use login to Fliplet Studio as your security.
-
If you choose “Write my own condition” you can write your own rule. If you wish to use this option, read the developer documentation to learn how to write your own condition correctly.
-
For example, this option is used if you want to whitelist specific IP addresses. Learn more here.
-
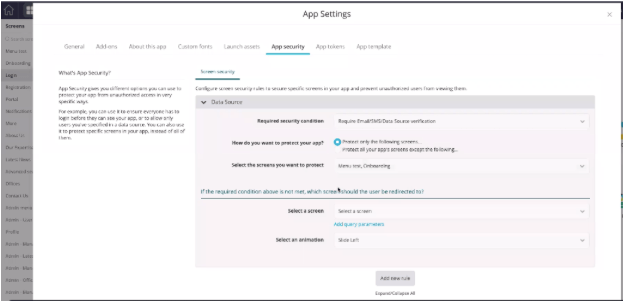
If you have the security rule that you wish to use already set up in a different app, you can choose the “Inherit security rule(s) from another app” option. The SAML2 and Email/SMS/ Data source verification options are the two that are the most common. For example, if you select the “Email/SMS/Data source verification” option:
-
-
Under How do you wish to protect your app? you can choose “Protect only the following screens…” if most of your screens are open to everyone but a few of them are locked. Then you would continue by selecting the screens you want to protect.
-
Keep in mind that when using the “Protect only the following screens…” setting, if you add a new screen to your app that you also wish to be protected, you will need to go back to the App Settings and add it to the list of screens you want to protect.
-
-
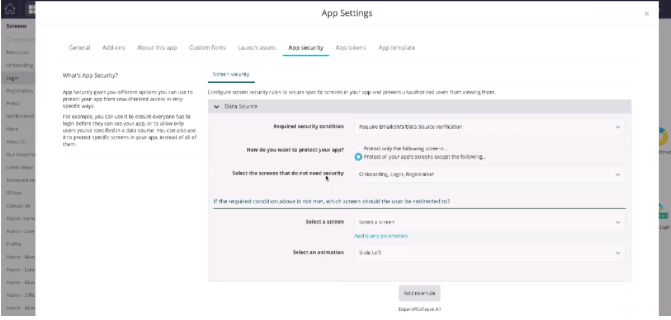
Under How do you wish to protect your app? most apps will use the “Protect all your app’s screens except the following…” option. A common example is for an app to have the onboarding, registration, and login screens open for everyone. In this case, the settings would look like this:
-
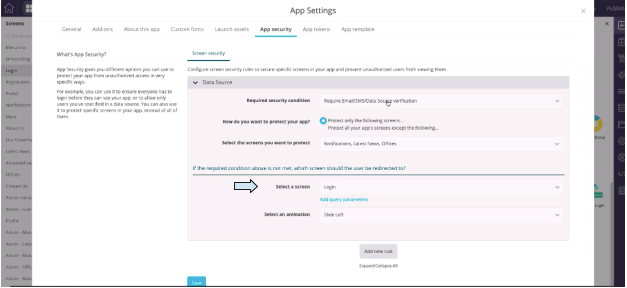
Once the rule itself has been set up, under “If the required condition above is not met”, which in this case means if the user has not logged in or verified their identity, select the “Login” screen under the Select a screen menu.
-
When you are finished setting up the rule, click the blue “Save” button to save the conditions.
Step 2 – Test the security rule
-
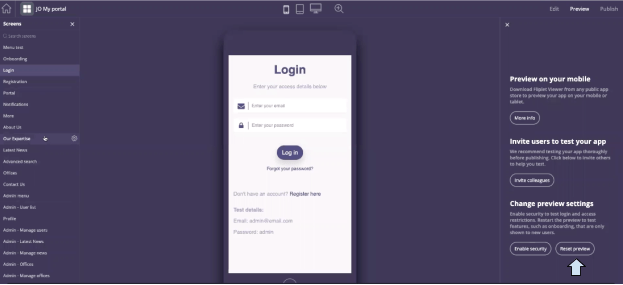
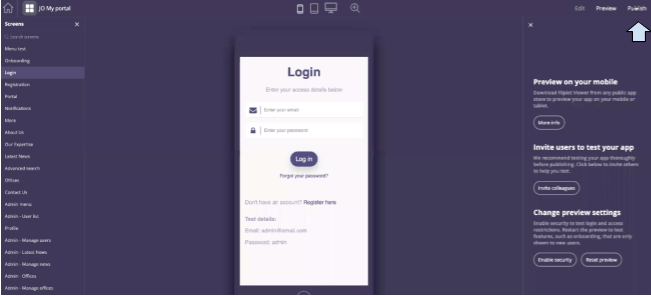
To test the security rule, go to Preview mode.
-
Enable the security by clicking on the “Security enabled” button in the bottom right.

-
If the security is enabled and you attempt to visit the other screens without logging in, you should be immediately redirected back to the login screen.
-
If you wish to test the security rule again, click the “Reset preview” button next to the “Security enabled” button.
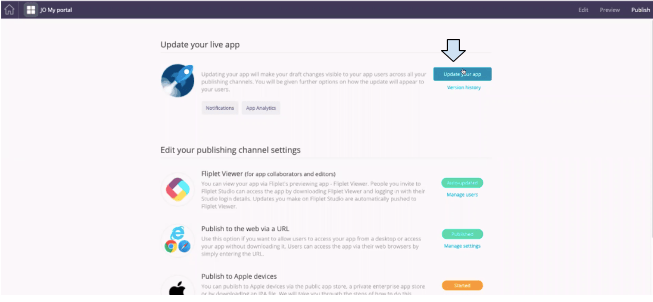
Note: If you ever wish to update your security rule, you must go to Publish mode and click “Update your app” before the security rule goes live to your live app
Related Articles