Google has announced the deprecation of their legacy Google Cloud Messaging (GCM) API, culminating in a complete removal after June 20, 2024.
This article outlines the steps to upgrade your push notification service to ensure your notifications operate as expected.
Note: These steps should only be followed if you have previously configured Android push notifications. If this is your first time setting up push notifications, please see here for instructions.
- Get Google service file
- Visit Google Cloud to set up your FCM services
- Create service account
- Create a new key
- Submit the information in Fliplet
Step 1 – Get Google services file
- Log in to your Google Firebase account
- Ensure you select the app you are updating your push notification service for.
Note: If you have not previously registered your app for a project you will need to do this first. Each app should have a separate firebase project.- Select the Android app in the project
- For the Android package name- Enter the Bundle id found in the Google publish tab of Studio
- Click on “register app”
- This will enable you to download the google-services file.
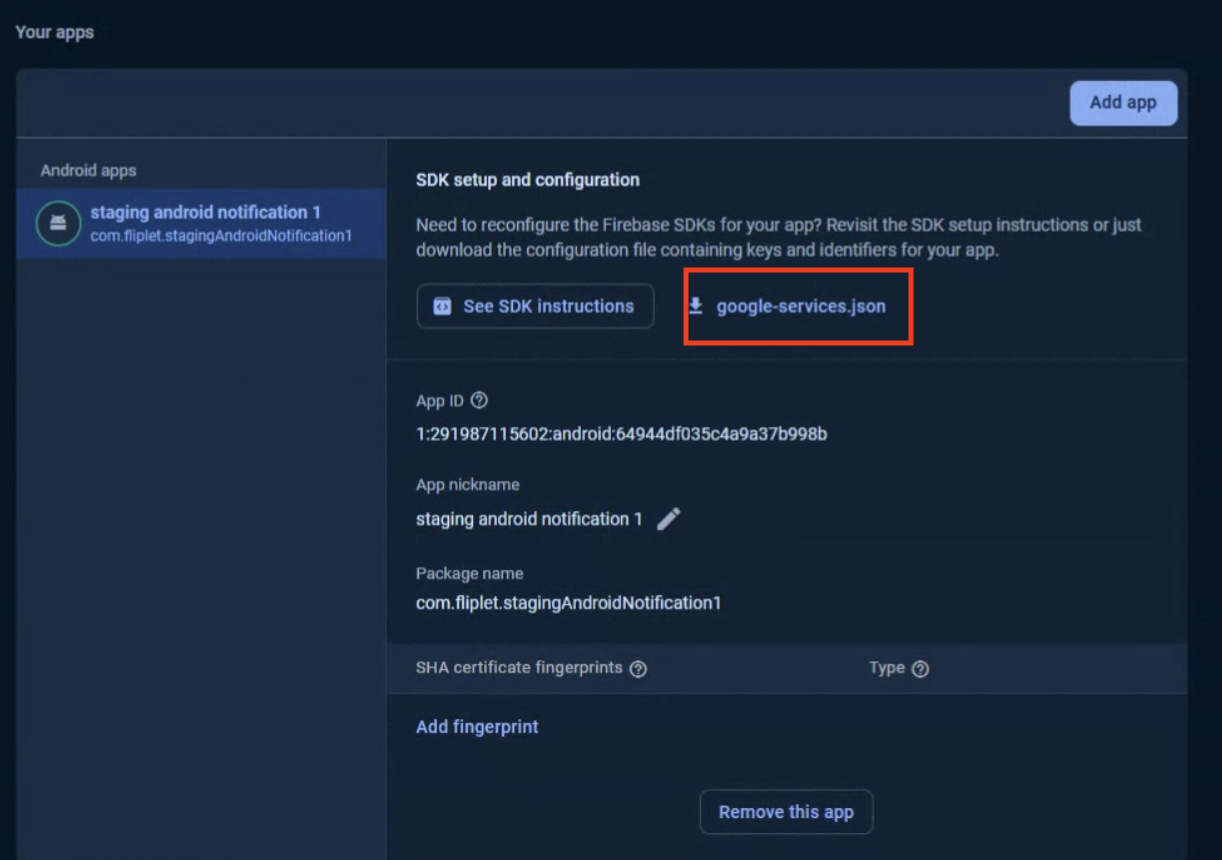
- Click the “General” tab at the top of the screen
- Find the “google-services.json” file and download it
Step 2 – Visit Google Cloud to set up your FCM services
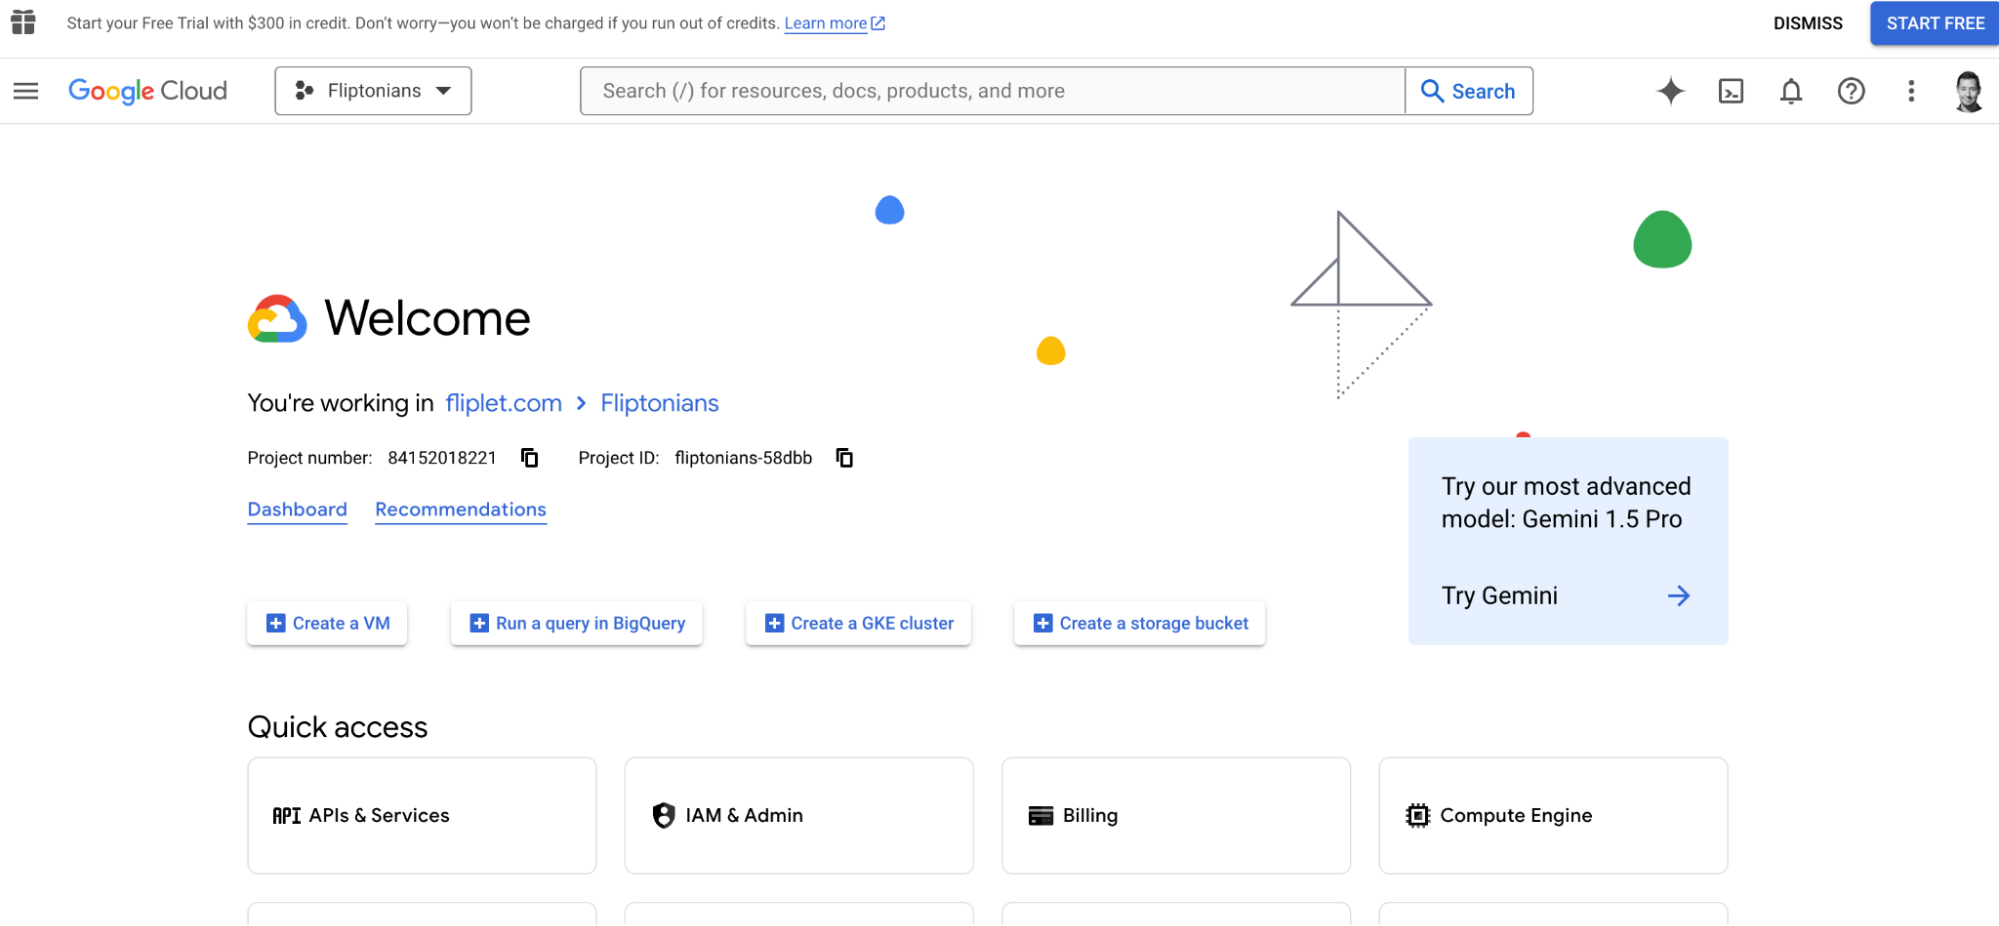
- Start by opening Google Cloud
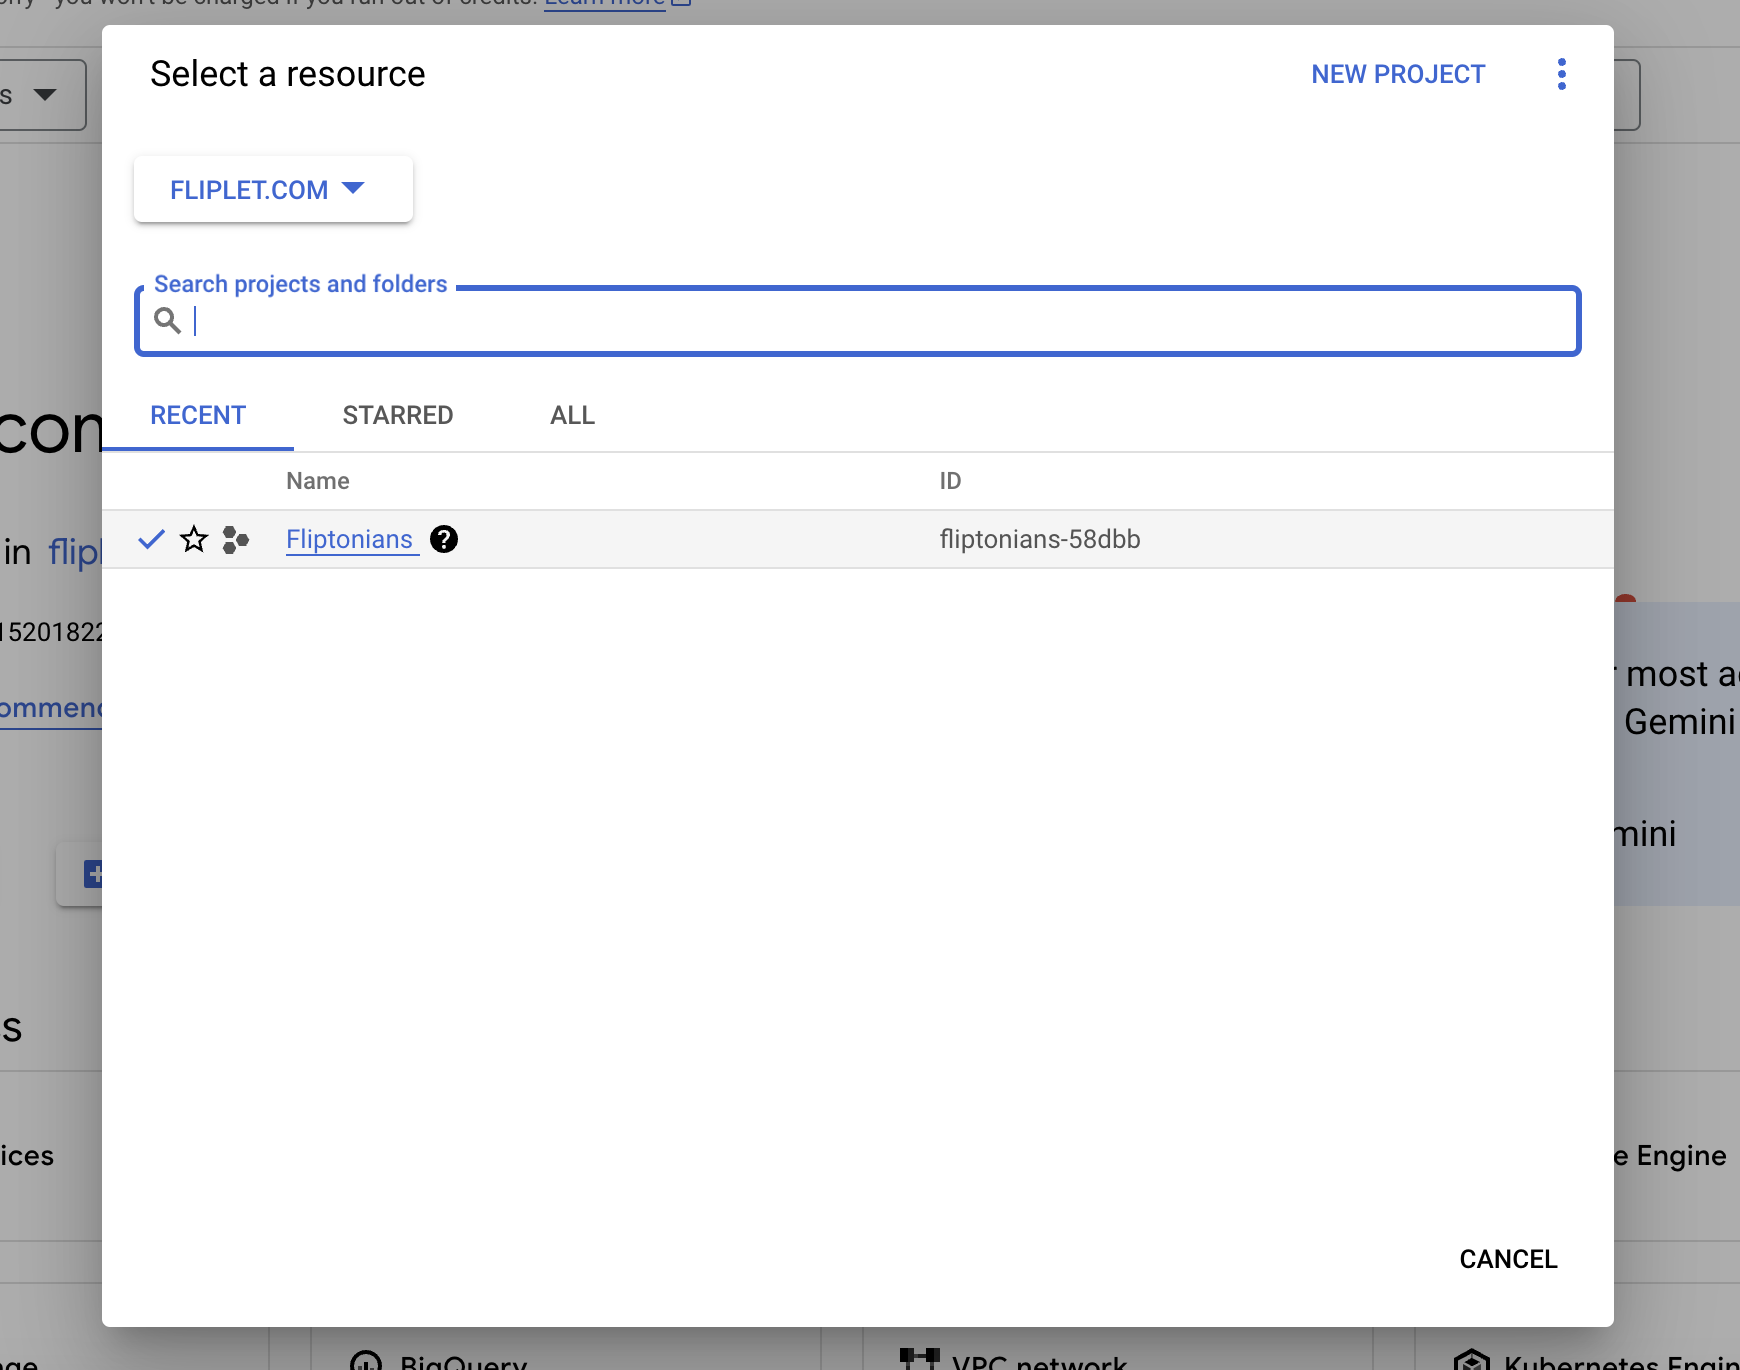
- Now, select the project that relates to your existing app from the dropdown menu
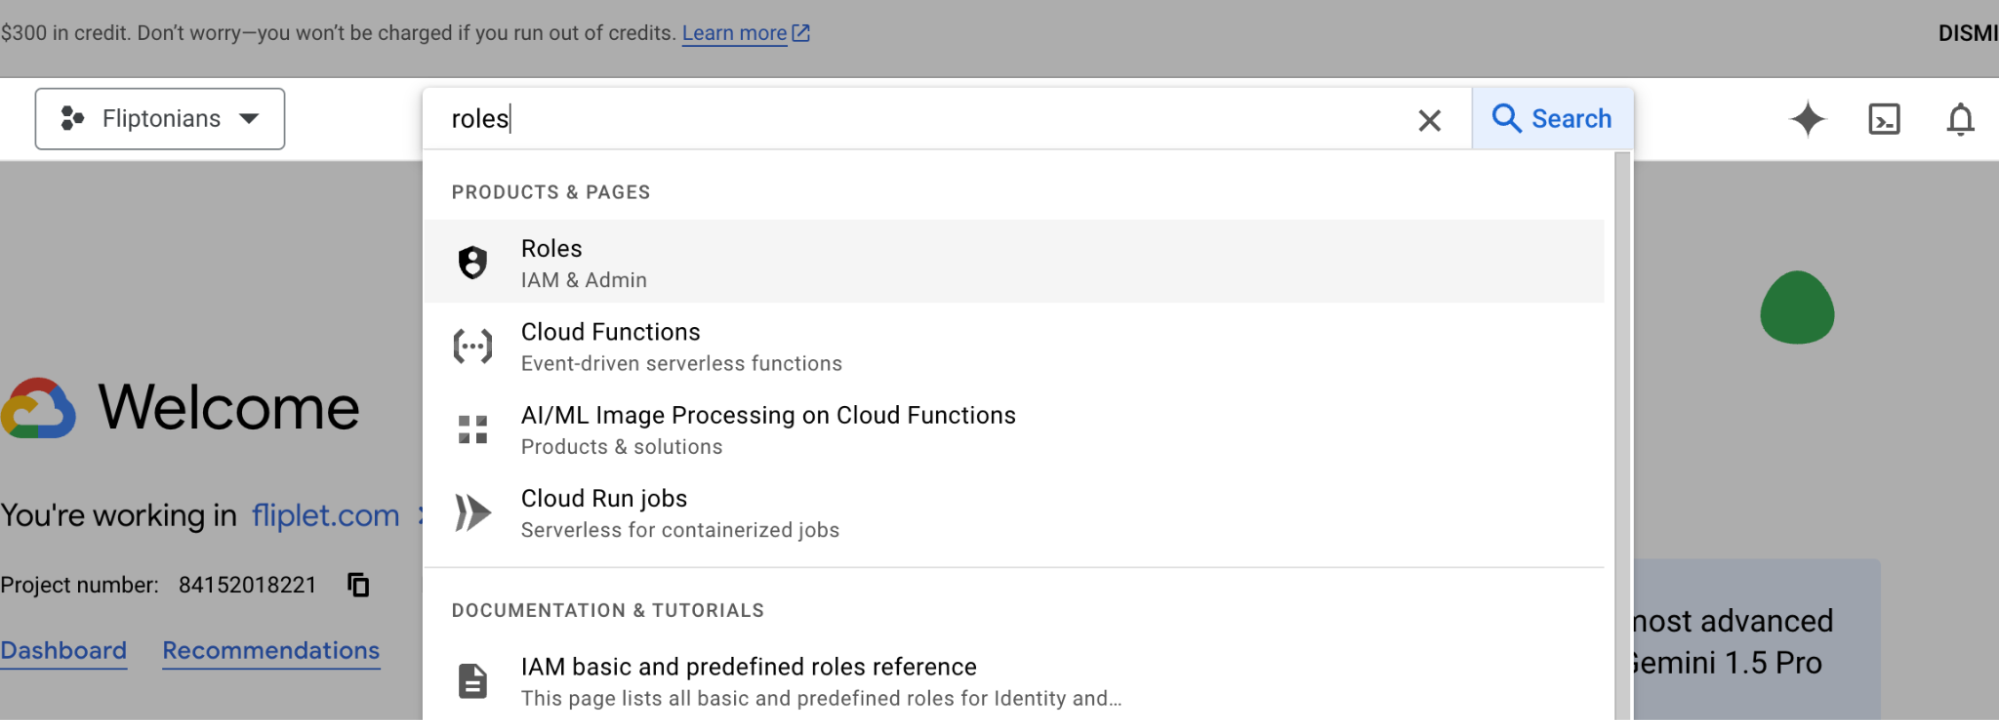
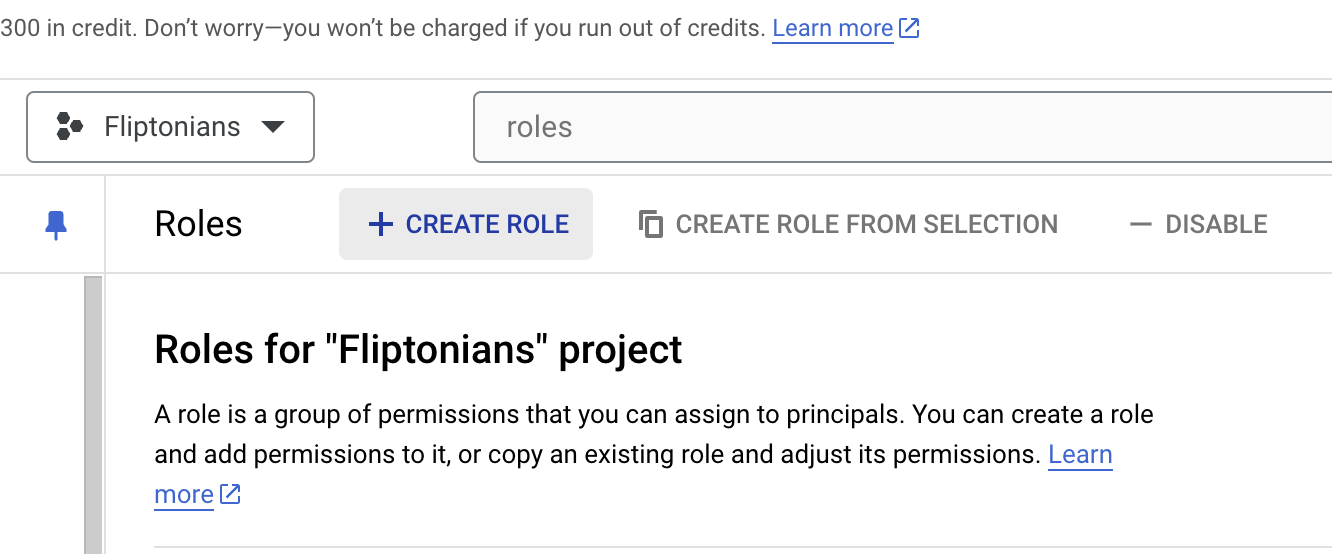
- Once you have selected the project, use the search bar to search for “roles” and select
- Now select “Create Role”
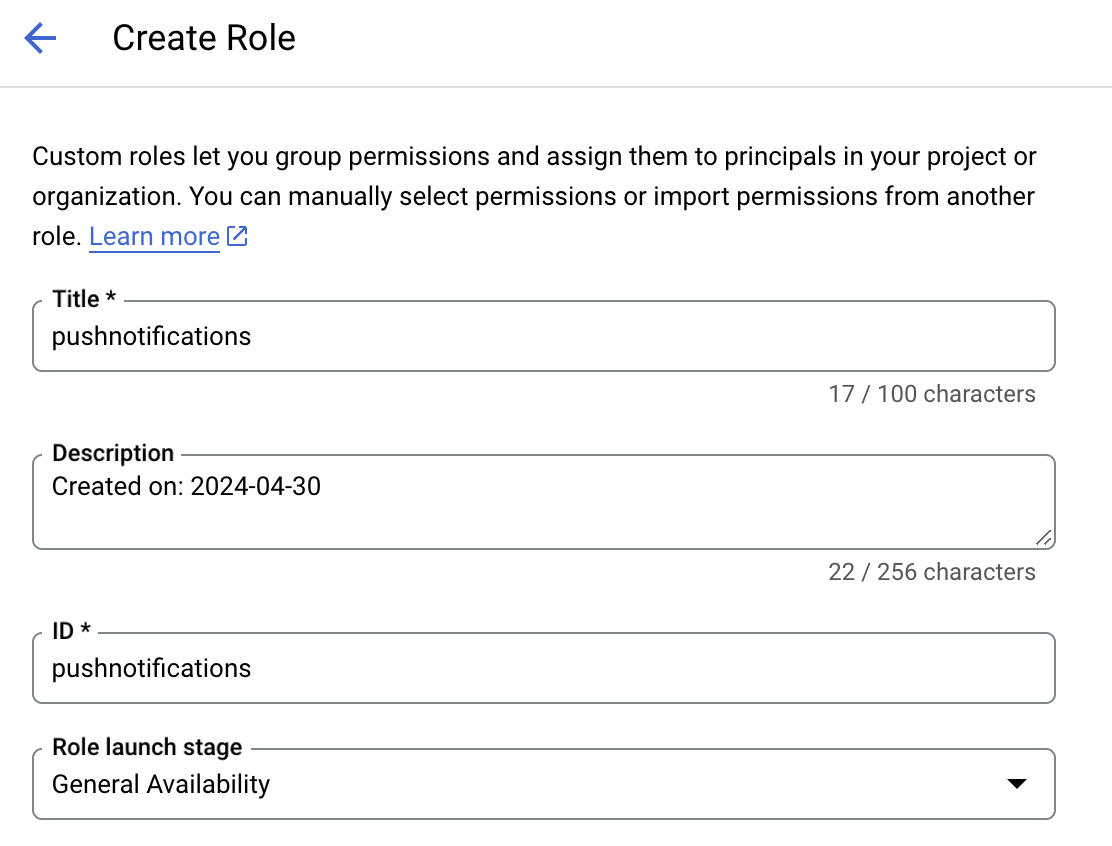
- Enter the following information in the Title, Description, ID, and Role launch stage:
Title – pushnotifications
Description – Created on “today’s date”
ID: pushnotifcations
Role launch stage – General availability
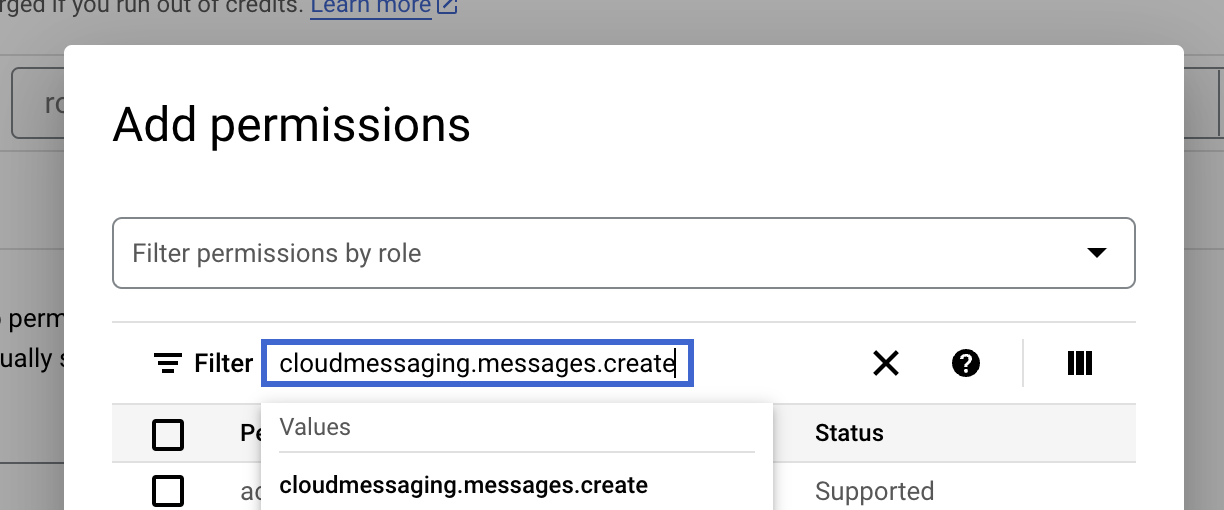
-
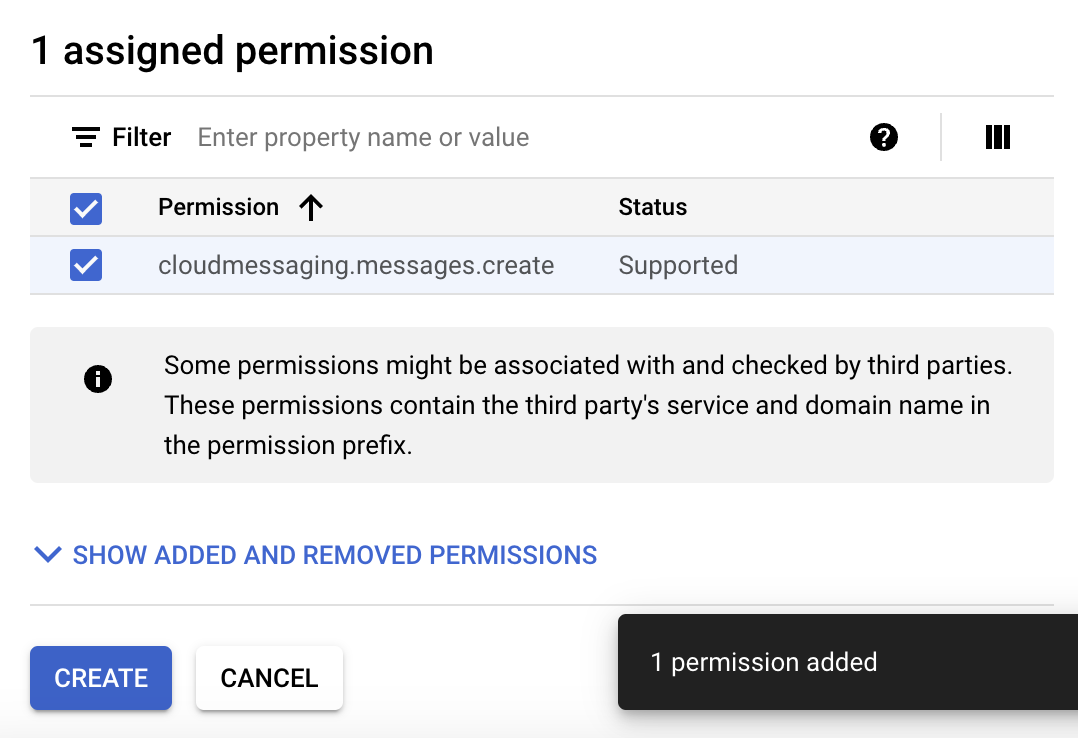
Select “Add Permissions” and filter by “cloudmessaging.messages.create”
-
Click “add” to add and save the permission
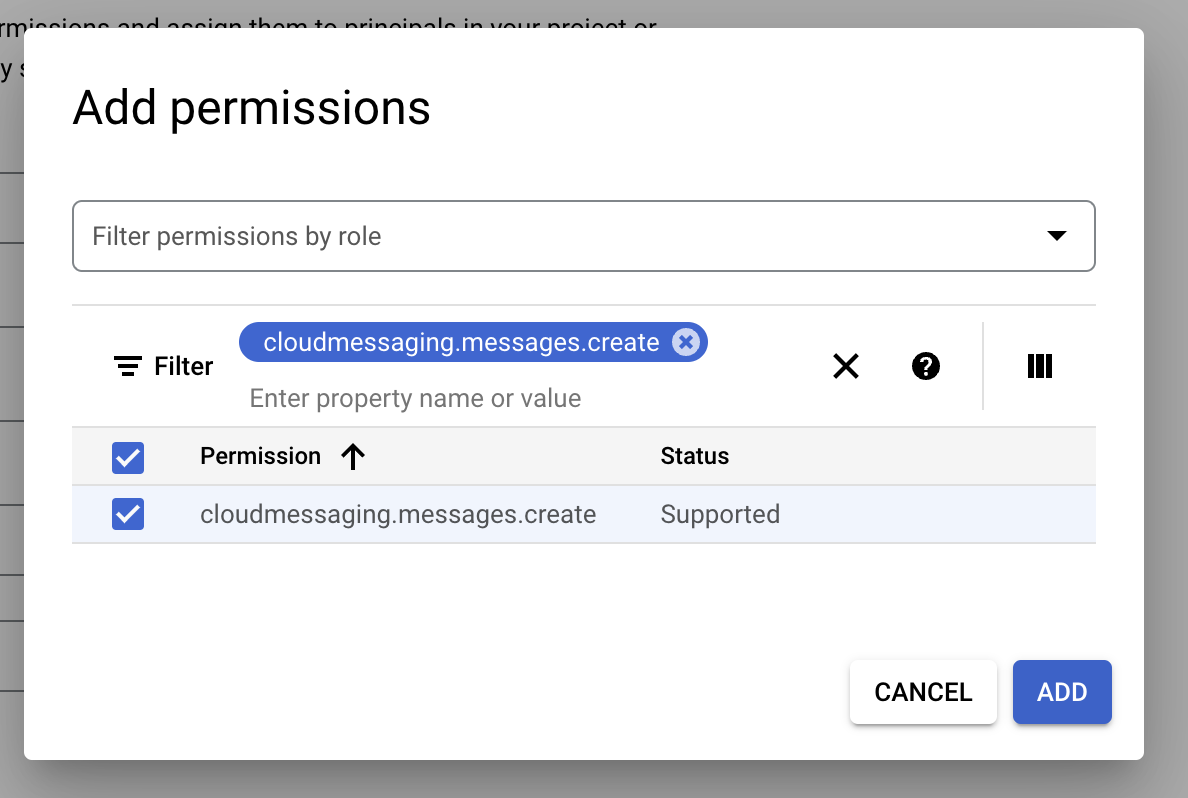
- Now, click “Create” to create the role
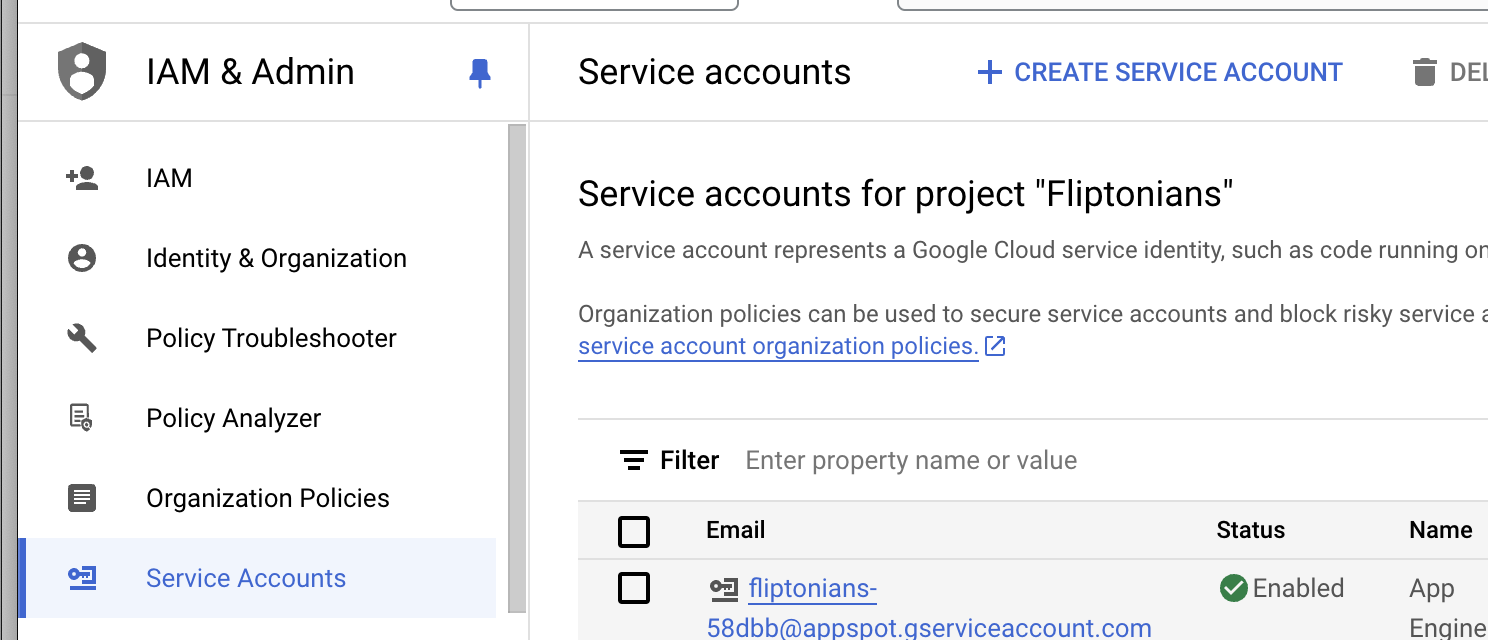
Step 3 – Create service account
-
Next, go to “Service Accounts” on the left hand side menu, and select “Create Service Account”
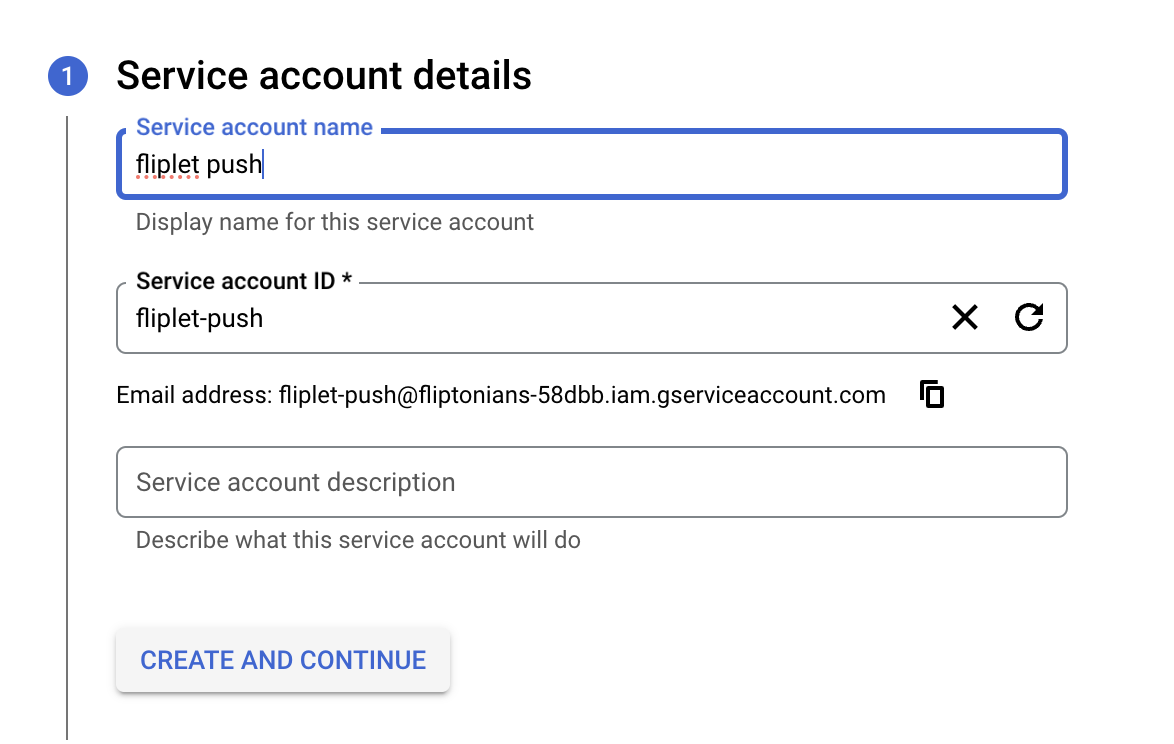
-
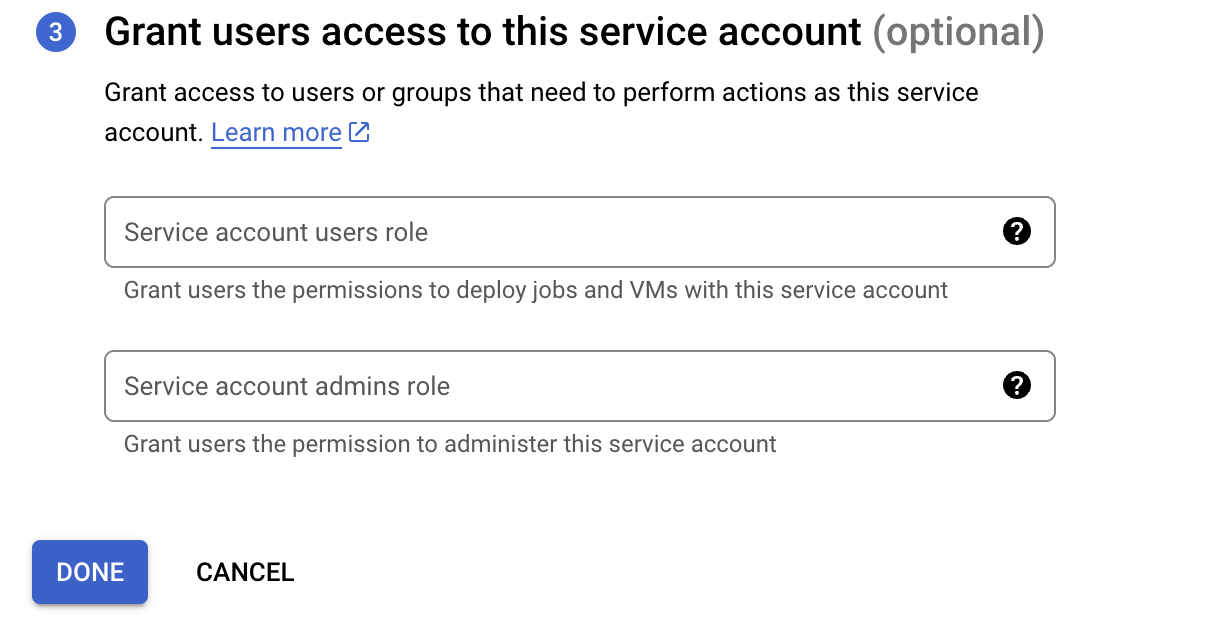
Give the service account a name and select “create and continue”
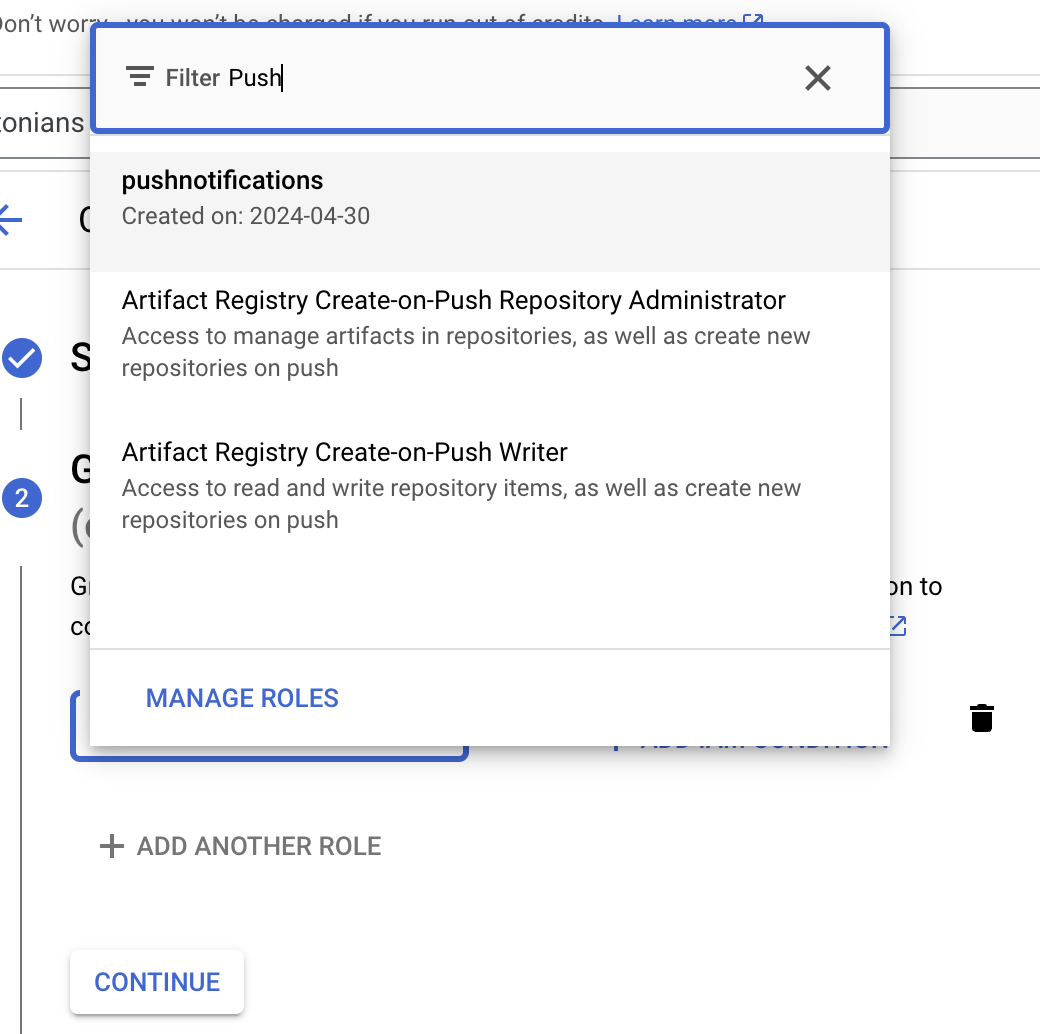
-
Under roles, search for the role you just created
- Select “done”
Step 4 – Create a new key
-
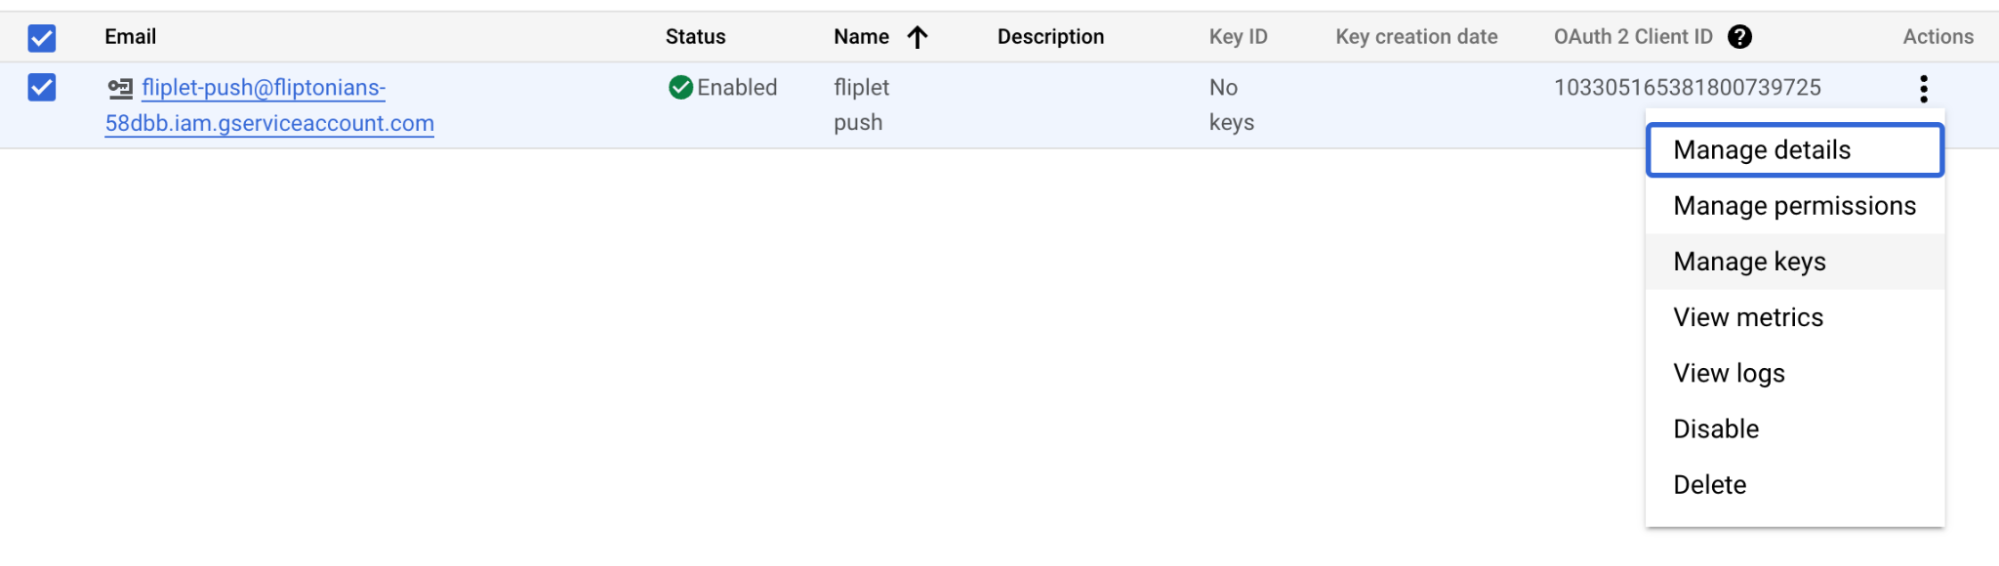
Click on the 3 dots next to the service account you named, and select “manage keys”
-
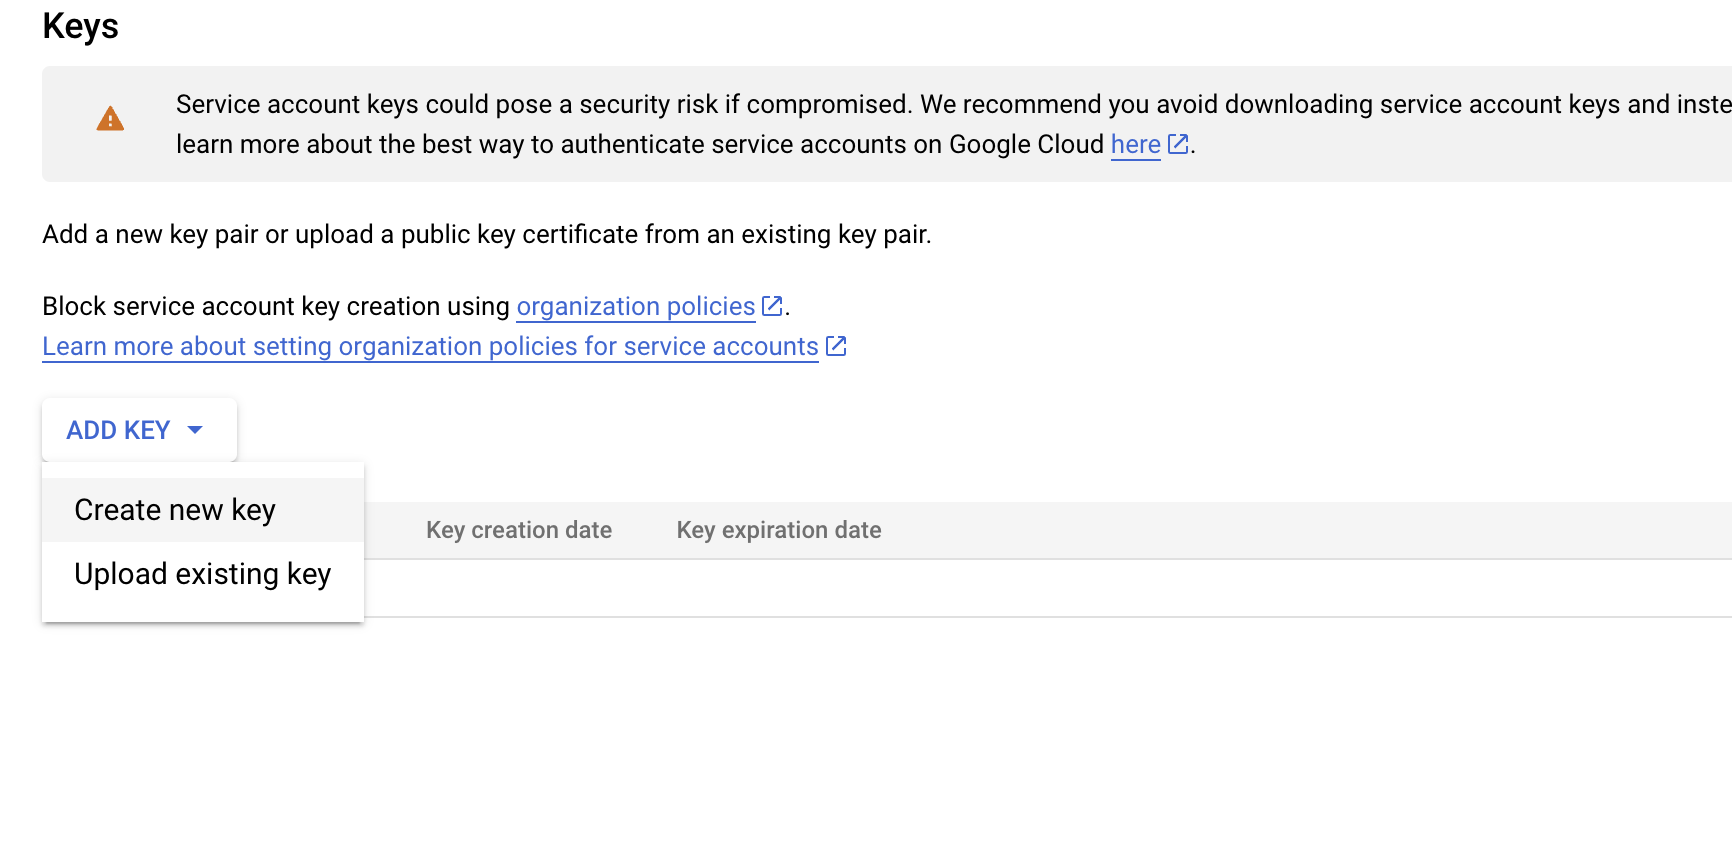
Select “Add key” and choose “Create new key”
-
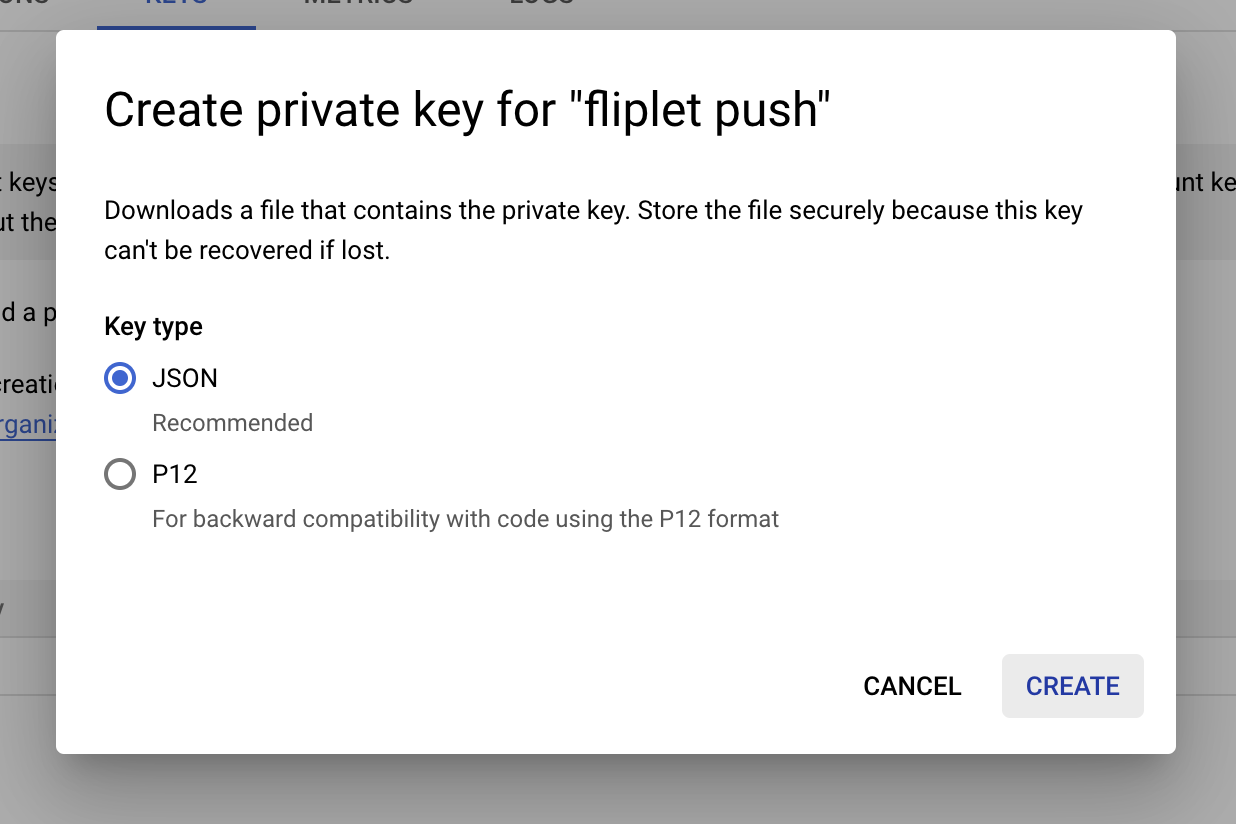
Select “JSON” and then “Create”. This will auto-download the JSON file, which you can then use to upload it into Fliplet Studio for configuring FCM notifications
Step 5 – Submit the information in Fliplet
- Open your app in Fliplet Studio
- In the top right hand corner select “publish” and choose “more publishing options”
- Select “publish to Android”
- Open the “push notifications” tab
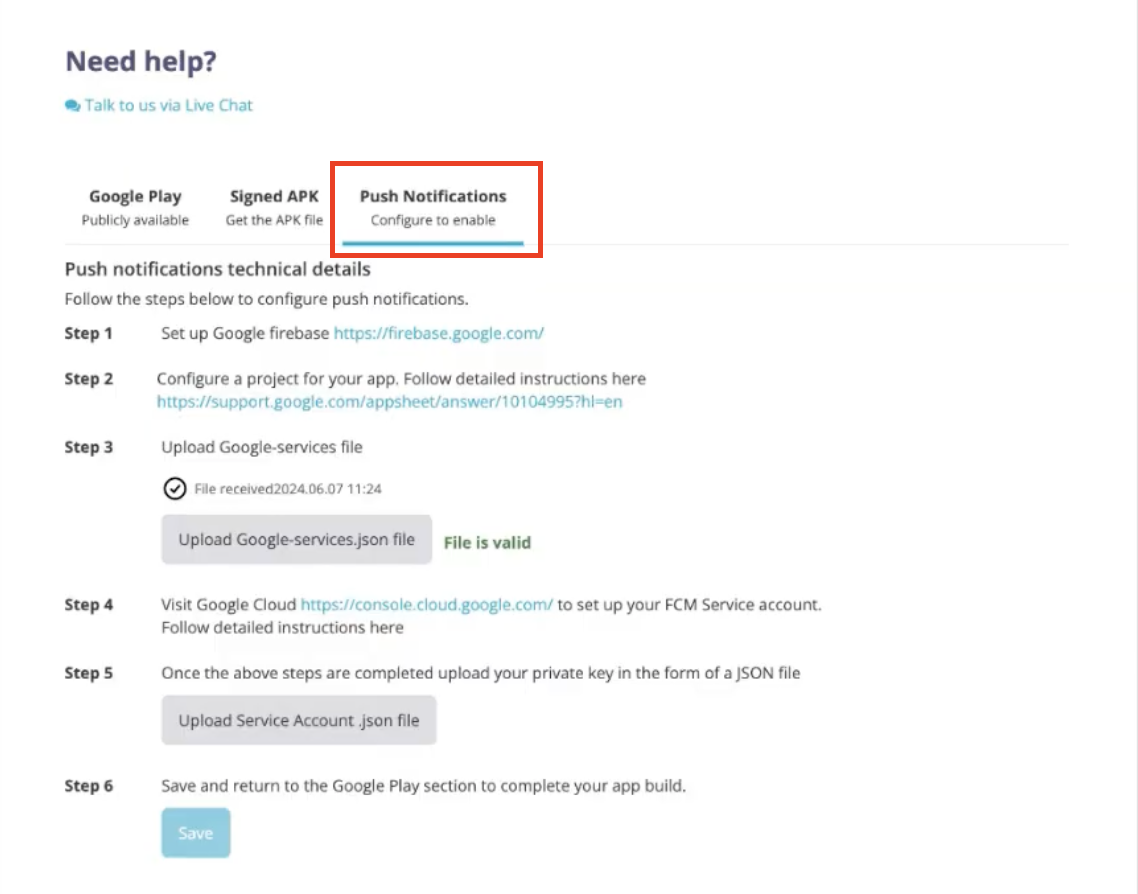
- Under “Step 3” pload the Google services file from step 1 in this article. You will see “file is valid” if the file is correct
- Under “Step 5” upload the services account file. This is the key you created in step 3 of this article. You will see “file is valid” if the file is correct
- Check your submission details
- Finally, save the updates and click “submit” to rebuild the app with the new push notification service
Related Articles