Managing screens when creating Fliplet apps
All Fliplet apps contain multiple screens with varied content, features, or components. In Fliplet Studio, your screens are listed on the left. Inside a screen, you can drag components to it and configure it in any way you want. Once you’ve created your screens, you can preview and test your app, then finally publish it.
Get Started
Why use screen templates?
Screens are the building blocks of apps. It’s important to create screens that present your app and content in the best way. There are several screen templates that will help you quickly build out a selection of screens with different designs and features.
Add new screens
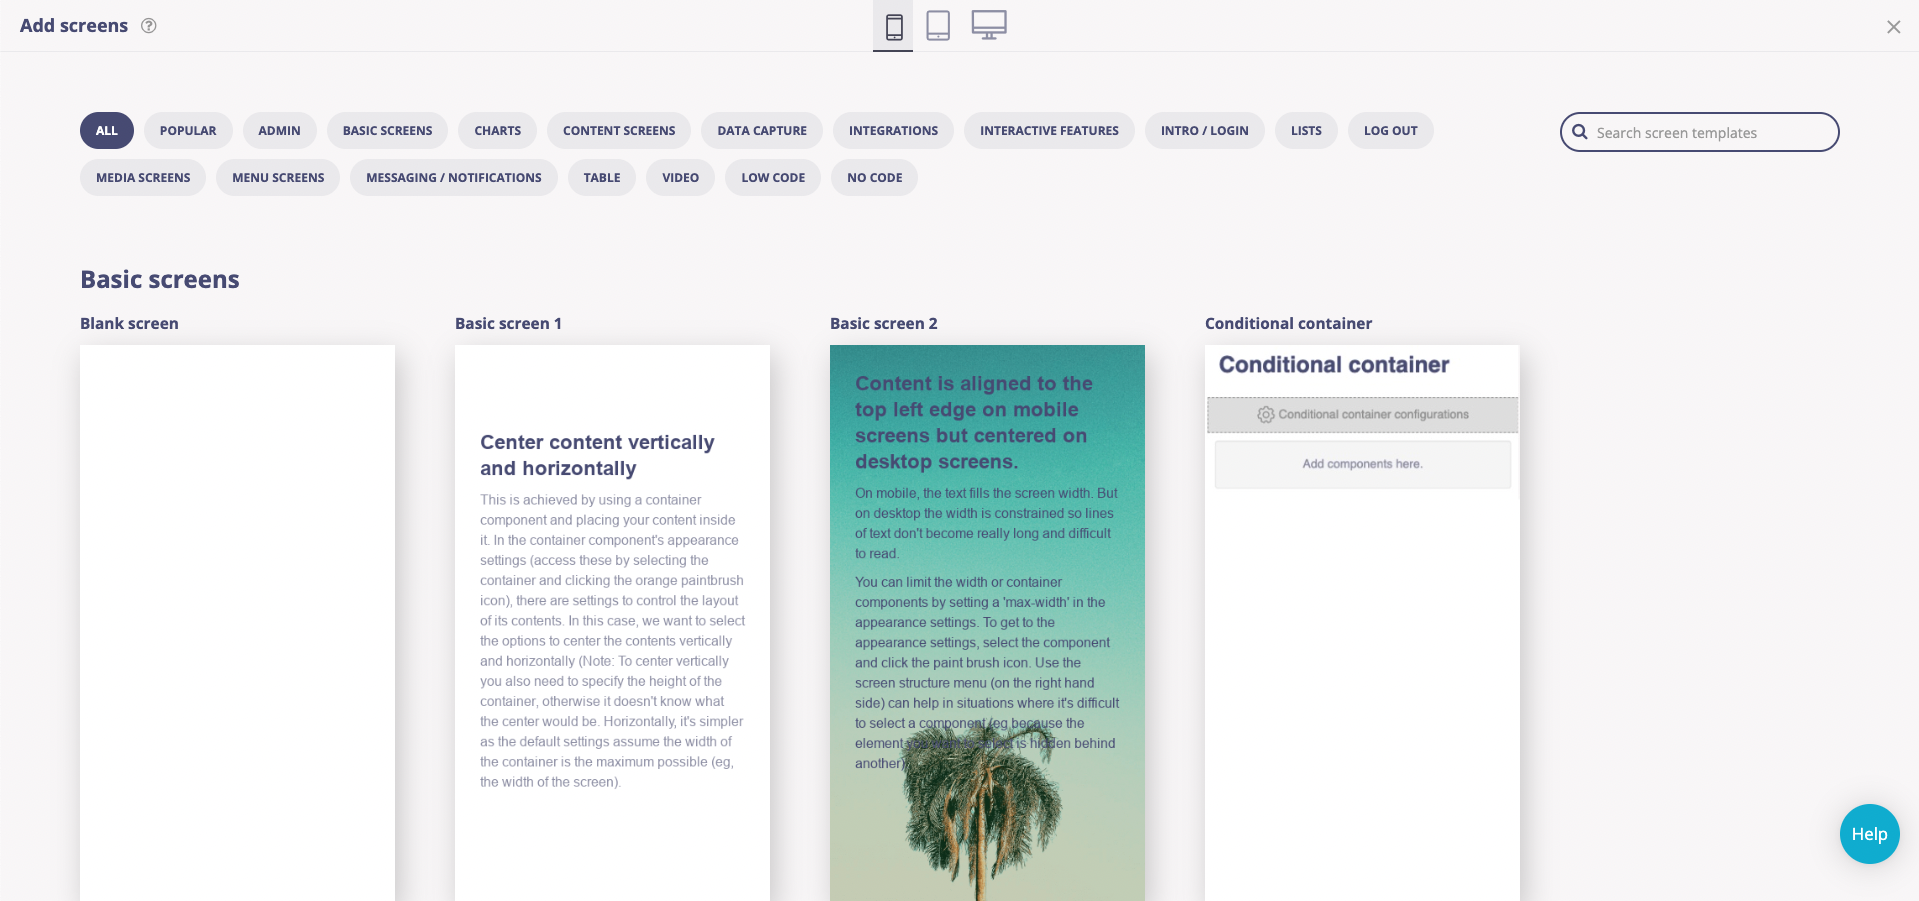
You can add one or more screens to your app anytime by clicking the “Add screen” button at the bottom of the screen list. Browse the different categories and select the one that fits your purpose. If you select one screen you will be asked to give it a name, if you select multiple a name will automatically be created which you can later change using the screen options as described below.
Some layouts are labelled as “No code” or “Low code”. If you select a screen with the label “Low code” the screen will require some minor code changes using the Developer options. You can find more information about the developer options here.
Customize the screen
Please note, that when you add a screen template it may not look like the preview on the “Add screens” page. The templates will inherit the destination app’s global appearance settings such as fonts, colors, and the button and container appearance settings.
To customize the appearance settings on this screen you can click on the individual components paintbrush icon and choose how you want them to look on your app, for example, you can add margins or padding, you can align content and change the content’s size across device types, please ensure you review the appearance settings for all device types as the content might require different appearance settings on tablet and desktop.
You can find more information on how to customize the app’s appearance settings here.
Screen options
To reorder screens, drag a screen to the preferred position on the list of screens on the left. If you’ve already created an app menu, it will affect the order of the screens, unless you use custom menu links. The topmost screen in the list is always the first screen a user sees in your app.
Hovering over the screen name on the list of screens to the left displays a gear icon, which you can then click to see all screen options below.
To check if the screen was copied, open the app you selected from the list, then look for the screen from the list of screens on the left. The new screen will be added at the bottom of the screen list.
|
Rename |
Allows renaming of the screen. When clicked, a popup window with a textbox where the new screen name can be entered is displayed. Click “Rename screen” on the pop-up window to save your changes. Note that renaming the screen does not rename it in the menu – therefore the user will not see a change. |
| Reset screen to template | Allows you to reset the screen to its initial state. Clicking this button will undo all your changes and delete any content you added. |
|
Duplicate |
Allows duplication of the screen. When clicked, a popup window with a textbox where the duplicate screen can be named is displayed. Enter a name for the duplicate screen, then click “Duplicate screen” to save your changes. The duplicate screen is displayed right below the screen from which it is based. |
|
Copy to… |
Allows the screen to be copied to a different app. When clicked, a popup window is displayed. Select the app to which the screen will be copied to from the list box, then click Copy. To check if the screen was copied, open the app you selected from the list, then look for the screen from the list of screens on the left. The new screen will be added at the bottom of the screen list. |
| Version history |
When changes are made to a screen, up to 30 recent versions are kept in the system. You can view previous versions and roll back your screen to a previous version at any time to undo recent changes. |
| Delete | Allows the deletion of the screen. When clicked, displays a confirmation message. To continue deleting the screen, click Delete screen. Otherwise, click Cancel. Note: Deleted screens can not be recovered, if you need to use a screen again you should rename it and move it to the bottom of your list rather than deleting it. |
FAQ’s
Q: Are changes made to screens saved automatically?
A: Yes, your modifications will save automatically. This means that any changes you make, whether you’re editing a template or managing the screen order, are preserved without the need for manual saving, helping prevent loss of work.
Q: How can I undo changes made to my screen?
A: Whenever modifications are applied to a screen, we retain up to 30 recent versions within the system. This means you have access to an archive of past versions. If needed, you can review these earlier versions and revert your screen to any of them at any point. This rollback capability empowers you to easily undo recent changes and restore your screen to a previous state with confidence. You access the version history when in Edit mode. Find the screen in the list on the left hand side, click the settings cog and chose “version history”. Here you will be able to preview old versions and restore them
Q: Can I recover deleted screens?
A: Fliplet does not have an undo feature or a way to recover deleted screens. So, when it comes to screens you no longer need, it’s wise to follow the naming and grouping suggestions mentioned earlier. Consider labeling such screens with prefixes like “OLD” or “DEL” to signify their status. Only proceed with deleting screens when you’re absolutely certain you won’t need them again. This precaution helps avoid accidental deletions and ensures a smoother management process for your app
Related Articles