The food ordering solution is designed to make it easy for businesses to take food and drink orders and meet government requirements.
This app provides you with the ability for your customers to make contactless orders via scanning a QR code. Users can browse the menu to order food and drinks.
It allows simple product management for admin users and contact tracing that securely records customer data and meets privacy laws.
The food ordering solution can be configured to allow you to create a bespoke app that reflects your specific business needs. The purpose of this article is to provide you with a view of the screens that form the application and provide you with an understanding of the configuration opportunities that exist within the app.
Screens for all users
Admin Screens
- Admin – Login
- Admin – Menu
- Admin – Orders List
- Admin – Manage Product
- Admin – Contact Tracing
- Admin – Print instructions
Screens for all users
-
Browse Menu
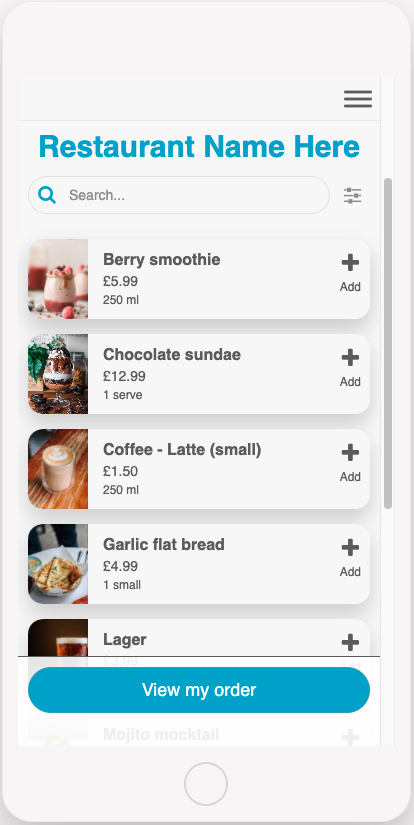
This screen can be used by customers to browse, search and filter the restaurant menu. Users can add items to their order and view an order summary on the next screen before submitting the order.
This screen can be configured to display your specific restaurant branding and any menu items required.
This screen uses the list from data source component, learn more here. -
Order Food
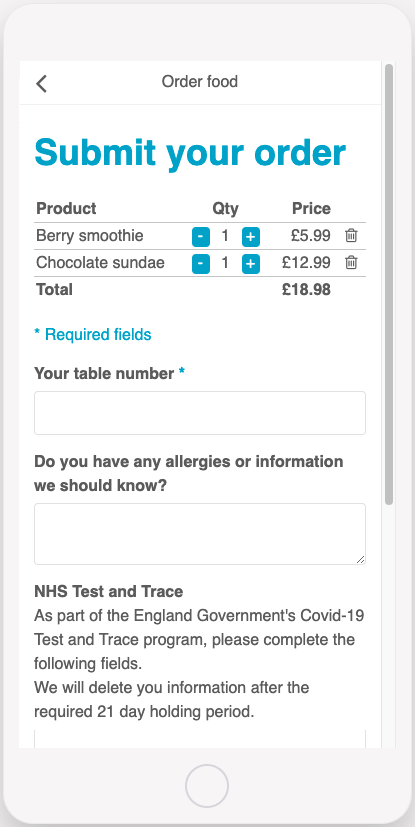
This screen is used by customers to review their orders and make any changes before submitting them.
This screen can be configured to include any form fields required before the customer can submit the order.
The screen uses the form component, learn more here. -
Order Confirmed
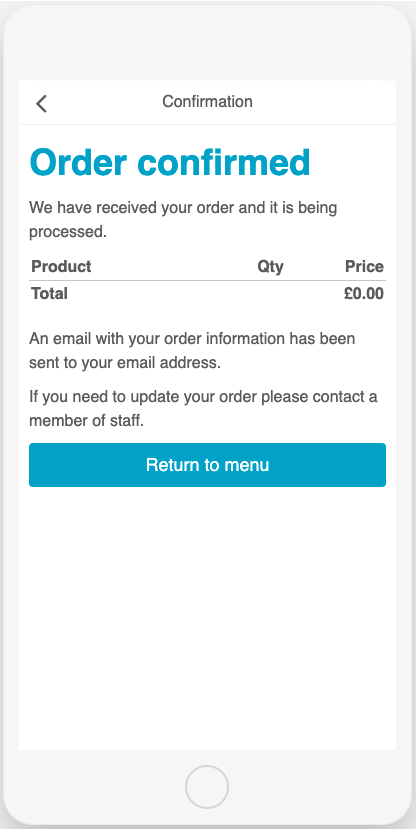
This screen will be displayed once the order is placed and confirmed.
This screen can be configured to display any detail necessary and is configured from the form settings on the order food screen.
Admin Screens
-
Admin – Login
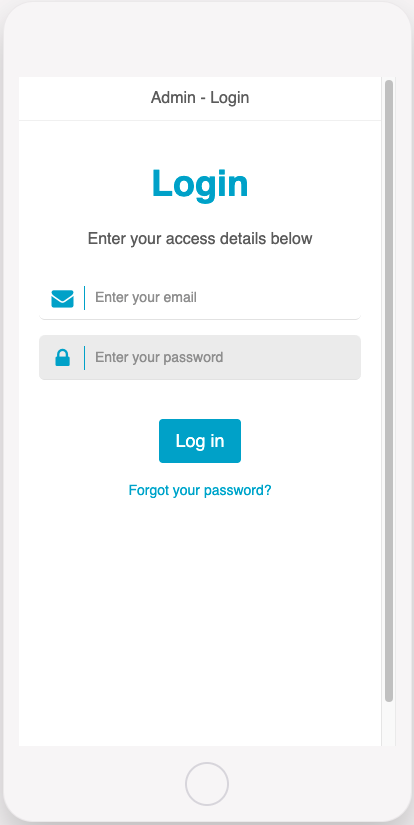
This screen provides a login for admin users to access the administrative screens such as managing products and viewing all orders.
This screen uses an email and password to authenticate the user.
This screen uses the login component, learn more here. -
Admin – Menu
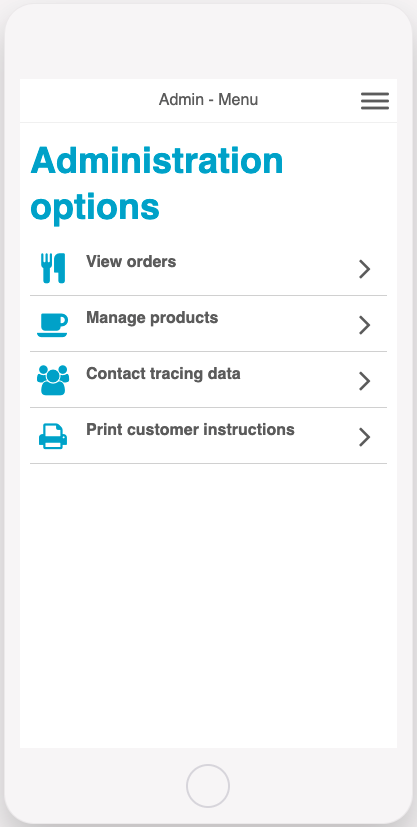
This screen allows the admin users to navigate the admin options.
This can be configured to display links to any admin screens you want to include.
This screen uses the list component, learn more here. -
Admin – Orders List
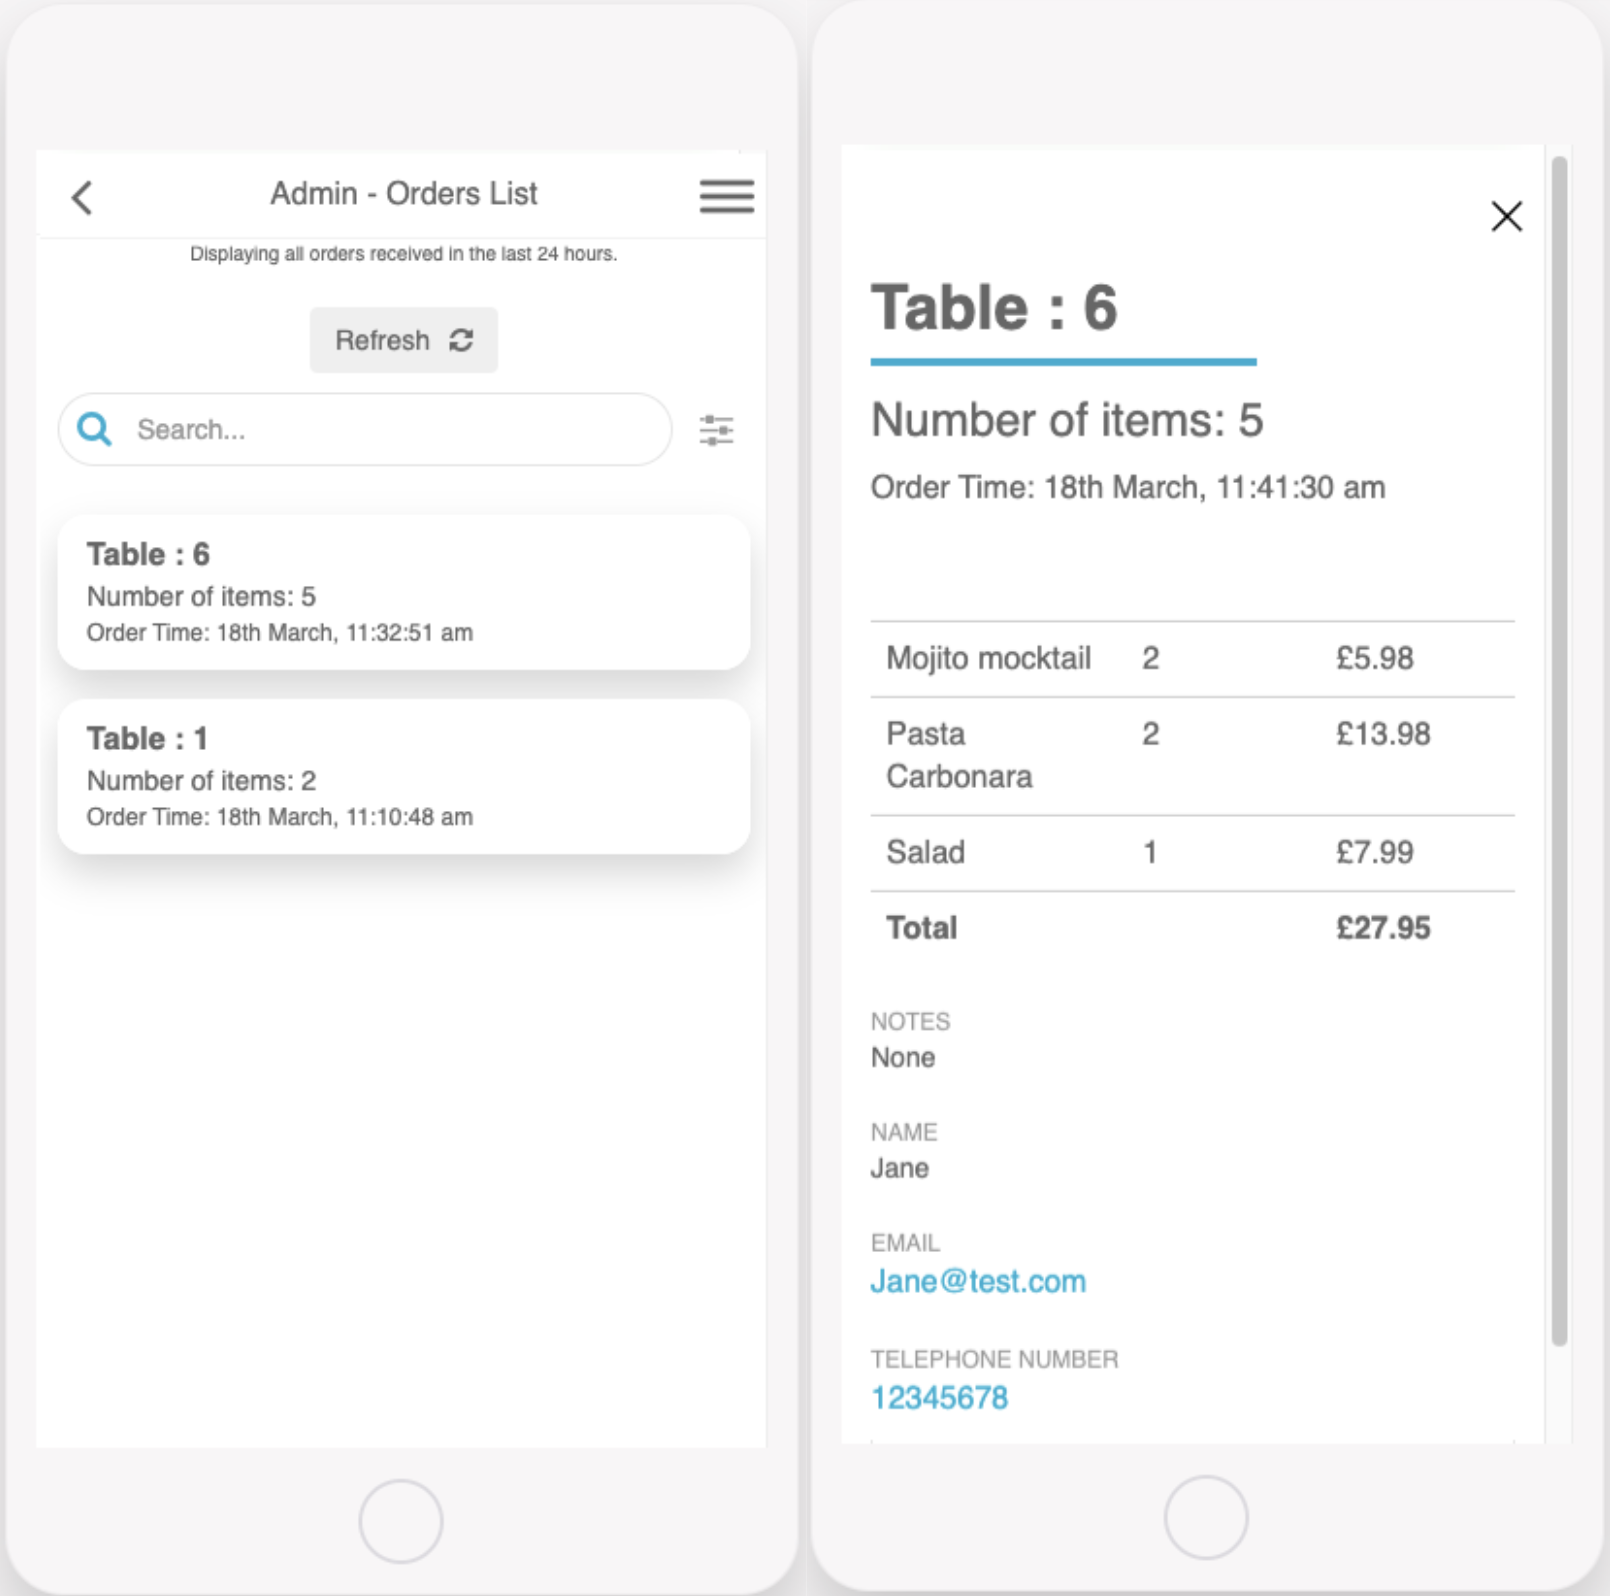
This screen will display all orders made from the menu. It is designed to be displayed on an iPad or computer so that restaurant staff can see when a new order is received.
The app will check for new orders every minute, if there are new orders the screen will play a sound and flash. A “new orders found” message will also be displayed. To view the latest orders tap refresh and the screen will update.
Select ‘Complete’ or ‘Declined’ within each order to change its status and track an order’s status.
This screen can be configured to display all of the order details you require.
This screen uses the list from data source component. See more here. -
Admin – Manage Product
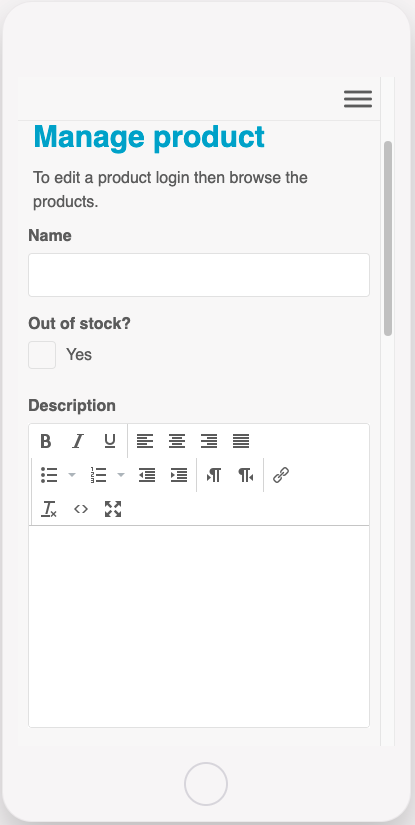
This screen can be used by admins to add new products to the menu.
To update existing products, including setting an item out of stock, use the browse menu screen to select the item and click edit to be redirected to this form to update the item.
This screen can be configured to include any fields required for the menu.
This screen uses the form component, see more here. -
Admin – Contact Tracing
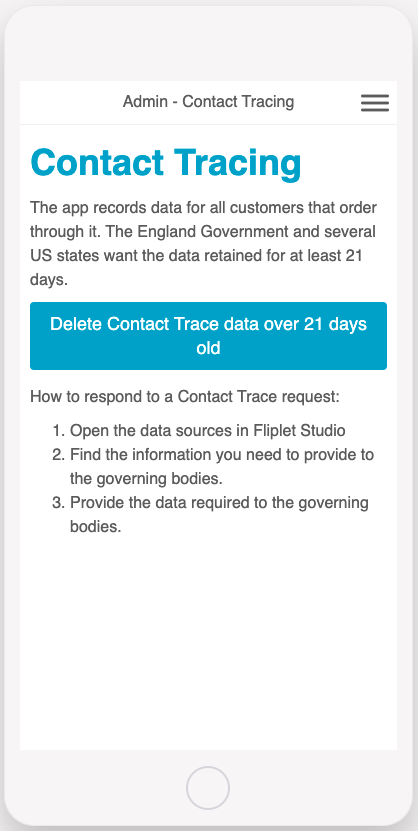
This screen allows you to remove contact tracing data that is gathered with customer orders.
The button will automatically delete any data older than 21 days. -
Admin – Print Instructions

This screen will print a QR code that customers can scan to begin using the app.
The QR code will launch a web app in a browser which can then be used to order food.
If you have any questions please contact Fliplet via live chat within Fliplet Studio or email support@fliplet.com
Related Articles