The Studio notifications functionality is divided into three distinct components:
Web browser push notifications
To enable notifications you must first do this inside your Fliplet Studio account. Use the banner across the top of the screen to activate push notifications to enable receiving test notifications and updates from the Fliplet team.
First, select “Enable notifications and your browser will request permission to activate push notifications to complete the subscription process. Once this action is completed, the banner will no longer be displayed.
Alternatively, if you do not wish to enable notifications, you can dismiss the banner.
To unsubscribe from the Studio push notifications you can do so by following the below instructions:
- Click my account on the home page of Fliplet Studio
- Choose “Account settings”
- Under the “Details” tab you will see the option to “Turn off Fliplet Studio Push Notifications”
Studio Notifications inbox
The Studio notifications inbox can be accessed by selecting the bell icon in the top right of the screen.
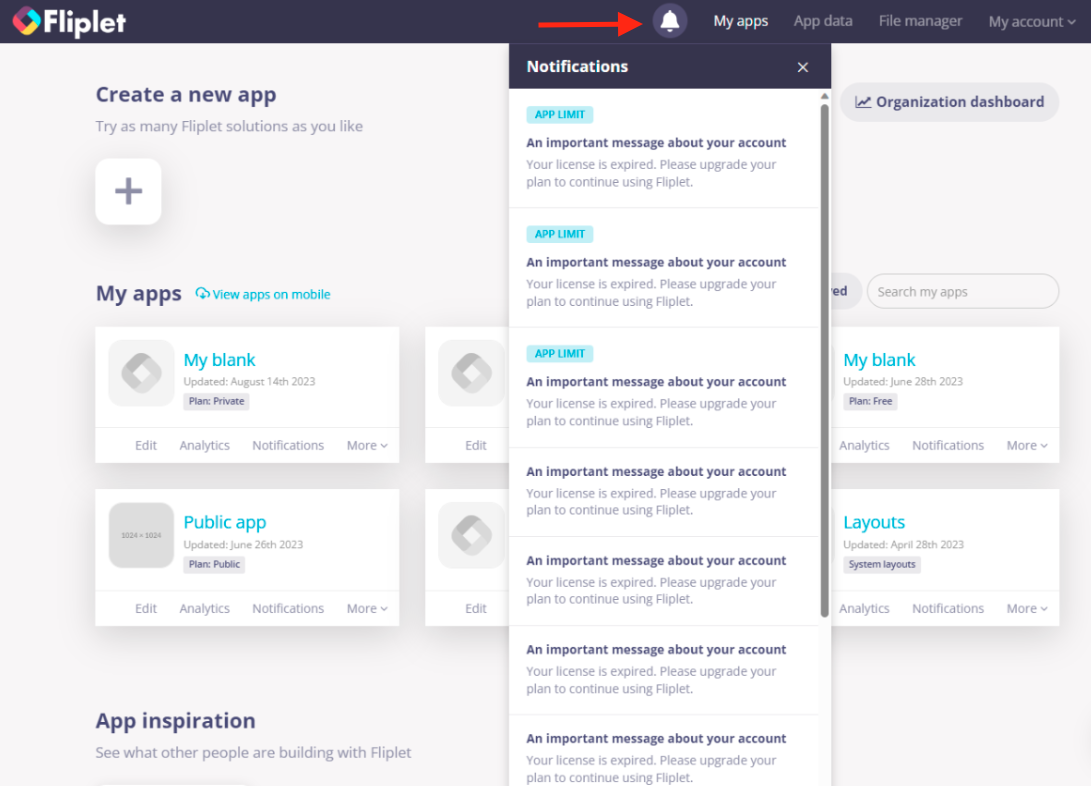
The notifications inbox will display the 20 most recent notifications. To view any additional notifications click more.
Notifications are marked as read once you close the notifications inbox by clicking the ‘X’ button.
App preview notifications
When in preview mode, you can enable push notifications for the app to facilitate testing app notifications directly in Studio.
To enable notifications, switch to preview mode and toggle the “push notifications” button shown below.
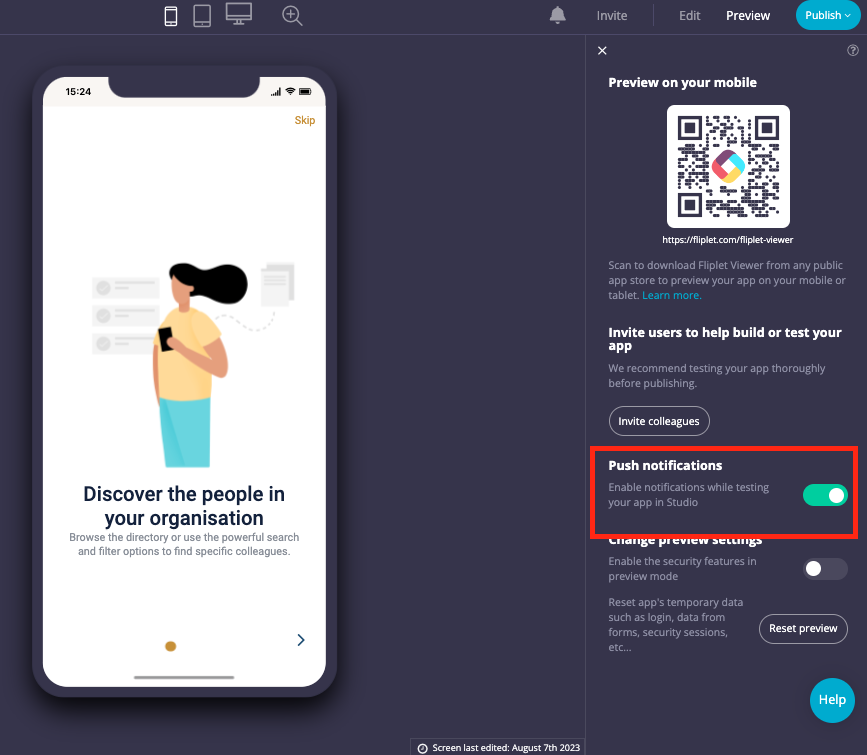
Notifications sent using the notifications component in Fliplet Studio will be shown in the app’s notifications inbox.
To learn more see the notifications article above.
Related Articles