The Data capture solution enables you to quickly create 5 app types, with access to a dashboard screen with the data collected from your users via the app. These are the app types included in the solution:
Note taking
With a note taking app your users can quickly take simple notes of any type, and attach images and files to each note. Your users will also be able to see a report of their notes on the Dashboard screen.
Medical notes
Using the Medical notes app type, you enable your users to track their medication, quantity, and frequency of administration.
Journaling
With the Journaling app type, your users can write about their day, and what’s going on in their minds, and you can even encourage them to be more mindful as journaling has been proven to help regulate one’s emotions.
Fitness tracking
Anyone into fitness will want to track their exercises and progress; with this app type your users will be able to do both of those things and attach images of their exercises with each entry.
Surveys
The Surveys app type enables you to collect any type of data from your users. In this app solution we provide you with an example of a feedback survey, you can add to it and create new surveys.
The purpose of this article is to provide you with a view of the screens that form the application and give you an understanding of the configuration opportunities within the app. One important thing to note here is that regardless of which type of app you’re building with the Data Capture solution are the data source security rules. You are able to choose which type of user can read, add or edit the data. You can find more information on this here.
App screens list
- Onboarding
- Terms
- Login
- Registration
- Home
- Content screen 1 and Content screen 2
- Notes – List
- Notes – Input
- Medical notes – List
- Medical notes – Input
- Journal (Free form) – List
- Journal (Free form) – Input
- Journal (Structured) – List
- Journal (Structured) – Input
- Fitness tracking – List
- Fitness tracking – Input
- Feedback
- Profile
- Notifications
- Dashboard
App screens
- Onboarding
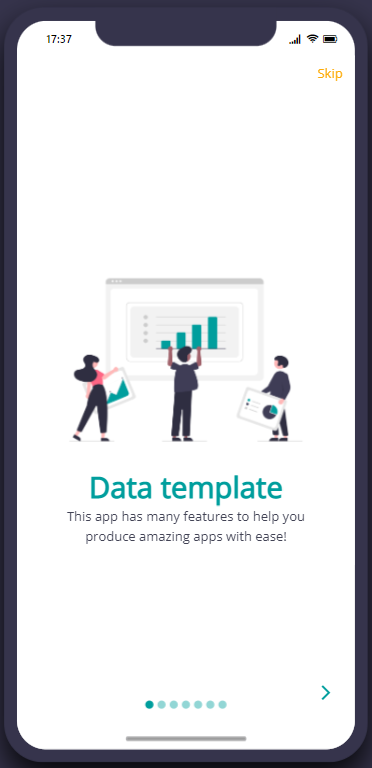
This screen introduces the user to the app and the various functions that it provides.
This screen can be configured to display on the first use of the app only, and a skip link.
You can configure the number of slides to display and the text and imagery can be changed to create your desired look.
This screen uses the onboarding component, learn more here. - Terms
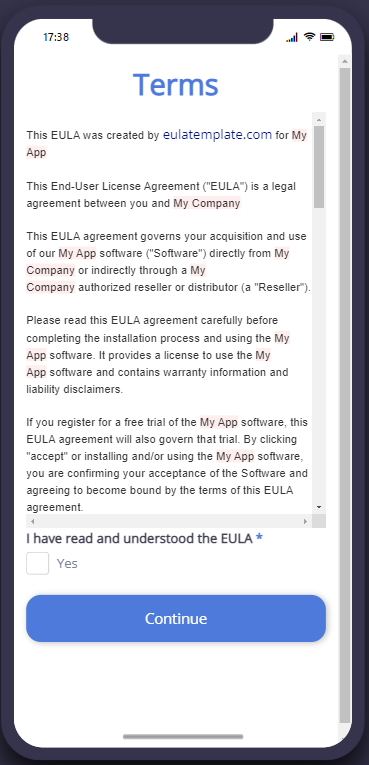
This screen will display the “terms of use” text and will be shown only the first time a user opens the app.
The text displayed should be amended to reflect the terms required for your app.
This screen uses the text component, learn more here. - Login
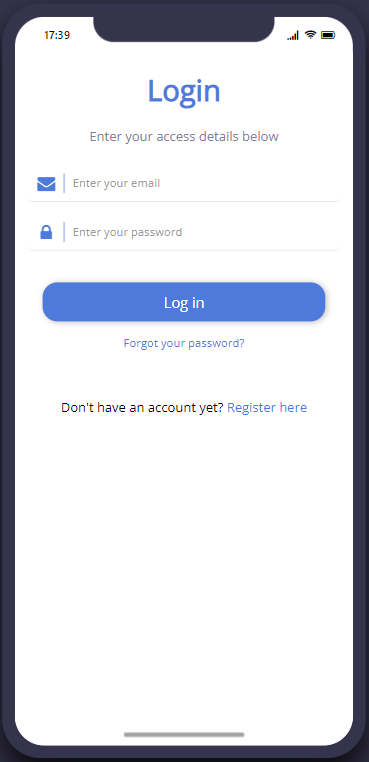
This screen provides security for the app allowing access to only registered users.
This screen can be configured to reflect your security preferences. Login can be via email and password or email only.
Logging in will also define the user and ensure the correct permissions are shown per user.
Click to learn more about the login component. - Registration
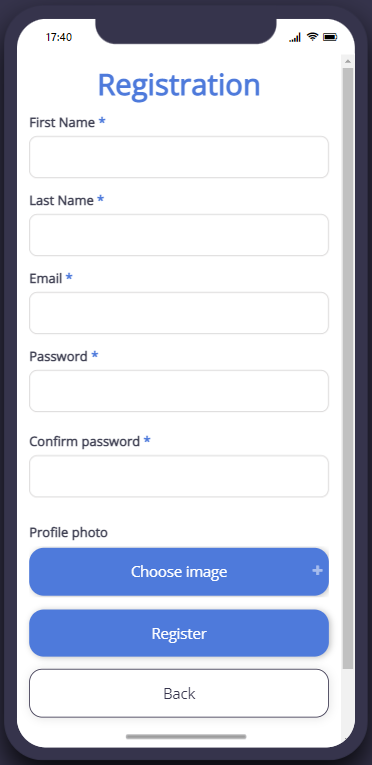
This screen provides the ability for users to register for access to the app, simply delete the screen if you do not want to enable self-registration.
This screen can be configured to include any signup requirements needed by adding or removing form fields.
This screen uses the form component, learn more here. - Home
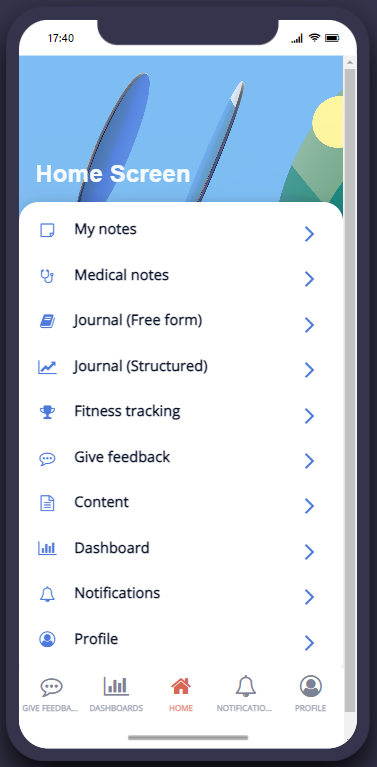
The home screen is where users will be taken once logging in. Here users can see menu options, such as the different app types, content screens, dashboard, and more.
The menu options can be configured to include links to any required pages.
This screen uses the list (small thumbnails) component, learn more here. - Content screen 1 and Content screen 2
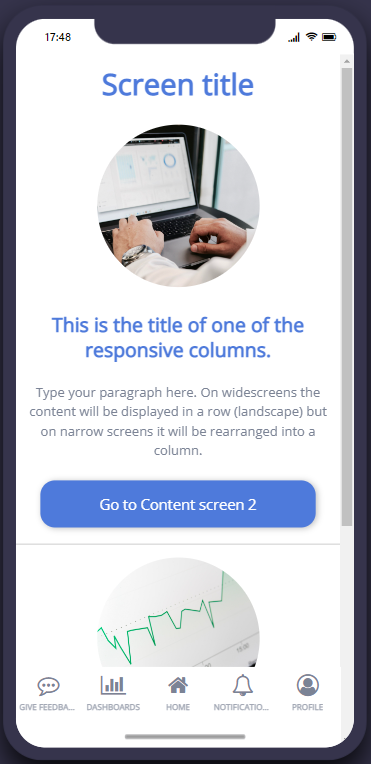
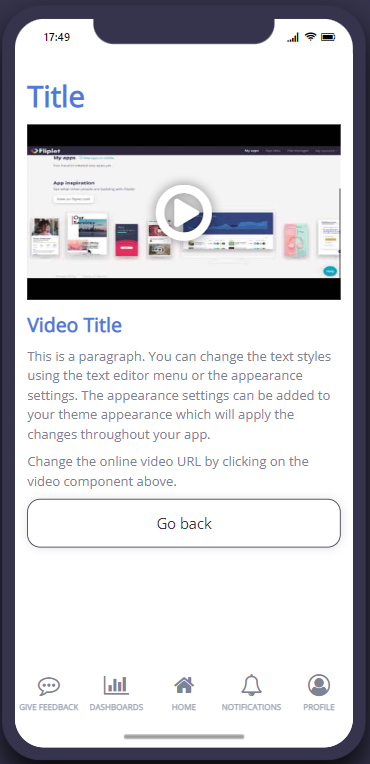
The content screens are static screens that can be configured to have any type of information required.
These screens use a combination of container, image, text, and button components. Click on each link to learn more. - Notes – List
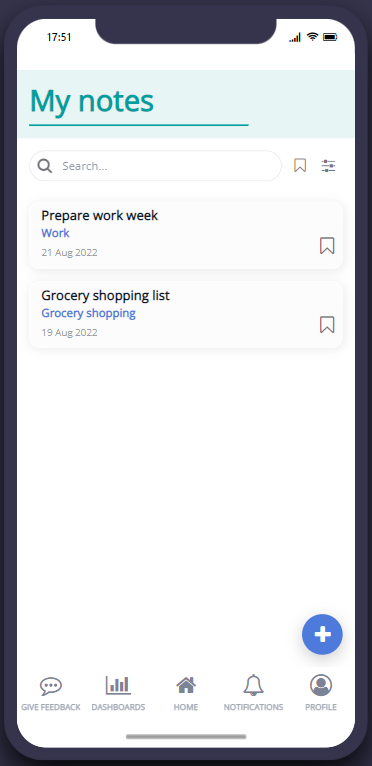
This screen will list the logged in user’s notes.
Users can add new notes by clicking the plus button, and edit or delete existing ones by clicking the note.
This list is private to the logged in user, meaning that users can only see their own notes.
Users can filter the list by category, tags, and date. Filters can be configured in the list from data source settings.
This screen uses the list from data source component, learn more here. - Notes – Input
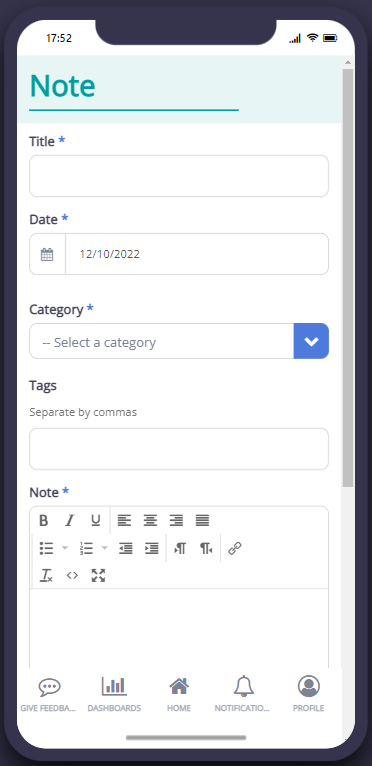
Users will be taken to this screen when clicking the plus button on the “Notes – List screen”.
The form enables users to add a new note or edit an existing note on this screen.
The note will be visible only to the user that created it.
Each note field can be configured in the form settings, and more fields can be added as necessary.
This screen uses the form component, learn more here. - Medical notes – List
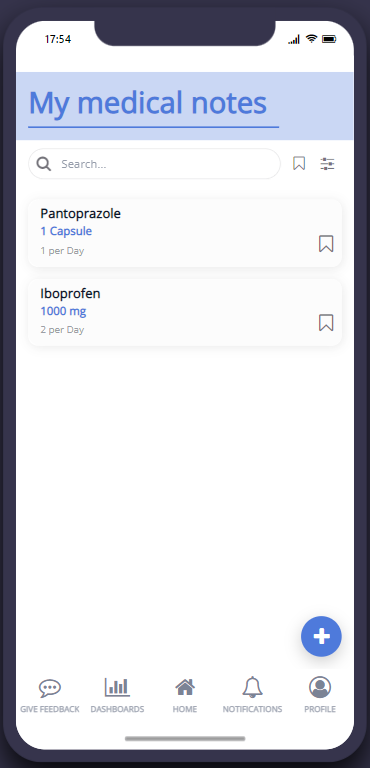
This screen will list the logged in user’s medical notes.
Users can add new notes by clicking the plus button, and edit or delete existing ones by clicking the note itself.
This list is private to the logged in user, meaning that users can only see their own notes.
Users can filter the list by clinical condition, tags, dose unit, Frequency unit, Start date, and Finish date. Filters can be configured in the list from data source settings.
This screen uses the list from data source component, learn more here. - Medical notes – Input
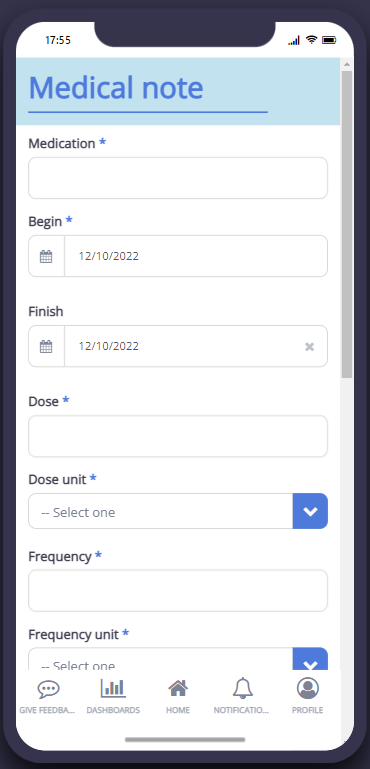
Users will be taken to this screen when clicking the plus button on the Medical notes – List screen.
The form enables users to add a new note or edit an existing note on this screen.
The note will be visible only to the user that created it.
Each note field can be configured in the form settings, and more fields can be added as necessary.
This screen uses the form component, learn more here. - Journal (Free form) – List
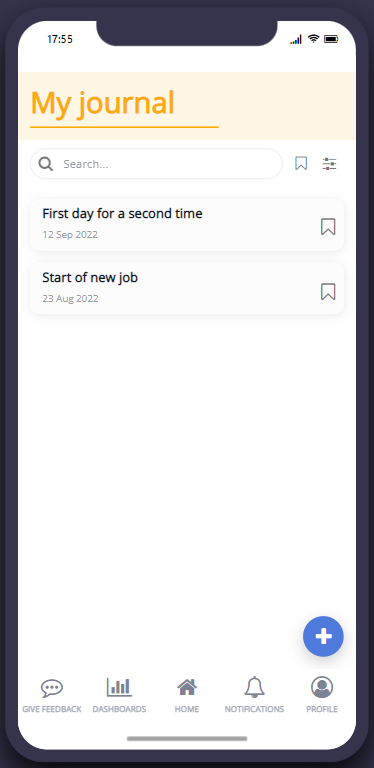
This screen will list the logged in user’s journal entries.
Users can add new entries by clicking the plus button, and edit or delete existing ones by clicking the journal entry.
This list is private to the logged in user, meaning that users can only see their own journal entries.
Users can filter the list by tags and dates. Filters can be configured in the list from data source settings.
This screen uses the list from data source component, learn more here. - Journal (Free form) – Input
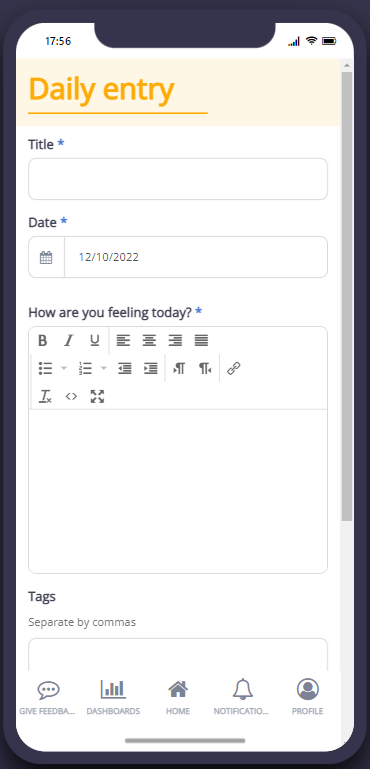
Users will be taken to this screen when clicking the plus button on the “Journal (Free form) – List” screen.
The form enables users to add a new journal entry or edit an existing entry on this screen.
The journal entry will be visible only to the user that created it.
Each field can be configured in the form settings, and more fields can be added as necessary.
This screen uses the form component, learn more here. - Journal (Structured) – List

This screen will list the logged in user’s journal entries.
Users can add new entries by clicking the plus button, and edit or delete existing ones by clicking the journal entry.
This list is private to the logged in user, meaning that users can only see their own journal entries.
Users can filter the list by “what emotions are you experiencing?”, “How would you rate your day?” and date. Filters can be configured in the list from data source settings.
This screen uses the list from data source component, learn more here. - Journal (Structured) – Input
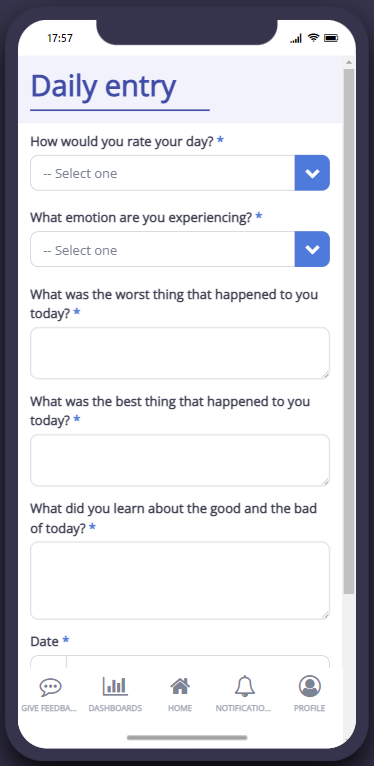
Users will be taken to this screen when clicking the plus button on the “Journal (Structured) – List” screen.
This screen is meant to have the questions you want your users to answer to allow them to rate and reflect back on their day.
The form enables users to add a new journal entry or edit an existing entry on this screen.
The journal entry will be visible only to the user that created it.
Each field can be configured in the form settings, and more fields can be added as necessary.
This screen uses the form component, learn more here. - Fitness tracking – List
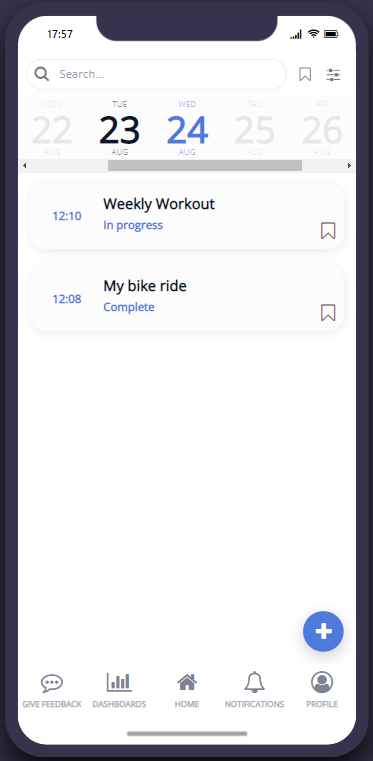
This screen will list the logged in user’s training entries and will display them in a daily calendar view.
Users can add new entries by clicking the plus button, and edit or delete existing ones by clicking the training entry.
This list is private to the logged in user, meaning that users can only see their own entries.
Users can filter the list by exercise type, progress, and date. Filters can be configured in the list from data source settings.
This screen uses the list from data source component, learn more here. - Fitness tracking – Input
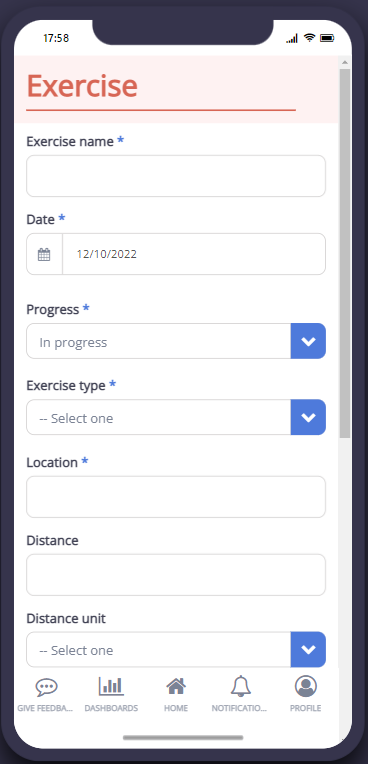
Users will be taken to this screen when clicking the plus button on the Fitness tracking – List screen.
The form enables users to add a new exercise entry or edit an existing entry on this screen.
The exercise entry will be visible only to the user that created it.
Each field can be configured in the form settings, and more fields can be added as necessary.
This screen uses the form component, learn more here. - Feedback
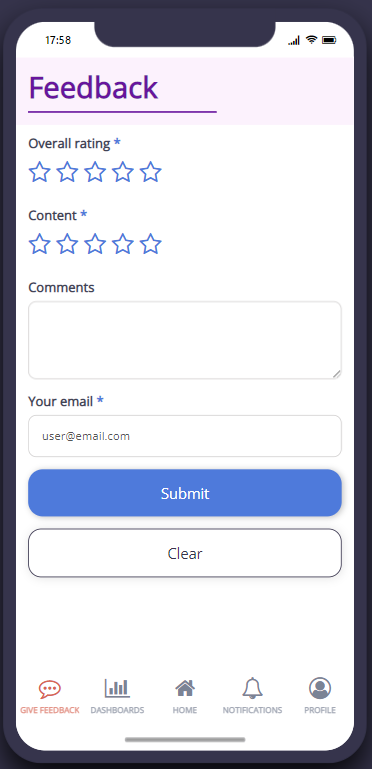
This screen can be used to allow the app users to provide feedback to you about their app experience.
You can configure this screen to have more fields and each field can be configured in the form settings.
If you are looking into building more survey types, you can start by duplicating this screen and changing the form to your needs.
This screen uses the form component, learn more here. - Profile
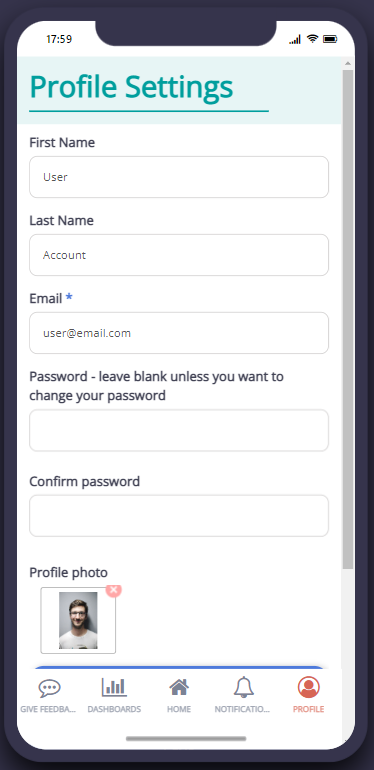
This screen enables the user to edit their profile. It can be accessed from the app menu by selecting Profile.
Users will be shown a confirmation screen once saved.
This screen uses the form component, learn more here. - Notifications
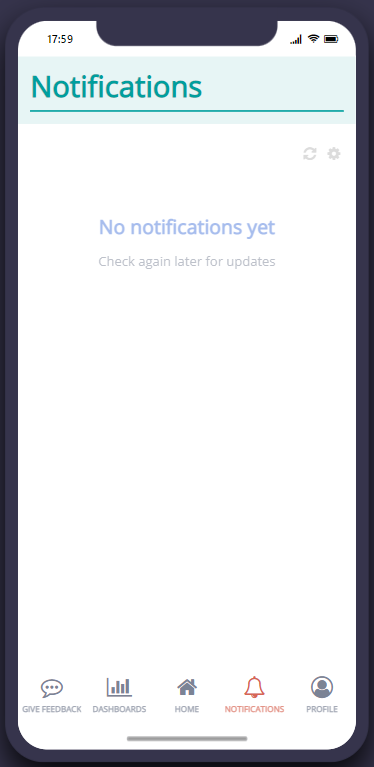
This screen displays all the notifications that have been sent to the user.
Notifications are sent by an admin via Fliplet Studio.
This screen uses the notifications component, learn more here. - Dashboard
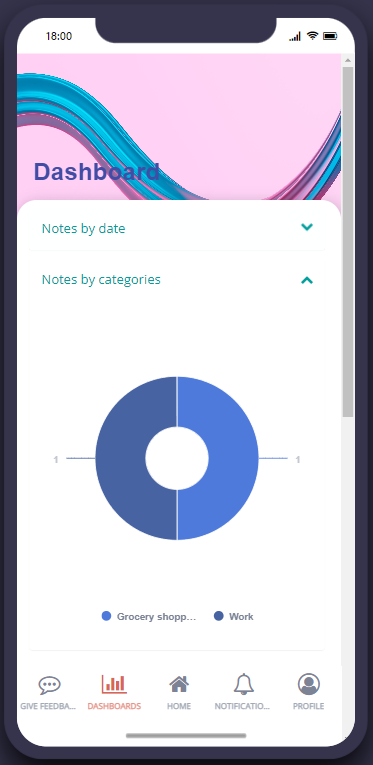
This screen displays charts for the data collected on each input screen.
You do not need to use all of the charts on this screen. Delete the charts that do not correspond to the app type you are trying to build.
Each chart can be configured using the chart settings.
This screen uses the chart and accordion components.
Related Articles