Step through the submission flow as a speaker: enter your details, write the abstract, add co-presenters, and confirm.
This section covers the multi-step abstract submission workflow for speakers. You can start a submission without an existing account: the portal creates your speaker record as you go. Submissions are accepted until the close date set by the admin team.
Contents
- Submit Abstract Step 1: Your details
- Email duplicate check
- Submit Abstract Step 2: Abstract information
- Adding co-presenters
- Submit Abstract Step 3: Submission confirmation
- Submission deadline and timezone
First-time submitter? You do not need an account before you begin. Start at Step 1 and the portal creates your Speaker profile as part of the submission. For the complete walk-through, see How to submit an abstract.
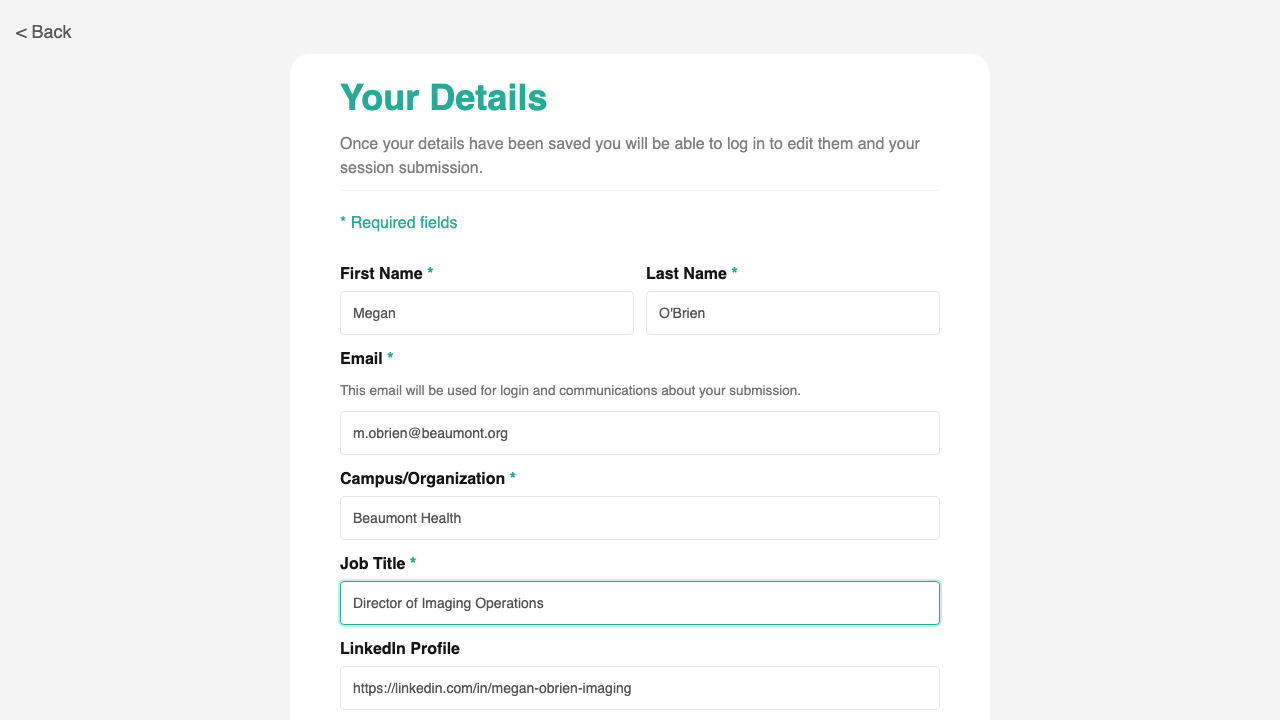
Submit Abstract Step 1: Your details
Role: Speaker
Step 1 captures who you are as the presenter: first name, last name, email, campus or organization, job title, LinkedIn URL, and a short biography. The form behaves differently depending on whether you are already signed in. New submitters fill it in to create their Speaker account; existing speakers can open it from the Edit Profile button on their dashboard to update saved details; signed-in speakers starting a new submission skip straight to Step 2.
- Create your Speaker profile inline, without a separate sign-up step
- Edit saved profile details from your speaker dashboard
- Skip ahead automatically when you are already signed in and starting a new abstract
- Email field checks for duplicates as you type (see below)
Uses the standard Form Builder component. Custom duplicate-email check, anonymous submission path (no account required), and branching navigation depending on whether you are signed in or editing your profile.
Workflow: For the complete end-to-end task, see How to submit an abstract.
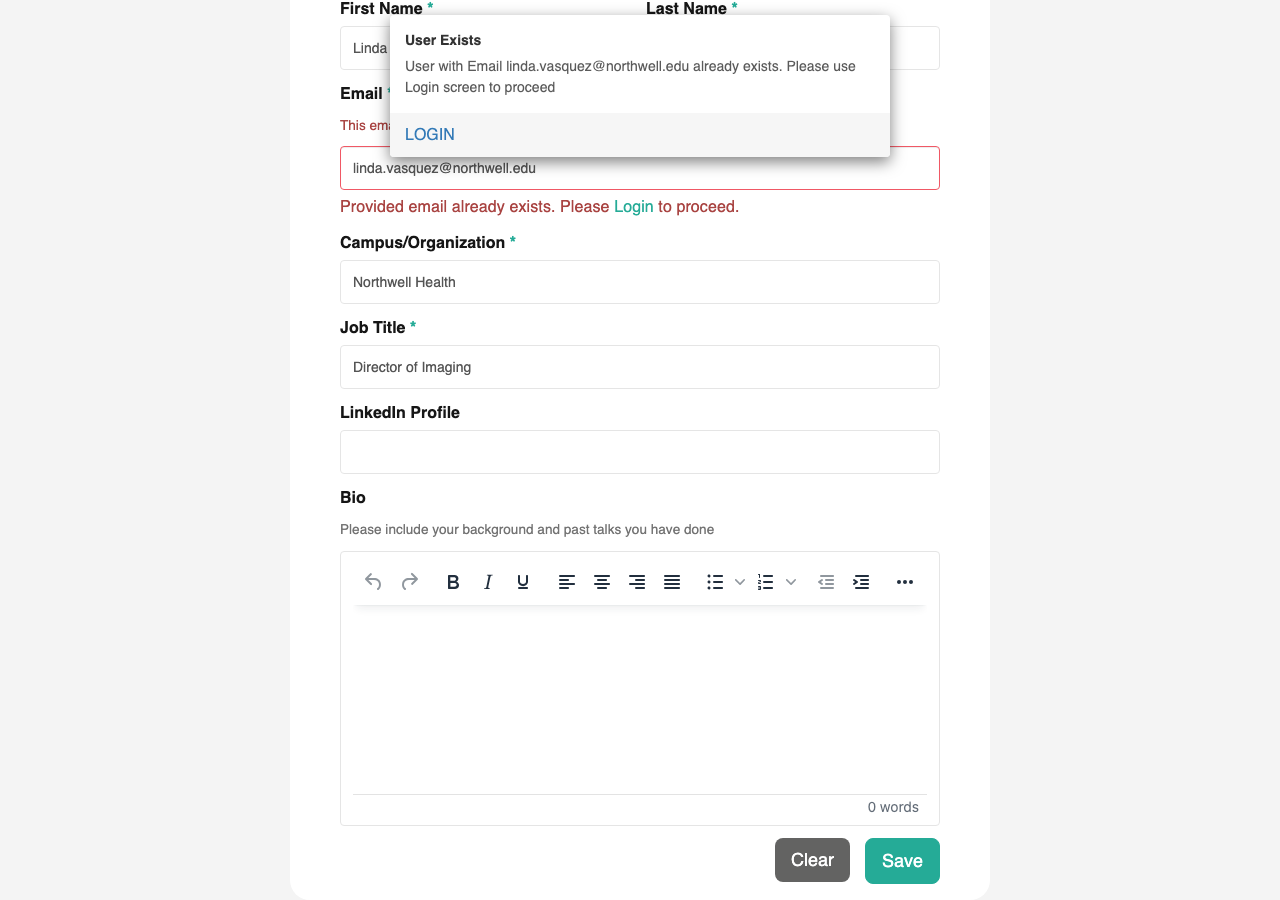
Email duplicate check
Role: Speaker
If you enter an email address that already belongs to a portal user, Step 1 shows a warning and offers a one-click link to the Log In screen instead of creating a duplicate account. This prevents the same person from accumulating multiple speaker records and keeps your past submissions tied to a single profile.
- Inline warning the moment the email field loses focus
- One-click link to sign in instead of continuing as a new user
- Blocks form submission for existing accounts so duplicates cannot be created
Custom inline validation that compares your email to existing speaker records before you can submit.
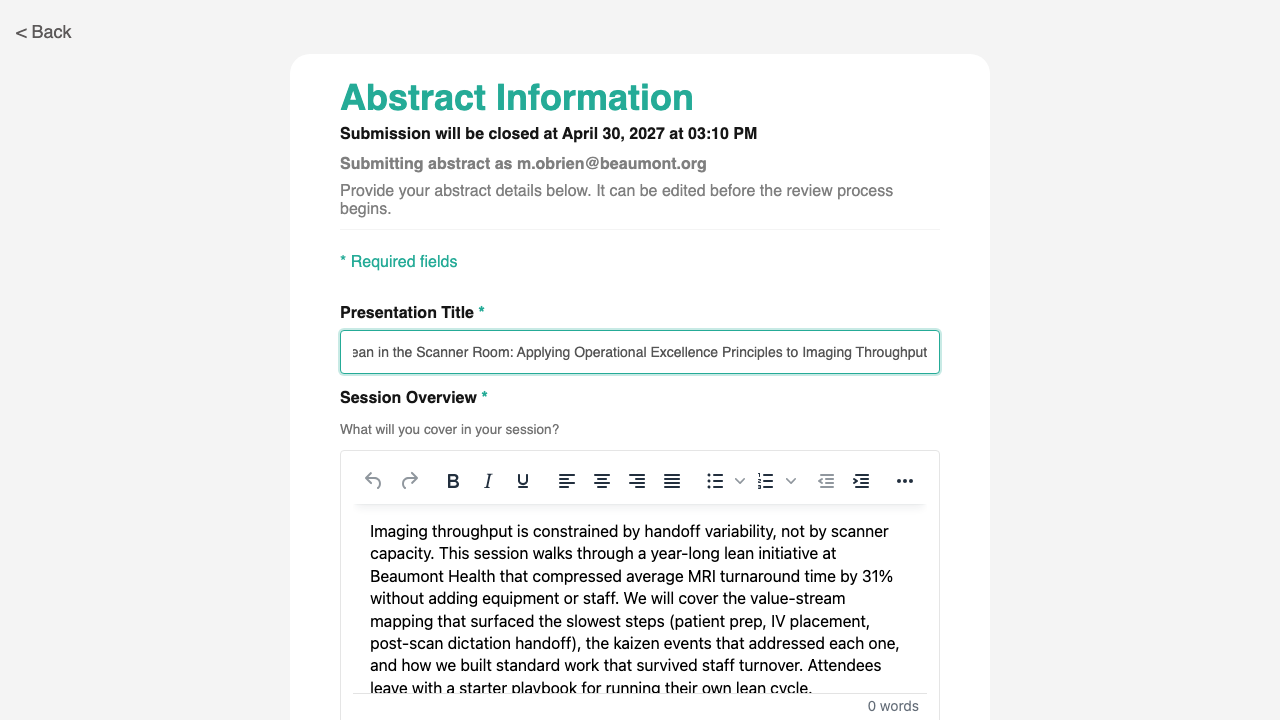
Submit Abstract Step 2: Abstract information
Role: Speaker
Step 2 is where you write the abstract itself. You enter the session title, type, category, audience level, an overview, key takeaways, attachments, and confirm the terms and conditions. Co-presenters are added through a dedicated subform on this screen (see below). When you save, the abstract is recorded and you move to the confirmation screen (if anonymous) or your speaker dashboard (if signed in).
- Write a structured abstract: title, type, category, audience level, overview, and key takeaways
- Attach supporting files (such as figures or full papers)
- Accept the terms and conditions before submitting
- Add co-presenters using the in-form subform
- Edit a previously saved abstract by opening it from your dashboard
- After admin requests changes, an extra Update Confirmation field appears so you can confirm your revisions before resubmitting
- Submission is blocked with a clear message after the deadline has passed
Uses the standard Form Builder component. Custom co-presenter subform with add / edit / remove, automatic co-presenter account creation, deadline enforcement, and a status-aware Update Confirmation field that surfaces only on resubmissions after changes were requested.
Workflow: For the complete end-to-end task, see How to submit an abstract.
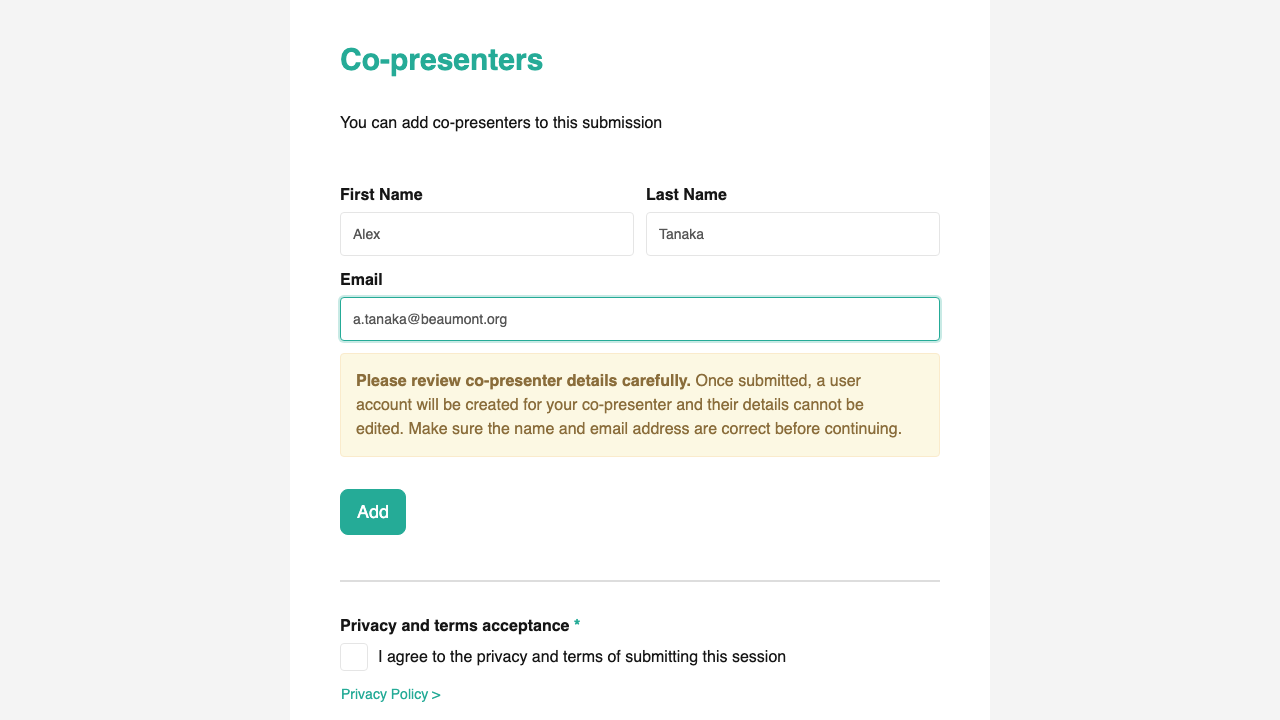
Adding co-presenters
Role: Speaker
The co-presenter subform sits inside Step 2 and lets you add one or more additional presenters to the abstract. For each co-presenter you provide their name, email, and details. If the email matches an existing Speaker profile, the portal reuses that profile rather than asking for the details again. If it is a new email, the portal creates a Speaker account for that person when the abstract is submitted.
- Add multiple co-presenters in a single editable table
- Edit or remove an entry before submitting
- Existing portal users are detected by email and their saved profile is reused
- New co-presenters are added to the portal as Speakers automatically
- You cannot add yourself as your own co-presenter
- When editing a saved abstract, co-presenters already on file are locked. To change them, use the Contact Administrator form
Custom subform built inside Step 2 with add / edit / remove controls and automatic detection of existing speaker accounts.
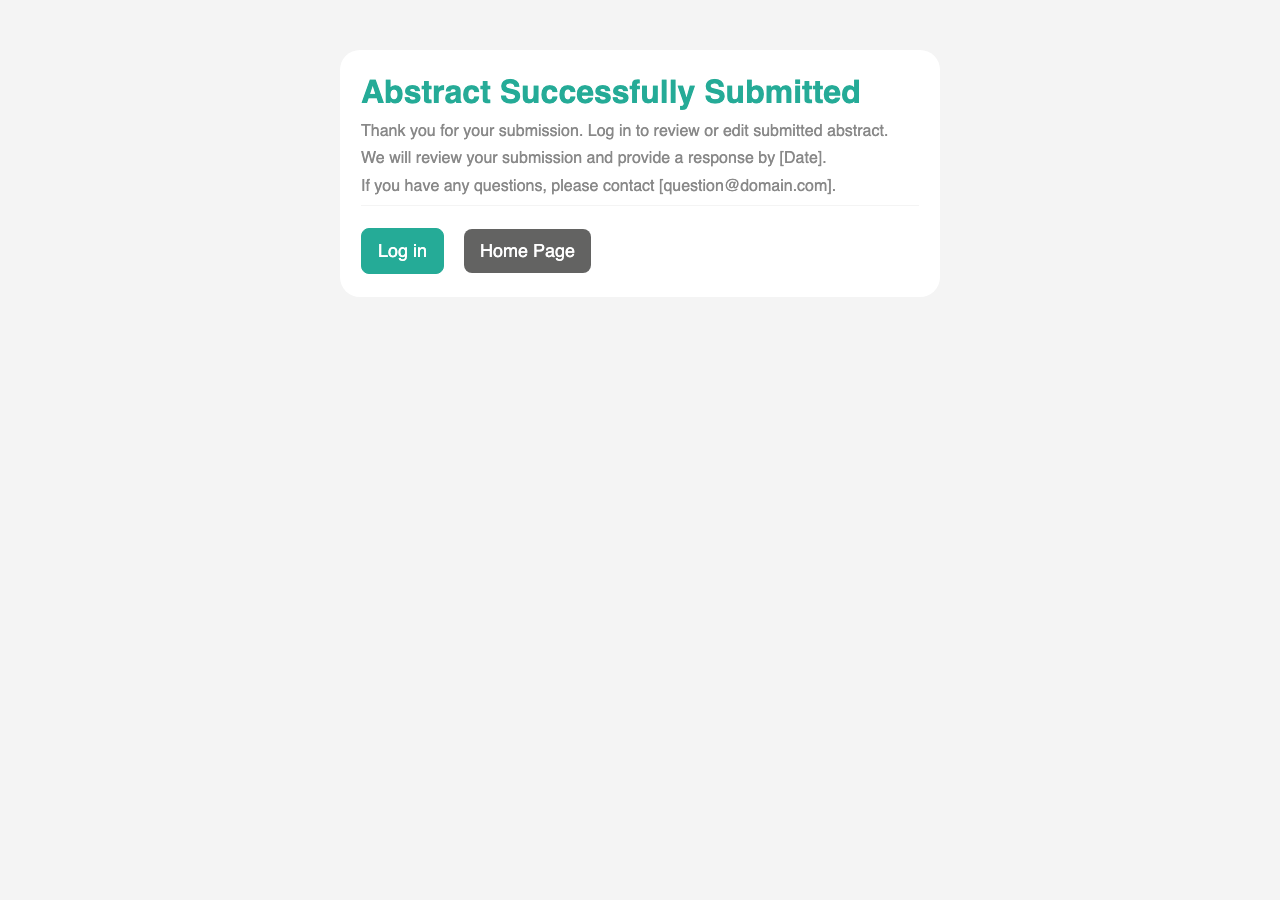
Submit Abstract Step 3: Submission confirmation
Role: Speaker
Anonymous submitters land on a confirmation screen after their abstract is saved. It reassures you that the submission was received, explains what happens next, and gives you a one-click path to log in and view or edit the abstract you submitted. Speakers who were already signed in when submitting skip this screen and return to their dashboard instead.
- Confirms the abstract was received and outlines next steps
- Provides a Log In button so you can sign in and pick up where you left off
- Offers a Home button to return to the welcome page
Submission deadline and timezone
Role: All users
Each event has a single close date and time, set by the admin team in Submission Settings. The home page, the speaker dashboard, and Step 2 all display this deadline in your local timezone. After the deadline passes, Step 2 stops accepting new submissions and shows a “submissions closed” notice. The deadline also controls whether the Submit Abstract button appears on the home screen.
- See the deadline in your own timezone wherever it appears
- The submit button on the home screen hides automatically after the deadline
- Step 2 blocks new submissions with a clear message after the deadline

For the admin configuration side of this feature, see Submission Settings in Configuring the Portal.