This article will guide you through the process of setting up new environments in Fliplet and configuring them to best suit your app editing needs while maintaining security. You’ll learn how to create a new organization, add users, duplicate apps, replace sensitive data, merge screens, and test before publishing. By the end, you’ll have a properly structured environment that supports efficient app development and collaboration.
Environment overview
Production environment refers to the live version of your Fliplet organization where your apps are fully functional, accessible to end users, and contain all active user data. Any changes made here directly impact your users.
Staging environment refers to a testing version of your Fliplet organization where you can safely make changes, test new features, and review updates without affecting active users or sensitive data. Use staging for development and quality assurance before pushing changes live.
Learn more on setting up your environment here.
Get started
- Invite existing users
- Prepare apps for copying
- Copy apps to production
- Merge screens
- Test and launch
Step-by-step instructions
Step 1 – Invite existing users
1. Log in to the organization you wish to invite users to
2. From My apps, click Organizational dashboard
3. Select the Users tab
4. Click Invite user
5. Enter the email of each existing user and assign the appropriate role
6. Click Invite user
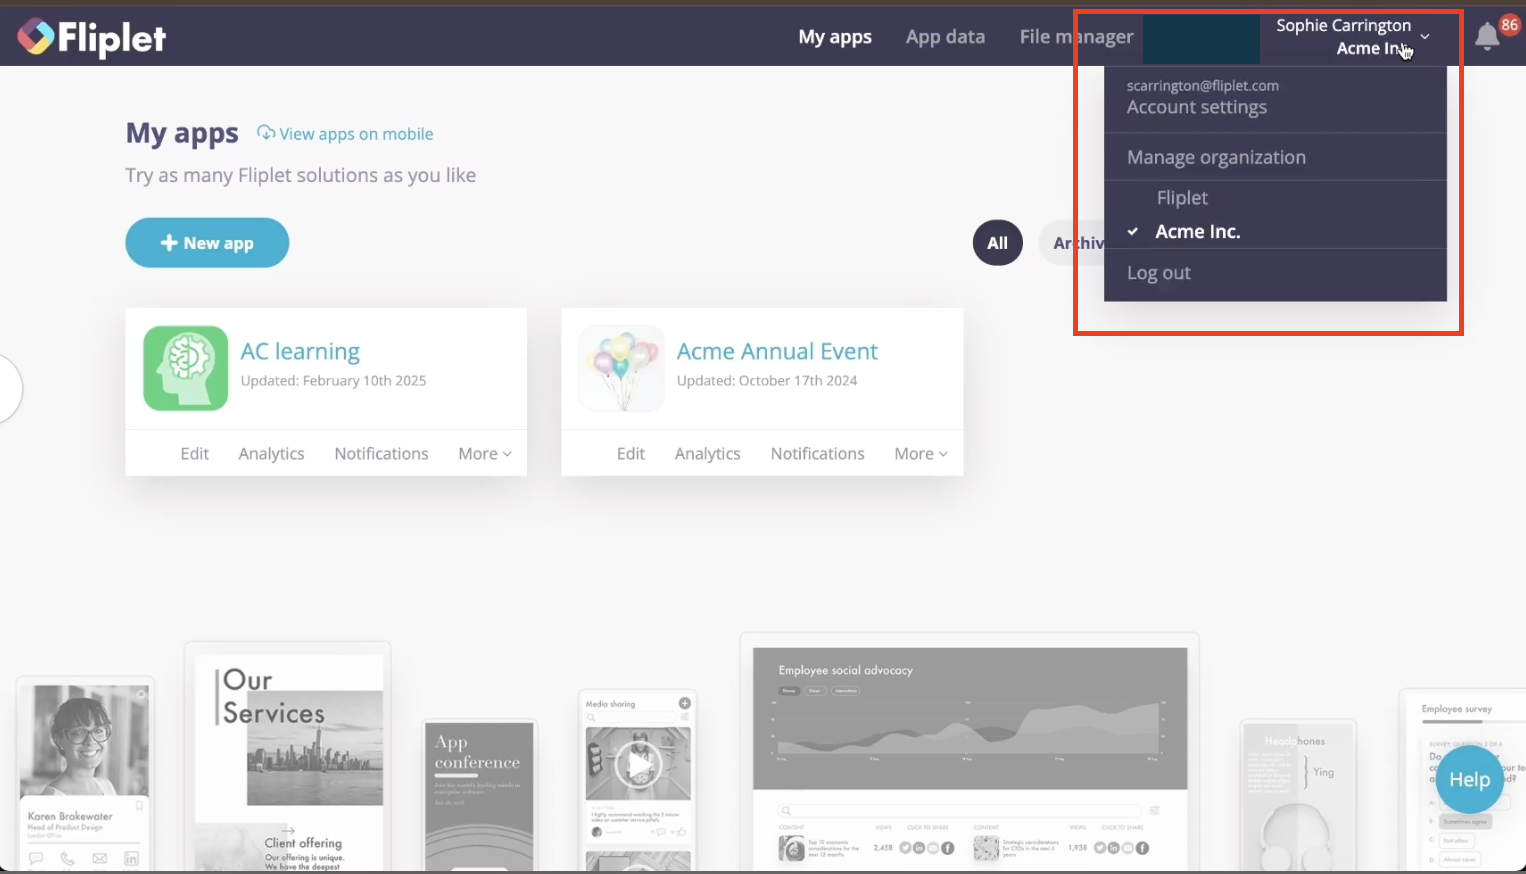
7. Users will see the new environment by clicking their name in the top‑right corner
8. To switch between each organization click the required organization from the drop down list
Step 2 – Prepare apps for copying
1. From My apps, click the More dropdown on the app you want to copy
2. Select Duplicate app
3. In the popup, choose your production environment and click Duplicate app
4. Open the duplicated app
5. Identify sensitive data sources (e.g., user data) and replace real information with test data:
– Remove real names, emails, phone numbers.
– Insert test names, emails, phone numbers, maintaining the same structure.
Step 3 – Copy apps to production
1. From My apps, click the More dropdown on the app to copy.
2. Select Duplicate app
3. In the popup, choose the target production organization
4. Click Duplicate app
5. To confirm: click your name (top right), switch to the production environment, and verify the app appears
Step 4 – Merge screens
1. In the source app, enter Edit mode by clicking Edit (top right)
2. Click the cog icon next to each screen you want to copy and select Copy to….
3. In the popup, choose the destination app and click Copy
4. Switch to the destination app
5. Link menus and buttons to the newly copied screens
6. If you have custom global code, copy and paste it manually between apps
Step 5 – Test and launch
1. Thoroughly test each copied screen to ensure correct display and functionality.
2. Verify navigation from menus and links
3. If this is your first publish, click Publish
4. If already published, choose Release in-app update to push changes to users
Related Articles