What is the table from data source component?
The table from data source component enables users to create a table using the data directly from a data source.
Why use the table from data source component?
The table from data source component is useful to add a table using data source data to your app, this table will be dynamic, when you change the data on your data source the table will update automatically.
How to use the table from data source component
Get Started
To set up the table from data source component you will need to:
- Add the table from data source
- Configure the table from data source
- Provide data by using code (Optional)
- Test your data table
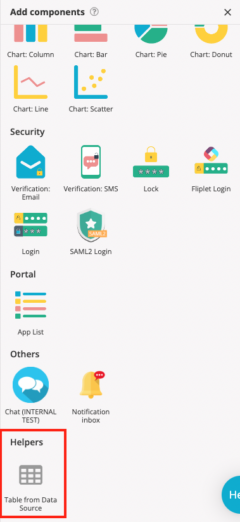
Step 1 – Add the table from data source
- Add the table from data source screen template to your app using the “Add screen” button
- Click on the table component to open the settings on the right side of your screen
- To add an additional table component, drag and drop the component to the screen
Step 2 – Configure the table from data source
- Using the settings menu type your table name
- Select the data source you want to pull data from
- Select the data type to show on the table:
- Text
- Date: The date format will be localized, meaning that it will show up on the table according to your device’s default language
- Time: The time format will be localized, meaning that it will show up on the table according to your device’s default language
- Number: The number format will be localized, meaning that it will show up on the table according to your device’s default language
- URL: Add clickable a URL to the table
- Edit: The Edit data type allows you to edit a specific entry on the data source and you cannot edit the column title
- In order to use the “Edit” functionality, you should first create a screen with the form to edit the entries, this form should be using the same data source as the data table component
- Then select the Edit data type and on the Link action, you have the option to display another screen, select the screen with your form on the select a screen option for the user to be redirected to the specific data entry they clicked on
- Once all of your options have been configured, select save & close
Step 3 – (Optional) Add data using code
The screen template also allows you to add your data by using code, please note, that once enabled the table will reset all previously filled fields.
When selecting this option you will need to write your own query under the getTableData() function in the screen JavaScript code on the developer options.
- On the table from data source settings tick “Enable” on the option “Data will be provided by code”
- Open the developer options using the “</>” icon on the right hand side toolbar
- Go to the JavaScript tab where you will find detailed instructions on how to configure your table using code
Step 4 – Test your table from data source
Once a table from data source is created we recommend testing the functionality of the table to insure it works as expected.
- To test your table from data source, go to Preview mode
- Ensure that the selected columns are displaying correctly (For example, is the URL data type selected when you have URLs in your data? Is the date in the correct format?)
- If the “CSV Export” or “Print” options are enabled, ensure the buttons are displayed.
- If you used code, ensure the correct data is displayed
Related Articles