The manage comments screen template enables you to manage comments within your app.
If your app allows comments and will be deployed to the public app stores this screen is a requirement from both Apple and Google. This article will explain how to set up the manage comments screen template.
Note: Due to the EU digital services act update in April 2024, it is now mandatory to include features to enable moderation and management of reported content in social apps. If your app includes any social features such as the news feed, or commenting, then your app must include a way to manage and report comments. The Fliplet news feed screen already includes a comment-reporting function.
Get started
Step 1 – Add the screen template
- Add the “Manage comments” screen template to your app using the ‘Add screen’ button
- Click on the Admin tab
- Select the manage comments screen and click “add 1 new screen”
- Enter a screen name and select “add screen”
Step 2 – Configure the data source
- You will need to know the data source that contains the comments
- To find this, you will need to review the app data and find the data source that includes the comments for your list. Comment data sources are created automatically and will be called “name of screen – comments”
- Once you know the name of this data source return to your new manage comments screen
- In edit mode, click on the form to open the configuration options on the right-hand side
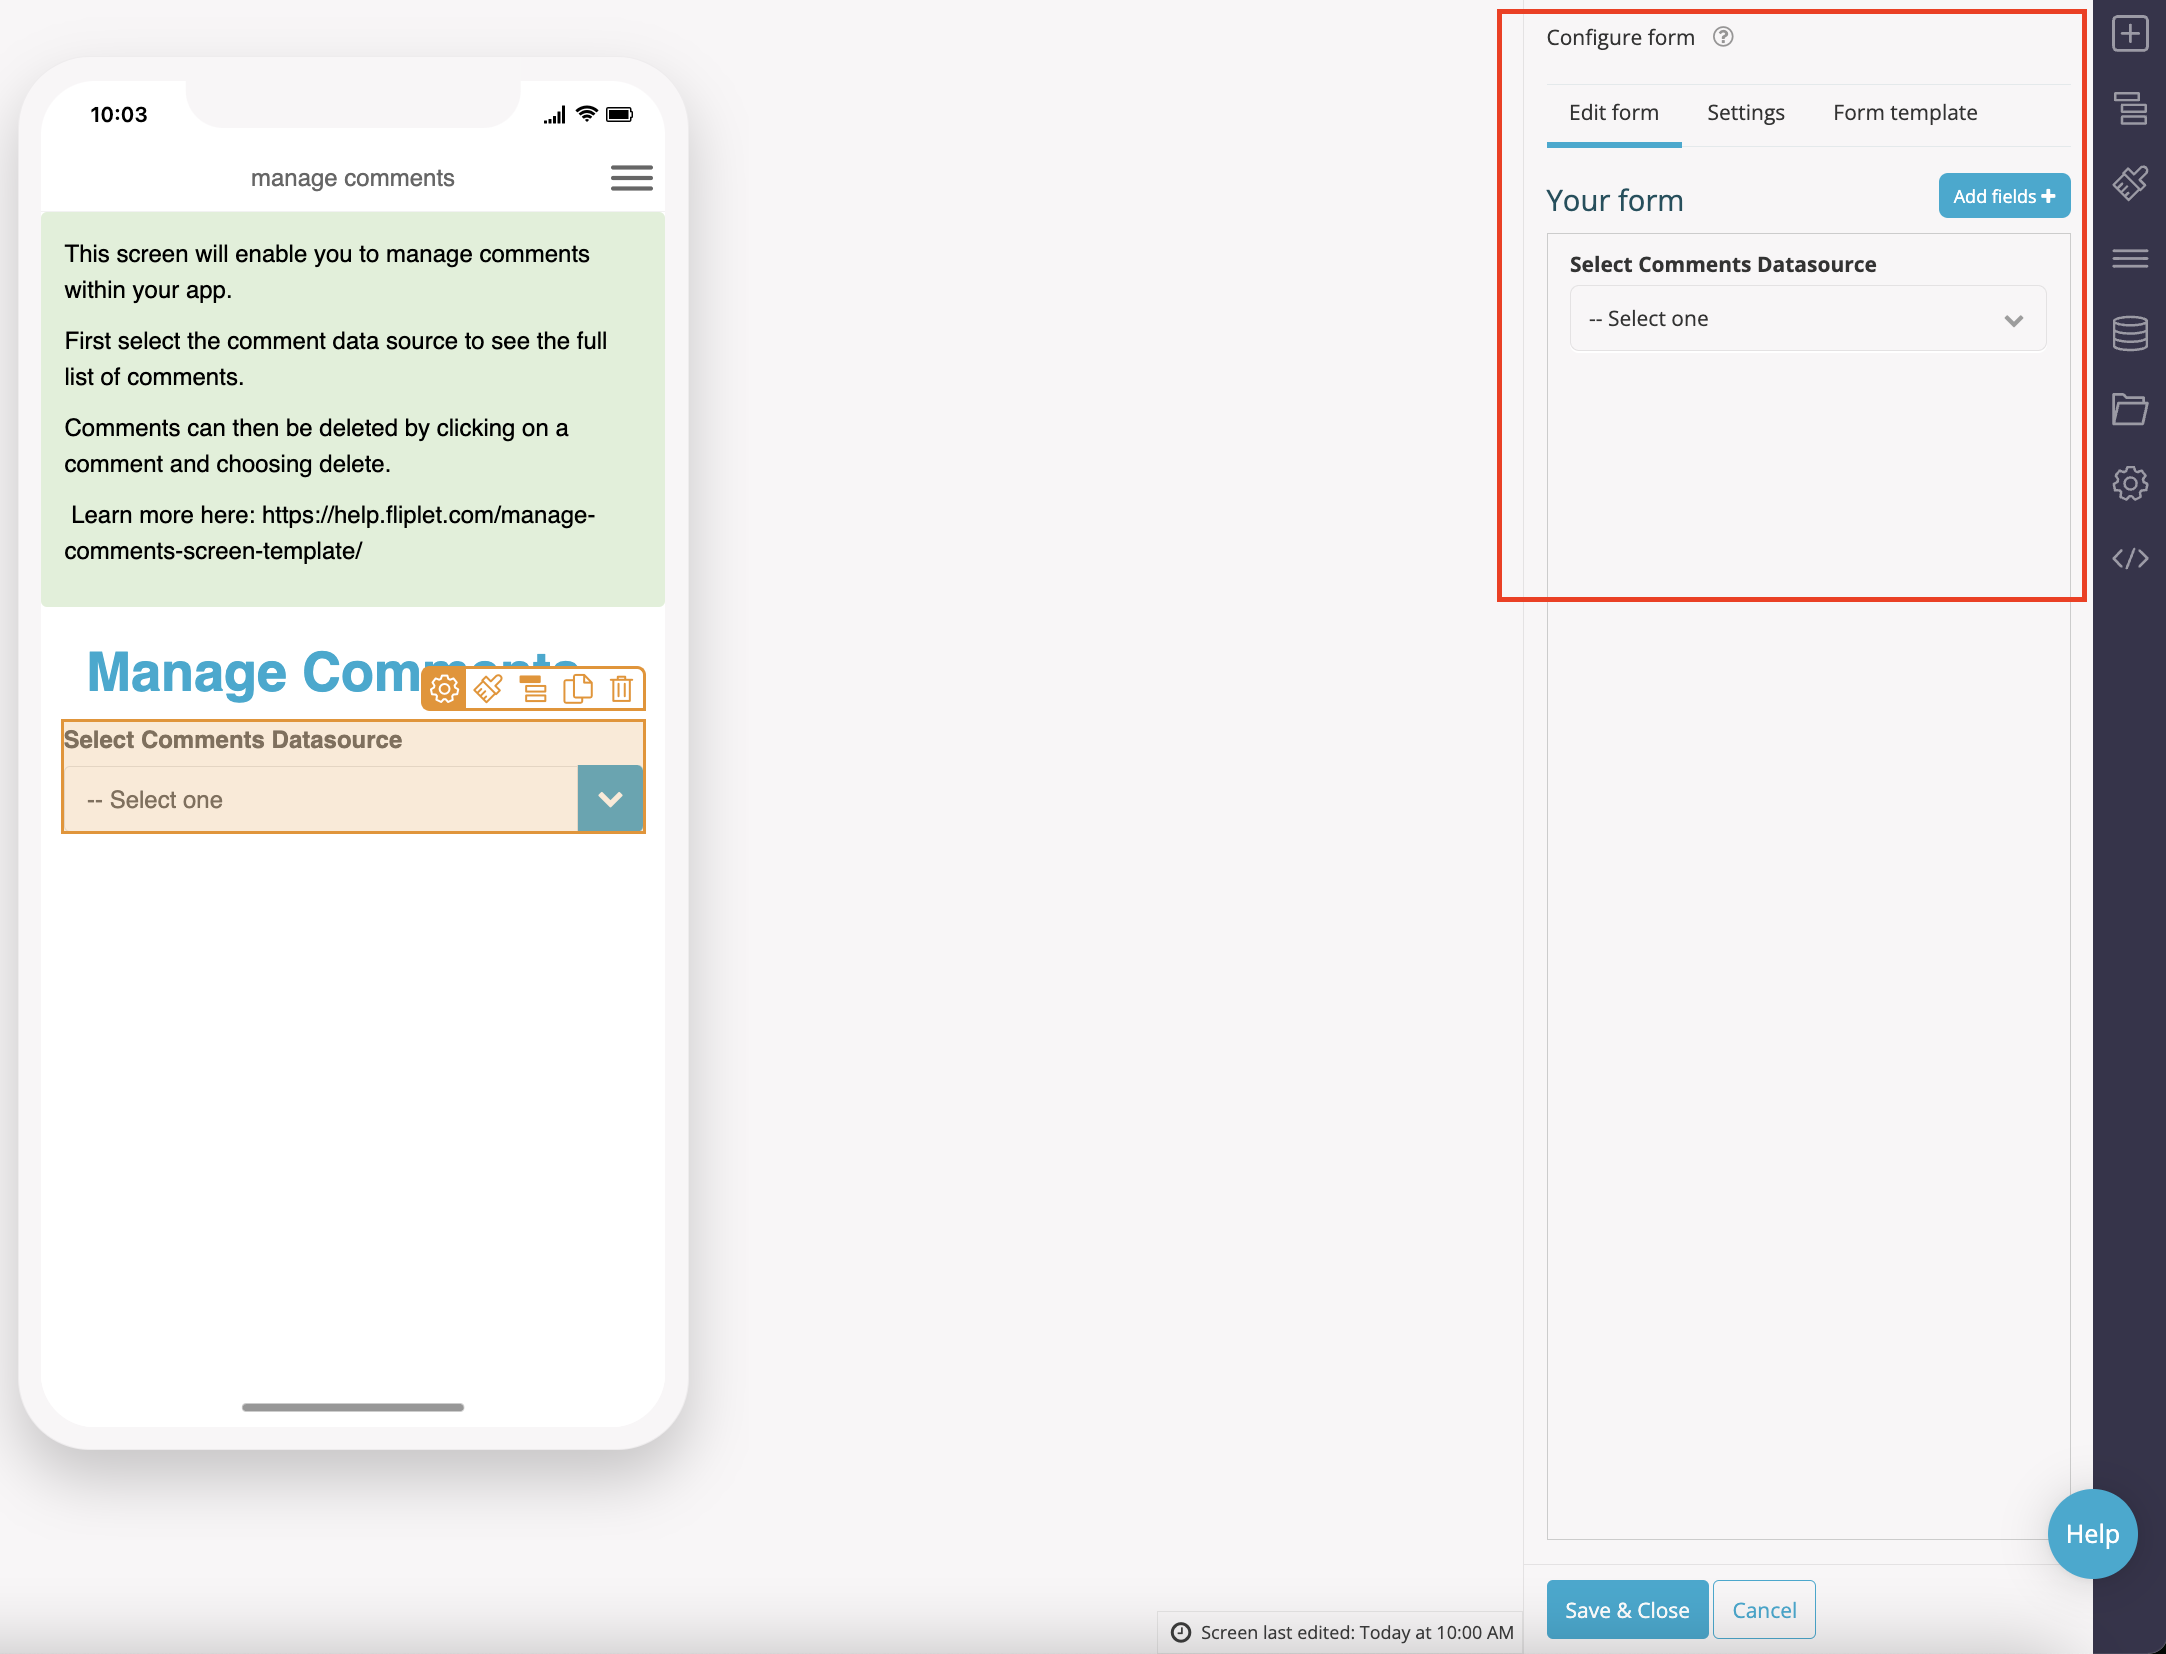
- Select the settings tab
- Under “form data source” use the drop-down to select the data source that contains the comments
- Select to “add column to data source” and “configure security rules” if necessary
- Save & Close
Step 3 – Test the screen
- To test your screen, switch to preview mode
- Leave a test comment on the relevant list
- Switch back to the manage comments screen, and select your comment
- Choose delete
- Return to the list to confirm the comment has been deleted
Troubleshooting
No comments appear after clicking “Show comments”
- Confirm the correct data source is selected in the dropdown
- Open App data and check that the data source contains entries
- If the data source has a missing column prompt in Settings, click Add column to data source then save again
I don’t see my comment data source in the dropdown
- Enable Show all data sources in the Settings panel to broaden the list
- Verify the data source is not in Trash under your app’s data sources
Delete button does nothing in Preview
- Reload Preview and try again to ensure you’re authenticated in Studio
- Confirm your account has edit rights to the data source
Related Articles