Features
SAML2 offers the following features:
- Allow your organization to use their corporate login to access Fliplet Studio.
- Fliplet admins can control who has to complete the SAML2 login.
- Be notified when a user outside of your SSO domain is invited.
Get Started
To set up SAML2 you’ll need to:
- Be an admin in Fliplet Studio
- Configure SAML2 Single Sign-On settings
- Test SAML2 Login
Step 1 – Open the Organization Dashboard
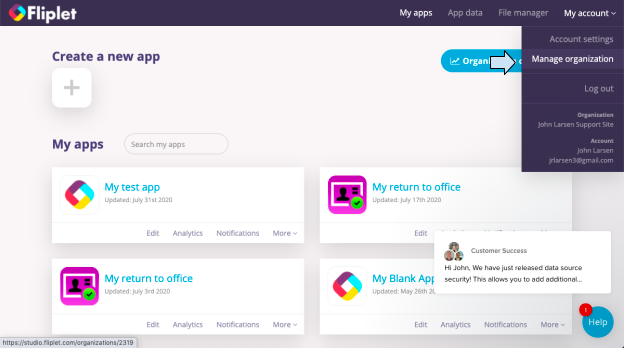
- Login to Fliplet Studio.
- In the top right corner of your device screen, click on My account and select “Manage organization”.
- Go to the “Security” tab.
Step 2 – Configure SAML2 Single Sign-On settings
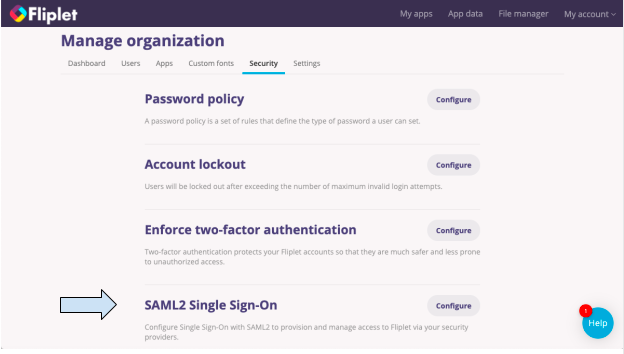
- In the “Security” tab, find the SAML2 Single Sign-On option and click configure.
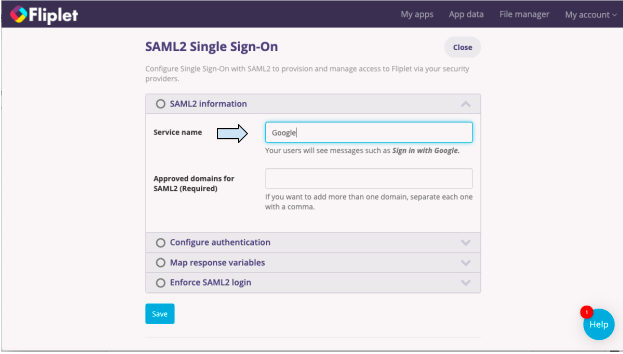
- Fill each of the visible options, starting with SAML2 information.

- Under Service name, enter the name of the service that you are using, for example, Google.
- Enter an approved domain in the next section.
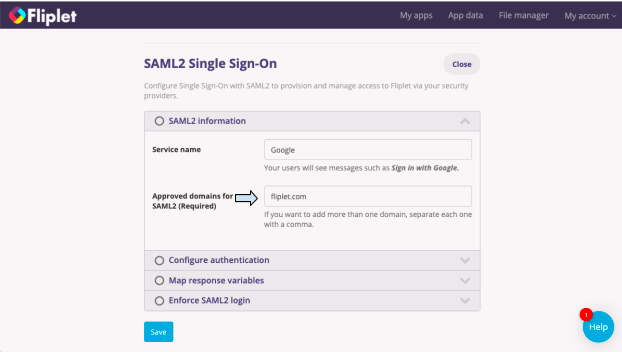
- Once you have completed one section, you’ll see a green tick next to the section name and you can proceed to the next section.
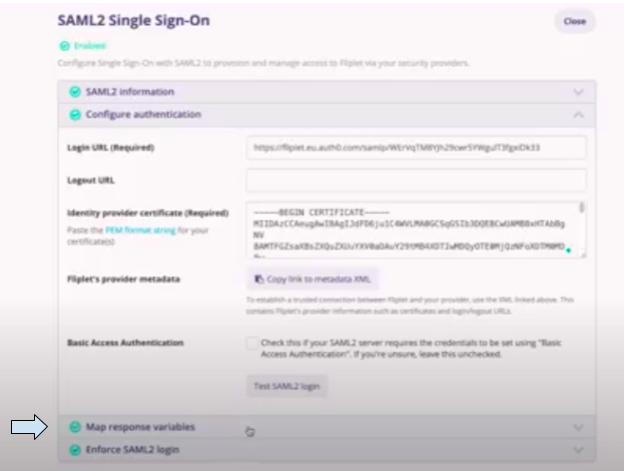
- Next, click on Configure authentication.
- Enter the Login URL and the Identity provider certificate.
- These details you will get from your SAML2 provider.
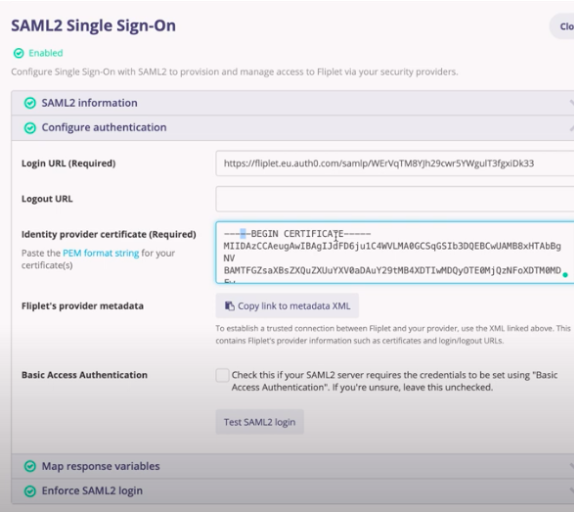
- These details you will get from your SAML2 provider.
- Click on the “Copy link to metadata XML” button to copy the XML URL.
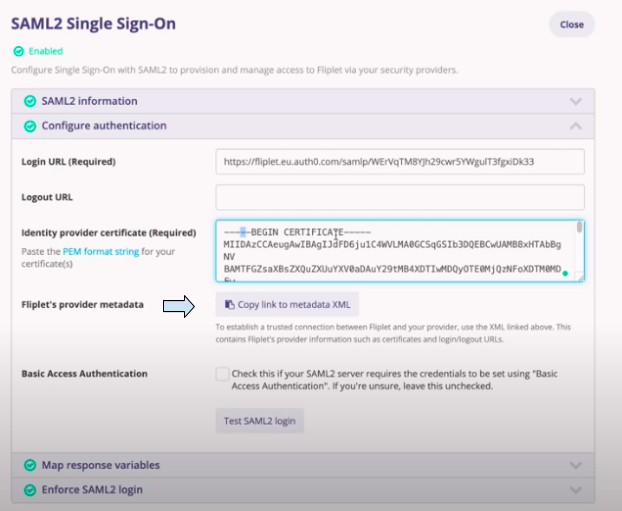
- Now that SAML2 is enabled, organization admins will be sent an email notification when any external users who don’t belong to the SSO domain are invited to an app.
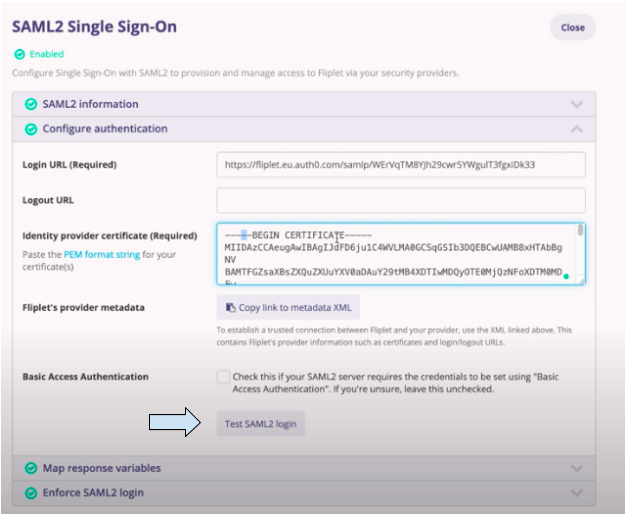
Step 3 – Test SAML2 Login
- Click on the “Test SAML2 login” button. You will be prompted to sign in to Google.
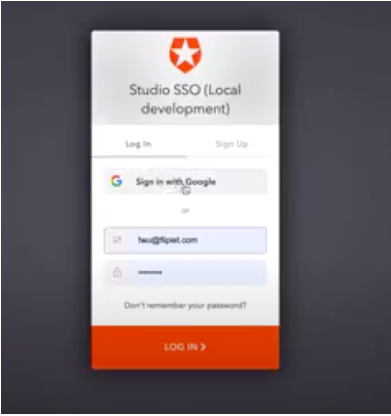
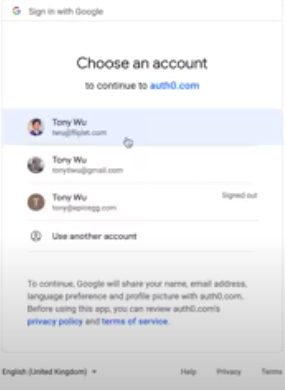
- Click on Sign in with Google. Then you will be prompted to choose an account.
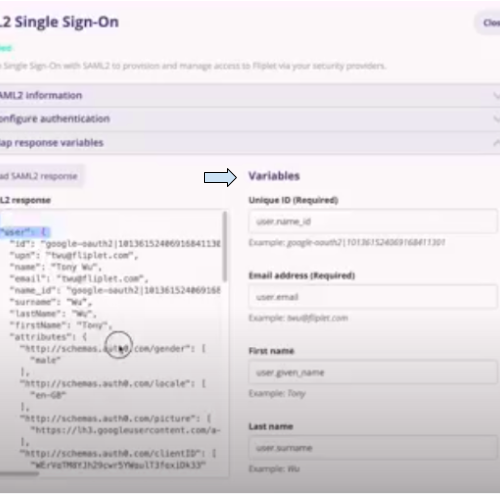
- After choosing an account, you will be redirected back to Fliplet Studio. Click on Map response variables. The data from your SAML2 login will appear in the box on the left.
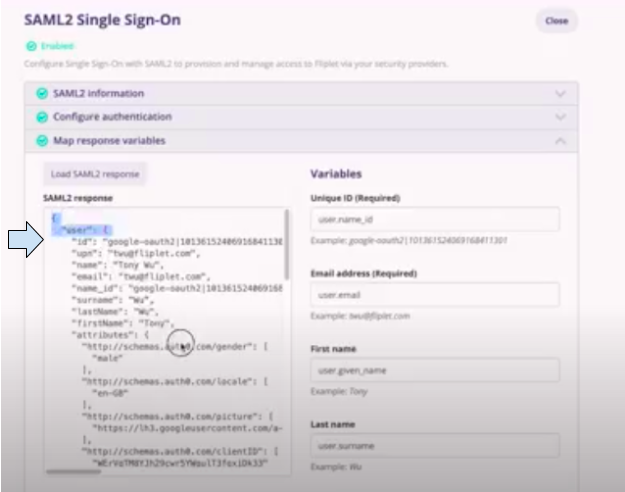
- Enter the “Variables” on the right according to the “Example” below the search bar for each variable.
- Click on the blue “Save” button.
- If the SAML2 information, Configure authentication, and Map response variables sections have been completed, click on the final section; Enforce SAML2 login.
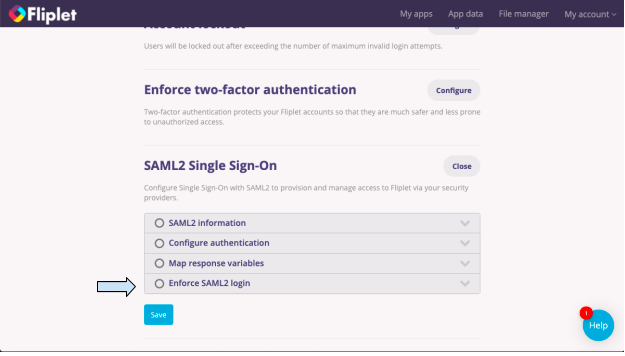
- Make sure the box next to Enforce SAML2 login is checked. Enforcing SAML2 means that users will have to complete the SAML2 login according to the way it was configured in the SAML2 information section.
- Click on the blue “Save” button.
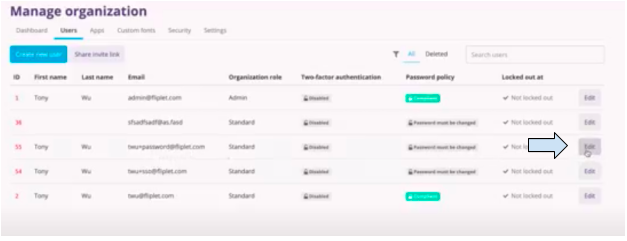
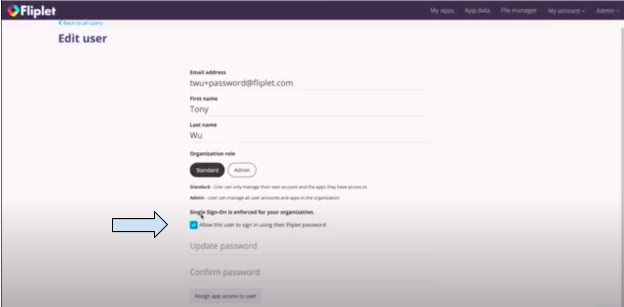
Note: There are a couple of exceptions to the SAML2 login rule who do not have to complete it as described above. Organization admins will be asked to log in to SAML2 as well, but they are not required to do so. They can type signin/?no_sso=1 into their browser’s search bar, and they will automatically be shown the password field to enter Fliplet Studio. Any other users will be required to login as usual, unless they do not have an identity in the SAML2 provider (such as contractors or external employees). In this case, in the “User” tab under “Manage organization” click on the “Edit” button across from the user that you want to allow to bypass SAML2.
Under Single Sign-On is enforced for your organization, check the box next to “Allow this user to sign in using their Fliplet password”
Then click “Save”.

Note: Organization admins are not forced to set up their SSO. This enables the user to amend the SAML2 configuration settings.
Admins will need to manually connect their account to SSO by going to Account settings.
What invited users experience
When you invite someone to an organization that enforces SAML2, here is exactly what they see the first time they sign in.
First sign-in, step by step
- They open the invitation email and click to join. The email includes a one-time temporary password. It is only used to accept the invitation — it is not a password they need to keep or remember.
- They enter their email and the temporary password on the Fliplet sign-in screen, then select Sign in.
- Studio shows a “Sign in with [your provider]” screen. Studio shows a short confirmation with a single button — for example Sign in with Azure AD or Sign in with Google.
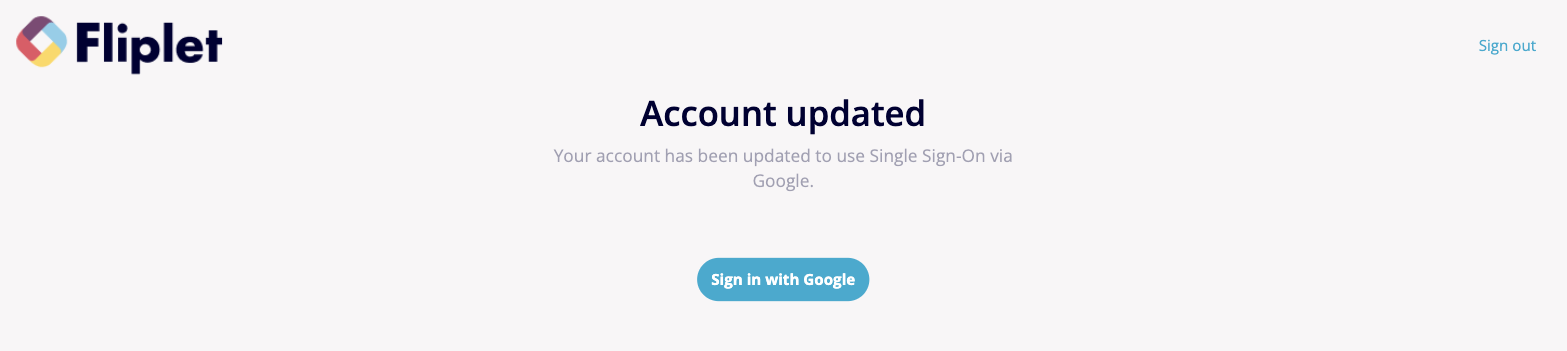
- They sign in with your identity provider. The button takes them to your company’s normal sign-in page (Azure AD, Google, and so on). They sign in the same way they already do for other company apps.
- They’re in Studio. They will not be asked to set a Fliplet password.
From then on they sign in through your identity provider every time. There is no separate Fliplet password for them to manage.
If your organization requires other steps
After signing in with SSO, the user may still be asked to complete:
- Agreements — any privacy notice, terms, or organization agreement you require.
- Two-factor authentication — if your organization mandates it.
These appear after SSO sign-in.
Users not covered by SSO
If someone is invited but their email domain doesn’t match your SAML2 domain, they follow the standard path instead: after entering the invitation password, Studio’s Update your account screen asks them to set a new Fliplet password. This is the normal experience for non-SSO accounts.
Organization administrators
Admins have one extra choice: on the “Sign in with [your provider]” screen they also see a Set up later option, so they can reach Studio before linking SSO. Everyone else links SSO as part of first sign-in.
Related Articles