Note:
This feature is only available for certain pricing plans. If you get a message explaining this, please contact Fliplet support if you wish to upgrade to a different plan.
Features
An invite link offers the following features:
- Fliplet users can invite other users in their organization to collaborate in Fliplet Studio.
- Fliplet Users can approve a sign-up domain.
Get Started
To set up an invite link you’ll need to:
Step 1 – Open the Organization Dashboard
- Login to Fliplet Studio.
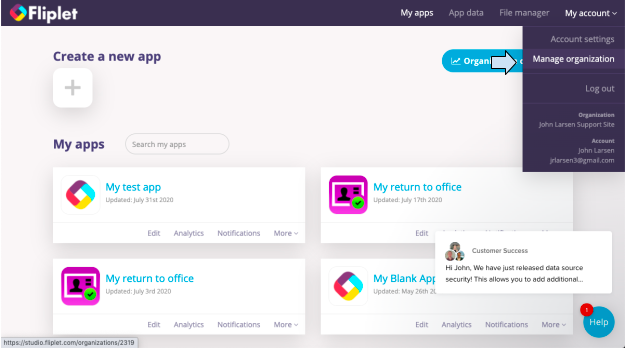
- In the top right corner of your device screen, click on My account and select “Manage organization”.
Step 2 – Generate an invite link
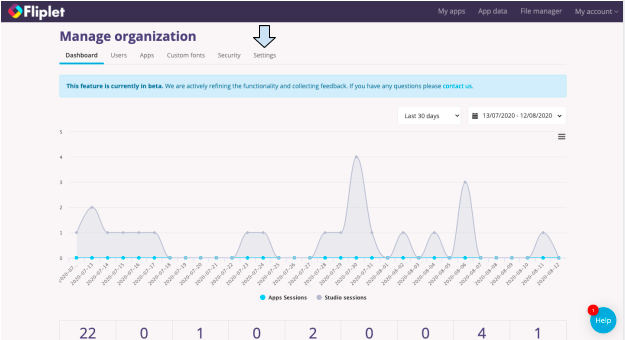
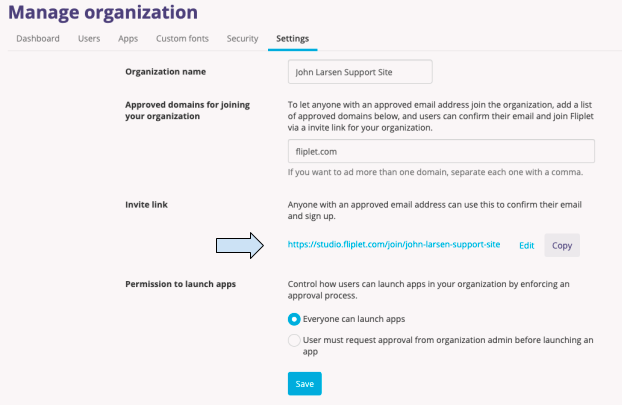
- Under Manage organization, click on the “Settings” tab.
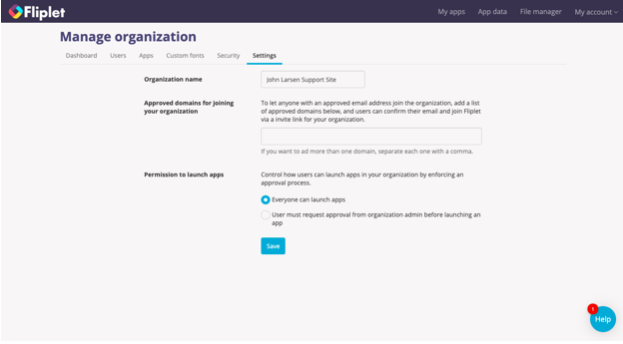
- In the text box next to Approved domains for joining your organization, enter a domain. For this example, we used our company domain, fliplet.com.
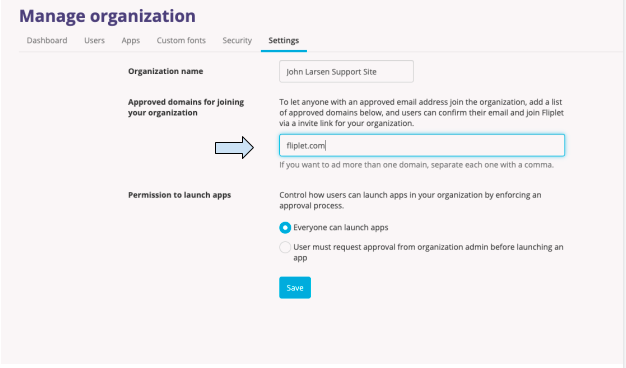
- Click on the blue “Save” button at the bottom of the menu. An invite link will appear below the domain you just entered.
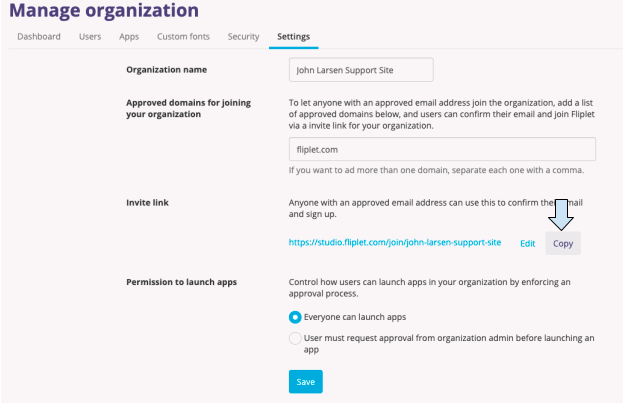
- (optional) If you wish to edit the URL, click on the blue “Edit” text to the right of the URL.
- Click on the grey “Copy” button next to the “Edit” text to copy the invite link.
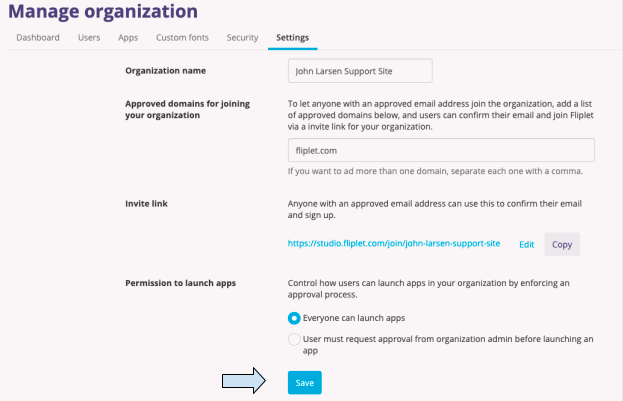
- Click on the blue “Save” button.
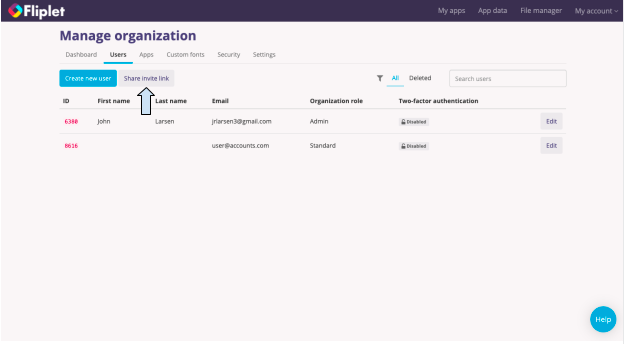
- When enabled, you can also find the invite URL if you go to the Users tab and click on the “Share invite link” button.
Step 3 – View the Sign-Up URL
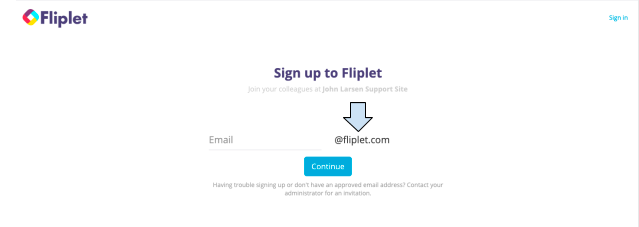
- Send the invite link to a user.
- Once they click on the link they will see a sign-up form where they have to enter their email.
- Once they entered their email, they will have to verify the email address before they can access Fliplet.
Related Articles
Was this article helpful?
YesNo