Features
A table offers the following features:
- Organize information in your app
- Useful to display information in a comparative view
Get Started
To add a table you’ll need to:
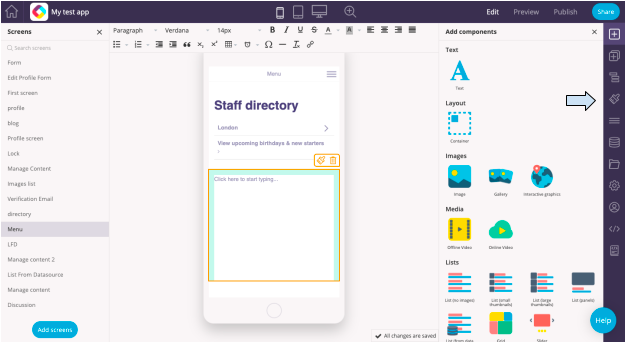
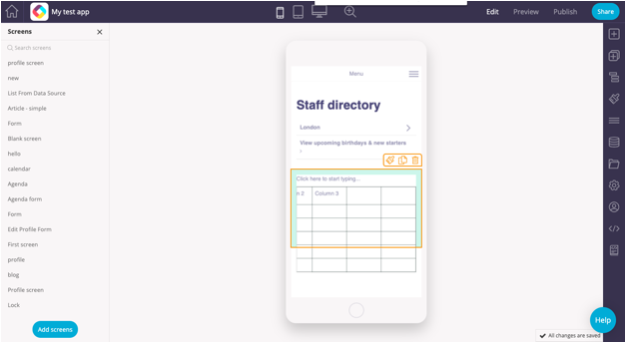
Step 1 – Create a table in your app
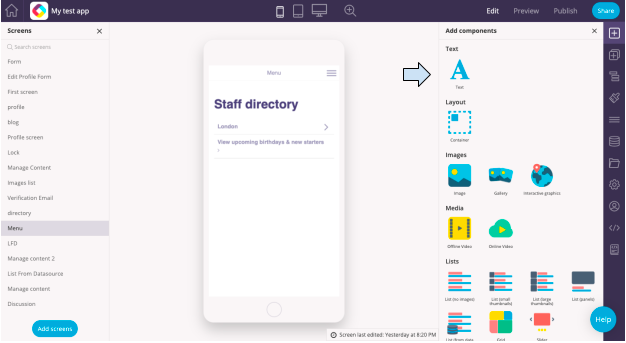
- Drag and drop a text area onto a screen in your app.
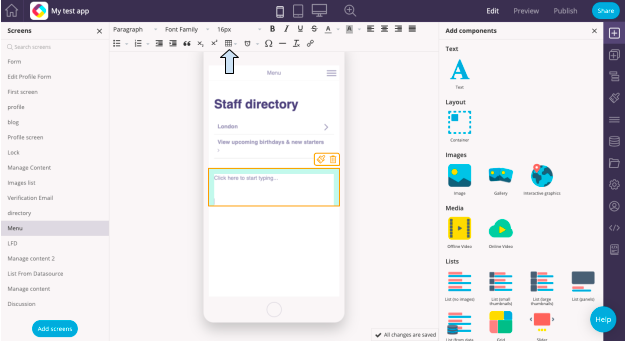
- Click on the text area and click “enter” on your keyboard two or three times to make the text area larger.
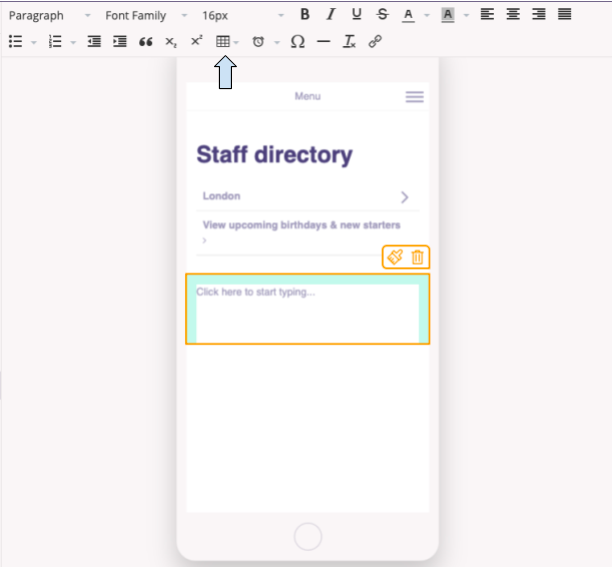
- In the toolbar above the app screen, click on the table icon.
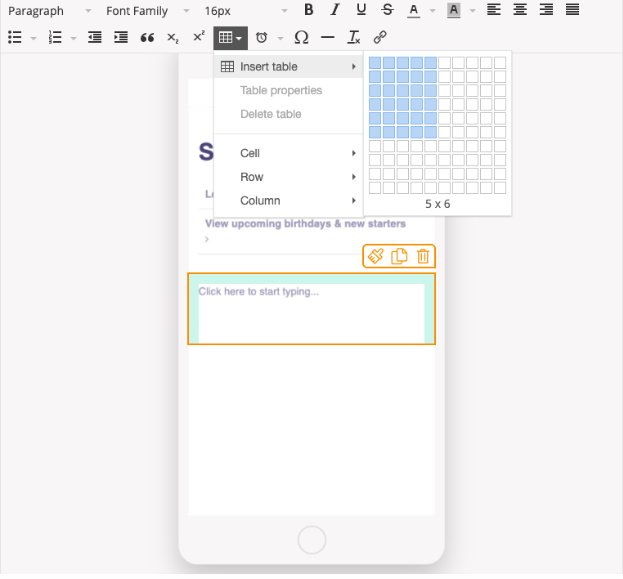
- Scroll over “Insert table” and drag the cursor to choose the number of columns and rows your table will need. Once you have highlighted the number of columns and rows, click to add the table to your screen.
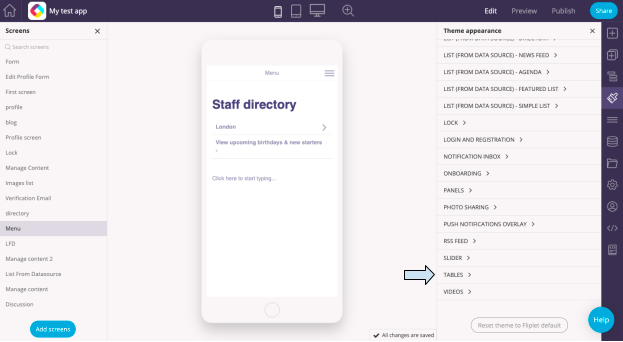
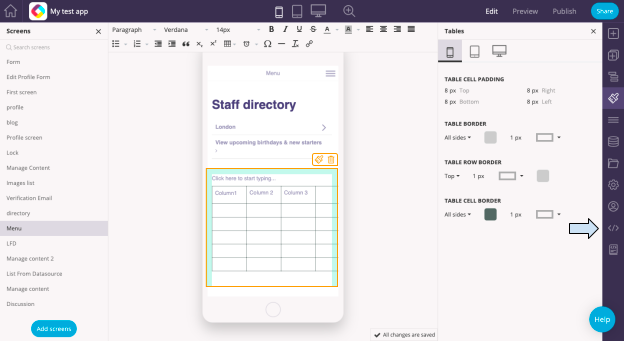
- By default, the table border colour is transparent. To set the borders for your table, go to the Theme Appearance settings. You can find the appearance by clicking on the paintbrush icon on the right.
- Scroll down and click on the “Tables” option.
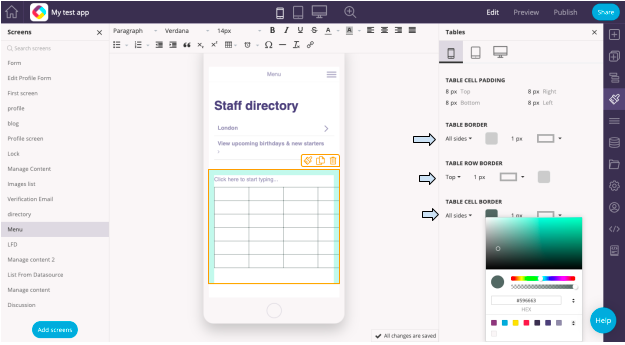
- Create borders for your table by selecting the border specifications you wish to use. For the purpose of this example, we will select “All sides” for the Table Border, “Top” for the Table Row Border, and “All sides” for the Table Cell Border. Click on the box next to “All sides” under the Table Cell Border option and select a color for the cell borders.
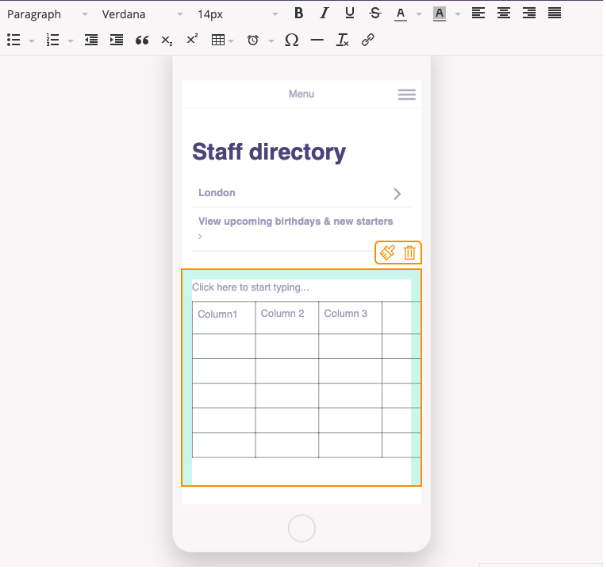
- Type the values that you wish to enter in each of the cells. Use your keyboard arrows to move between the cells.
- To style the text in the cells, you can use the formatting toolbar at the top. For example, you might want to make the column names of the table stand out for the rest.
Step 2 – Set your table to scroll independently
- If the table in your app is wider than the width of your device then everything on the screen will become scrollable, which you don’t want. To solve this, open the Developer Options from the menu on the right.
- Look at the HTML and find where the table starts. To do this, click on Control F (Windows) or Command F (Mac) to open the search bar. Then type “table” to find where the table starts.
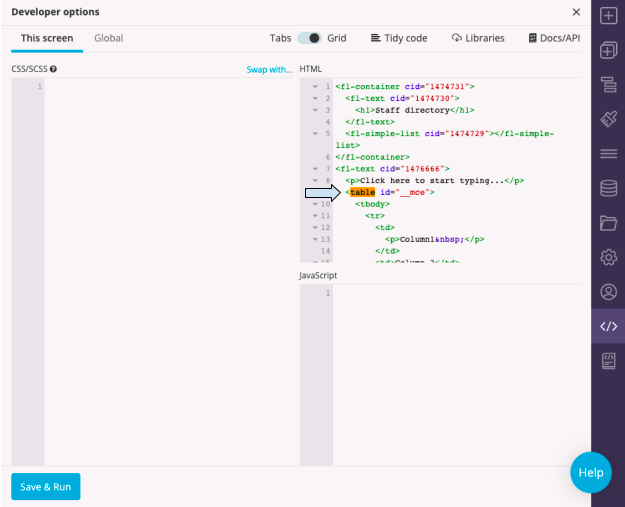
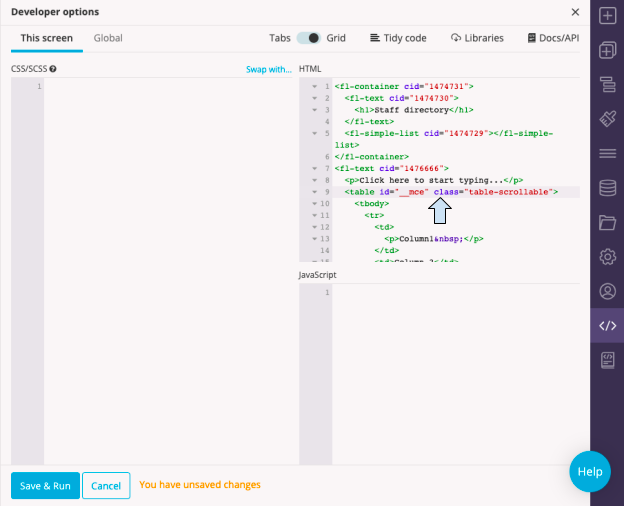
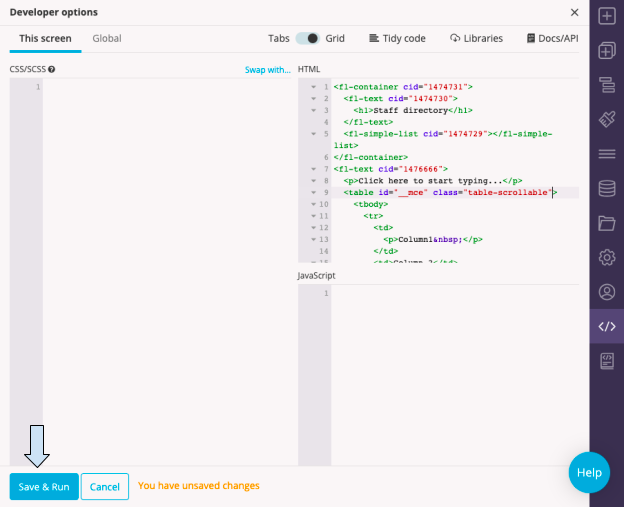
- Before the end bracket for the line of code where the table starts, type in the following: class=”table-scrollable”
- Click on the blue “Save & Run” button.
- Click on the Developer Options icon again to close the Developer Options window.
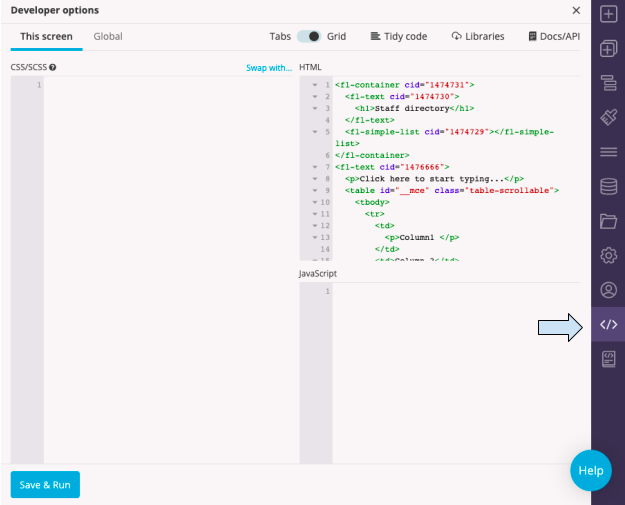
- Click on the text area and scroll. You should now be able to scroll the table without moving the rest of the screen.
Note: If you want to make your table look less basic, you need to use more advanced CSS to do it. If you have any questions, contact the Fliplet Support team.
Related Articles
Was this article helpful?
YesNo