What is the decision tree component?
The decision tree component enables you to create a decision tree quiz in your app.
A decision tree is a flowchart-like structure that supports users in making a decision.
Why use a decision tree component?
Decision trees provide users with an effective and interactive method of decision-making. Information is clearly presented so that all options can be considered.
This functionality allows users to analyze fully the possible consequences of a decision.
How to use the decision tree component
Get Started
To use this component you will need to:
- Add the decision tree
- Configure the decision tree
- Configure questions and answers
- Configure results
- Add more decision tree questions or results
- Test the decision tree
Step 1 – Add the decision tree
- Add the decision tree screen template using the “Add screens” button
- When configuring your decision tree, you will note that there are three important components.
Decision tree, question, and result. The screen template will already have these in place but to view all components, scroll through the add components menu where you will find the helpers section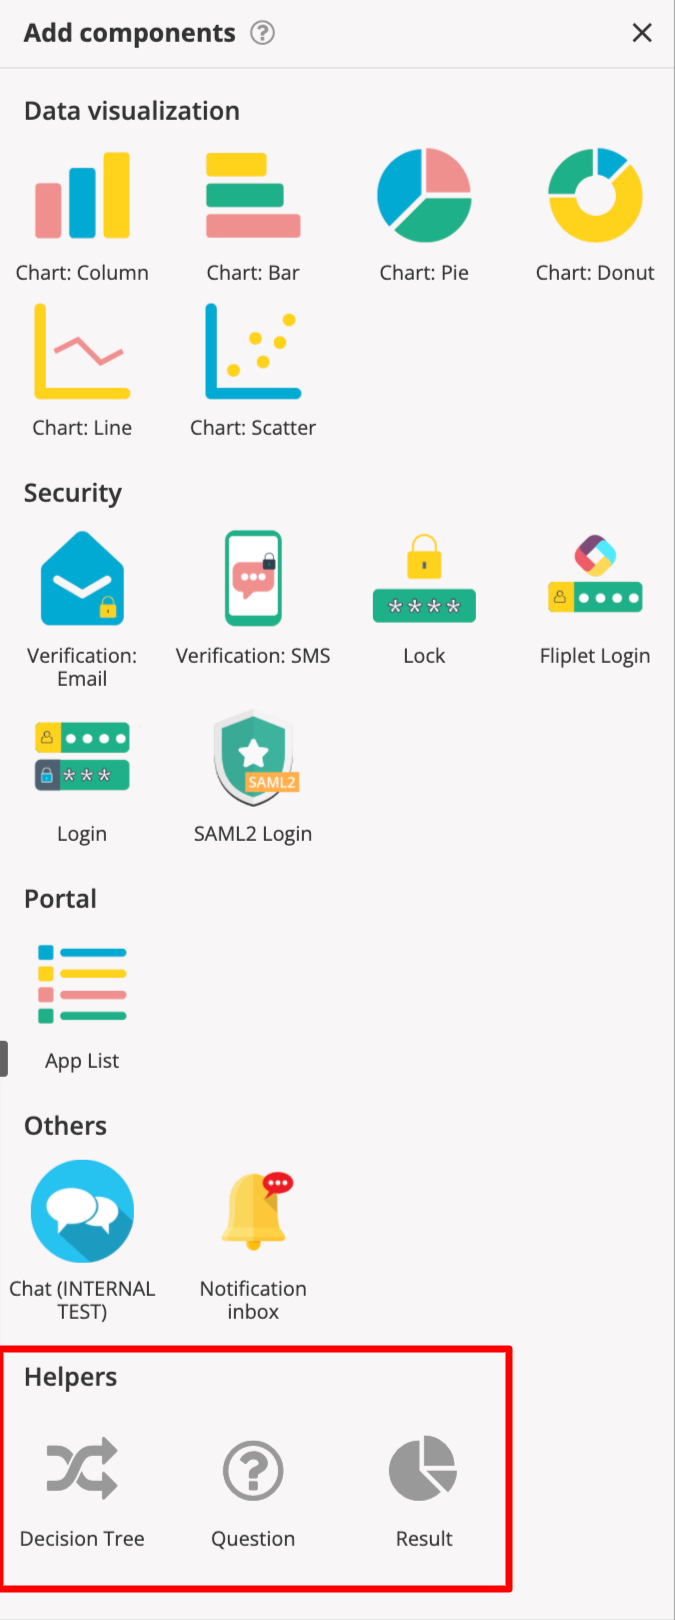
- The decision tree is the main component, and all questions and the result will need to be added inside this component
Step 2 – Configure the decision tree
- Click on the decision tree component to open the settings on the right-hand side
- Give your decision tree a title
- Enable drag & drop mode- tick yes to enable this option if you wish to add other components into this question such as images or videos
- Decision tree results data source – select where you want users decision tree data to be stored
- Save & close
Step 3 – Configure questions and answers
- Click on the question component to open the settings
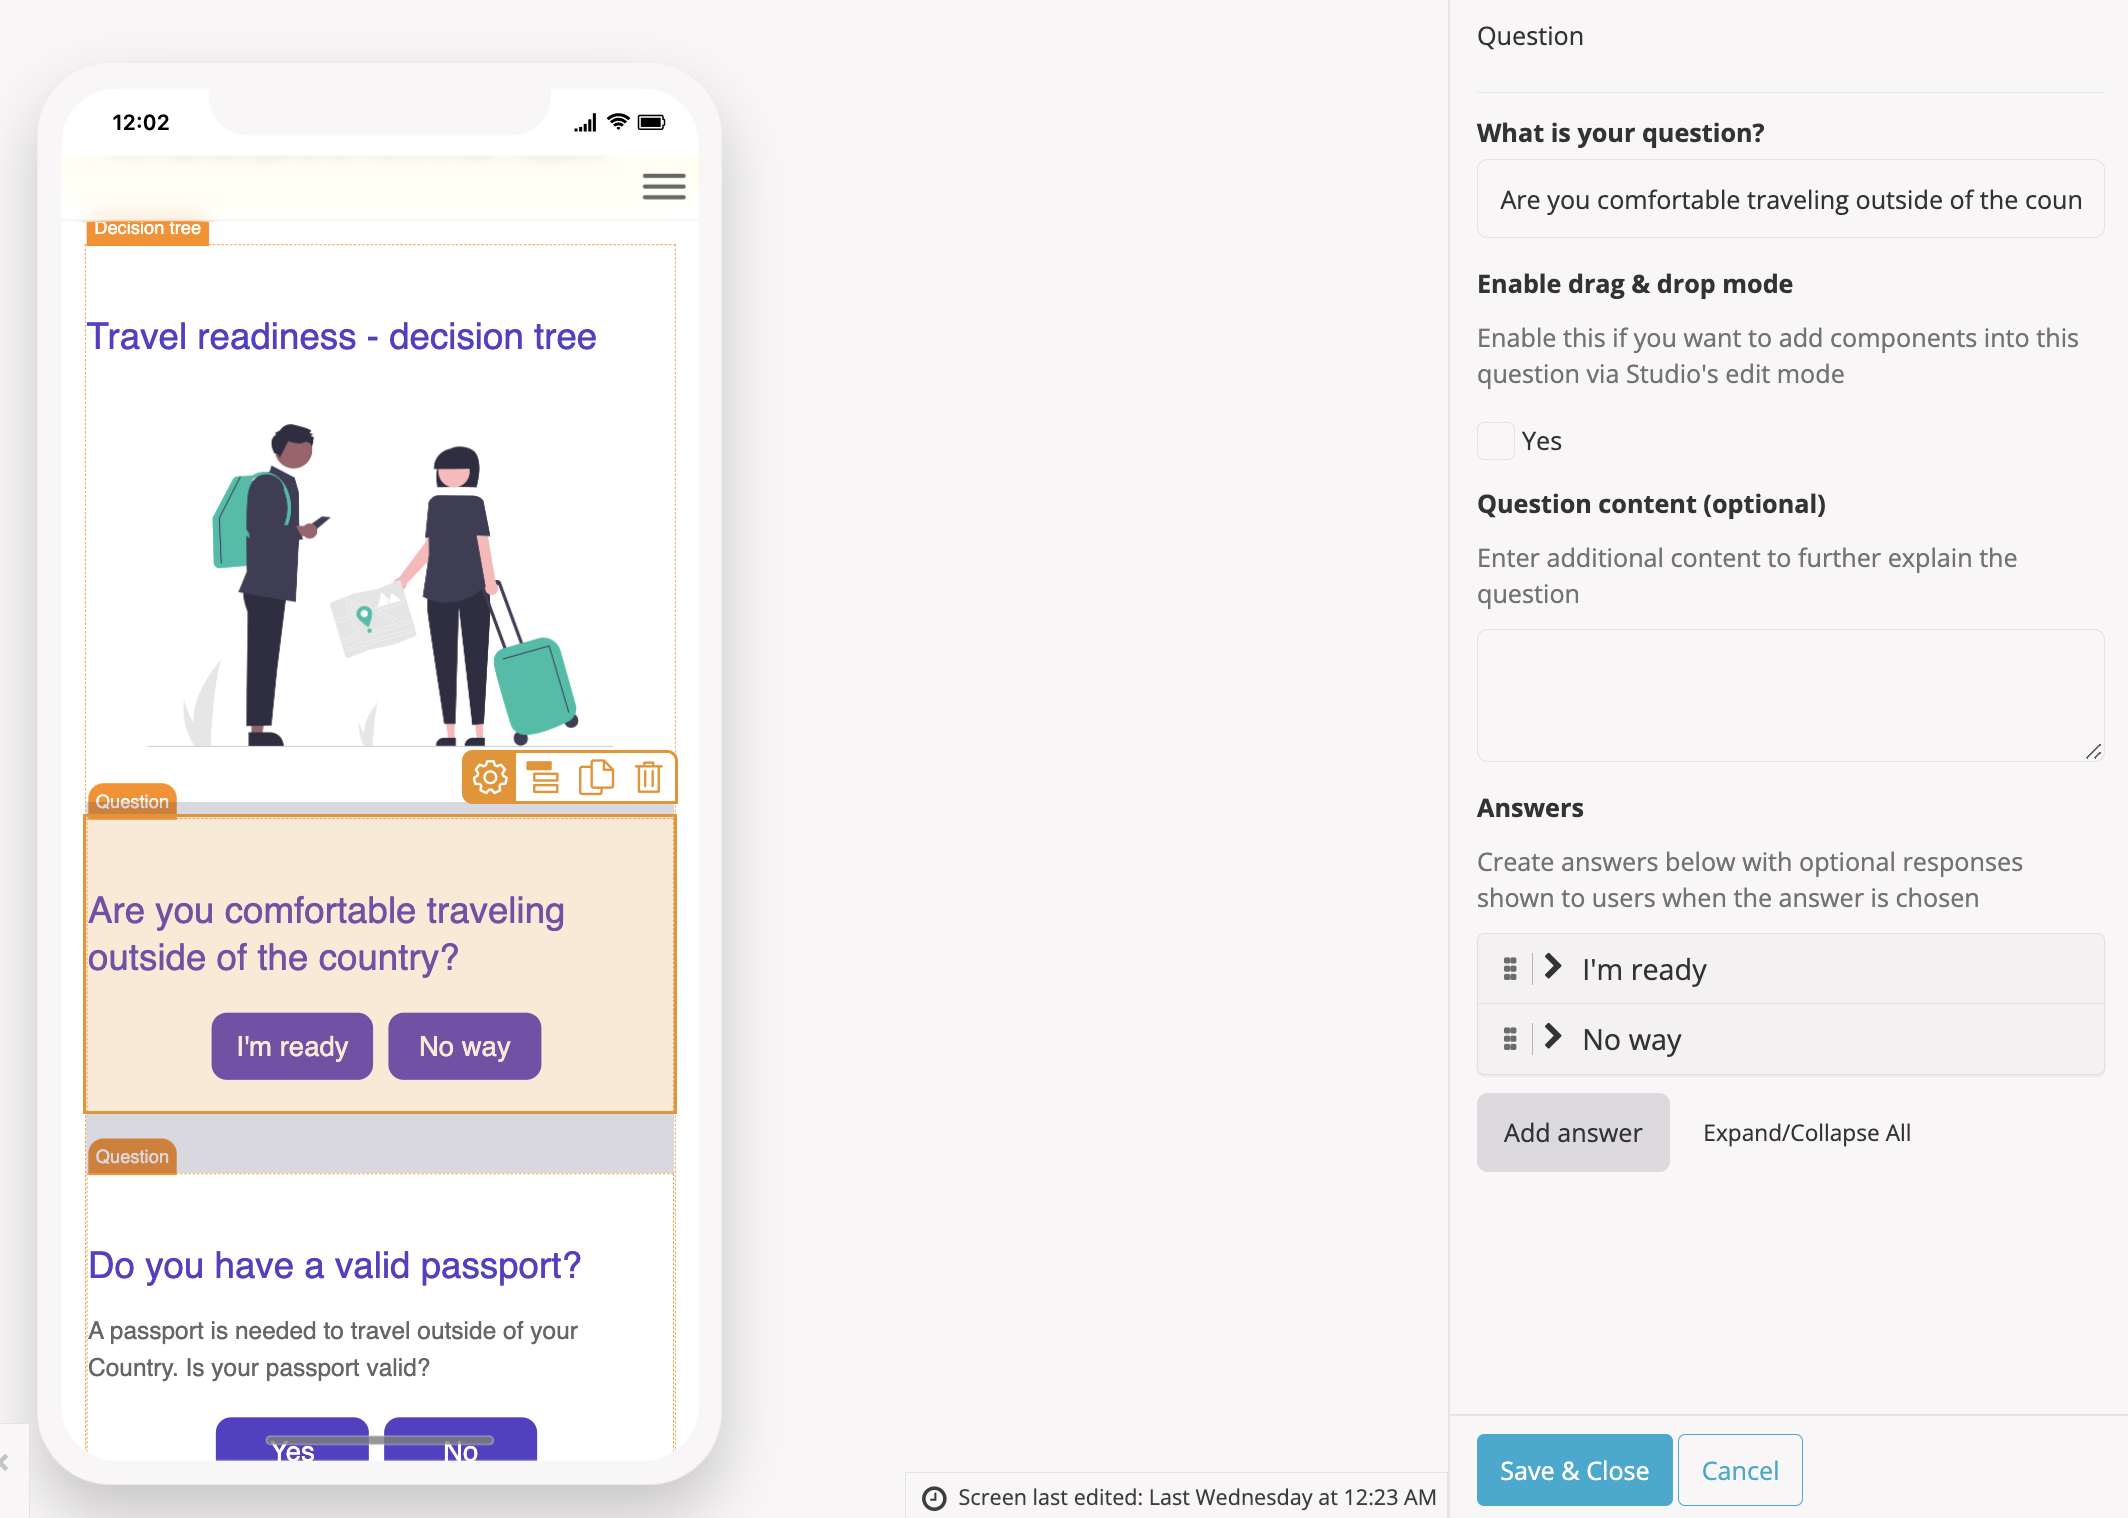
- Write your question title
- Enable drag & drop mode – tick yes to enable this option if you wish to add other components into this question
- Question content – optionally add additional content to further explain the question
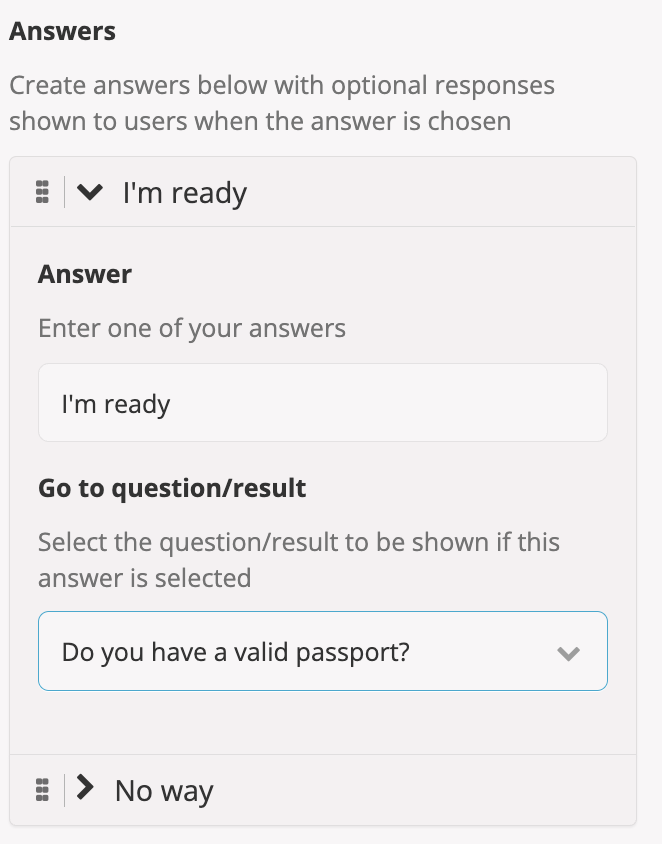
- Answers – click an existing answer to edit it or add a new answer by selecting “Add answer”
- It is recommended you create all questions and results first, and then configure your answers. Each answer should direct the user to another question or a result, this can be configured in the answer settings under “Go to question/result”
- Re-order your answers by clicking and dragging on the dots icon on the left side of your answer title
- Delete by hovering over the answer with your mouse and clicking on the little trash can icon that pops up on the right side
- Save & close
Step 4 – Configure results
- The result component will show a decision tree result
- Click on the result component to open the settings
- Enter a title for this result or outcome – this should be the decision
- Enable drag & drop mode – tick yes to enable this option if you wish to add other components into this question
- Show a button to start again? – tick yes to enable the user to go back to the first question
- Show the response from each question in the results – tick yes to display the response content from each answer
- Create an email to send the results via the device/browser – tick enable if you wish to give users the option to send their results via email
Using the rich text box, create an email template using the following variables:- {% pageUrl %} – This will display the web app URL for the decision tree screen
- {% appUrl %} – This will display the web app URL
- {% appName %} – This will display the name of the app
- {% title %} – This will display the title of the decision tree
- {% results %} – this will display the results in question and answer format
- Send an email to request assistance – tick enable to allow users to request assistance
- Add an email address where request assistance email should be sent to
- Use the rich text box to configure the email template, the same variables from the results email apply
- Link users to an expert directory – tick enable to add a link to an expert directory screen in your app
- Select a screen to direct users to
- Select an animation for how the screen will appear
- Share results with other users – tick enable to give users the option to share their results with other users via email, LinkedIn, Twitter, Facebook, or by copying the URL
Step 5 -Add more decision tree questions or results
The screen template uses 4 questions and 3 results. To add more questions or results to your decision tree you will need to:
- On your decision tree screen, select the “add components” option from the right-hand side toolbar
- Scroll through the components to the helpers section
- Next, drag and drop a question or results component inside the decision tree component
- Click save & close
- Add as many questions or results components as you require
Step 6 – Test your decision tree
Once you have created your decision tree we recommend testing if each question works as expected.
- To test your decision tree, go to preview mode
- Choose answers to each of the questions and ensure you are guided to the correct question or result
- When you hit submit on the final question, you should see the correct result pop up on your screen
- Make sure you can see your decision tree as it was configured on Fliplet Studio’s edit mode. For example, if you enabled the option to email results or request assistance check if the buttons are working and that they open the correct email templates.
Related Articles
Was this article helpful?
YesNo