PRE-REQUISITES
For the following code examples to work, you will need to add Fliplet’s Data Sources API to your app. To add it follow the steps referenced here.
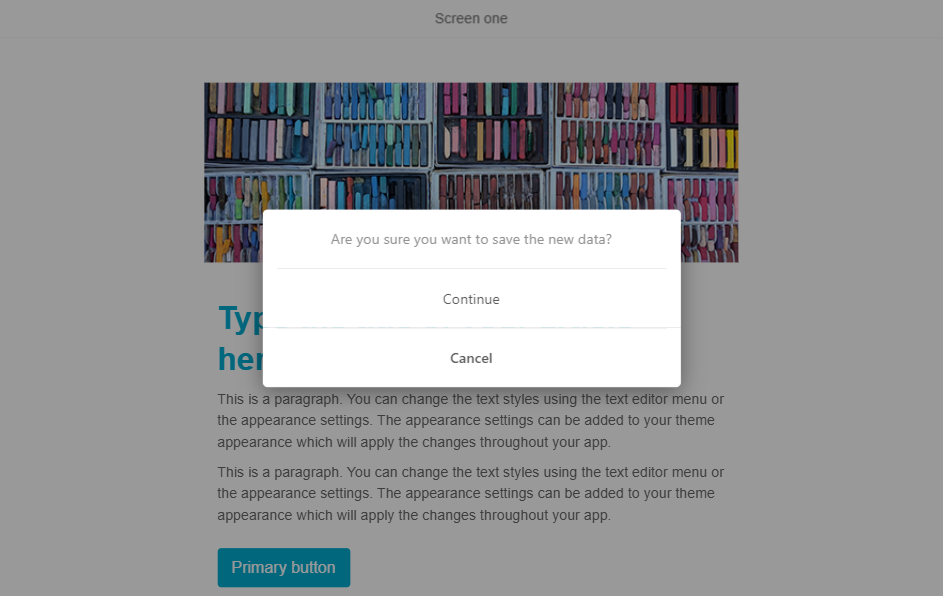
A confirmation message is used when you need a simple input from the user. For example when you need to ask if a user wants to accept or cancel.
To add some context on how you can use this, let’s get a user with the name “Bill”:
var dataSourceConnection;
var dataSourceId = 12345; // Change this number to match your data source ID
var userBill;

Fliplet.DataSources.connect(dataSourceId)
  .then(function (connection) {
    dataSourceConnection = connection;

    return connection.findOne({
      where: { name: 'Bill' }
    });
  })
  .then(function (user) {
    userBill = user;
  });
After you have Bill’s data you can then trigger the confirmation popup to update his name to “Bill Smith” by using the code below, that will ask if a user wants to accept the data or cancel. Based on their input we can either update Bill’s name or do something else
var options = {
  title: 'Update data',
  message: 'Are you sure you want to save the new data?',
  labels: ['Agree','No'] // Native only (defaults to [OK,Cancel])
};

Fliplet.Navigate.confirm(options)
  .then(function(result) {
    if (!result) {
      return console.log('Not confirmed!');
    }
    //user clicks 'Agree'
    dataSourceConnection.update(userBill.id, { name: 'Bill Smith' });
  });
Was this article helpful?
YesNo
