The Event – Advanced app solution has been created to support multiple events, both in-person, virtual, and hybrid. It offers additional features to attendees and enables data capture for users.
This app is designed to support in-person events primarily via a mobile app, virtual events primarily via a web app, and hybrid events with users accessing the mobile and web app.
This article covers the following
Benefits
- Increase attendee engagement – create interactive events with surveys, awards, and discussion boards.
- Simplify information distribution – send notifications with updates to speakers and attendees lists
- Easily manage users – keep track of the attendees and speakers that have been invited to and attended events.
- Information management – Keep all relative event materials in one app, accessible to all attendees.
Use cases
Organizations can use the event advanced solution for large events such as conferences, summits, award ceremonies, and more simple events including webinars, round tables, and training courses.
Use Case 1: The solution can be used for large-scale and complex events such as:
- Conferences
- Summits
- Retreat
- Forums
- Trade and recruitment fairs
- Award ceremonies
- Employee events
- Open days
Use case 2: the solution can be used for smaller events including the following:
- Webinars
- Seminars
- Round tables
- Series of events
- Workshops and product demos
- Training and online courses
- Hackathons
- Meetups
- Meetings with clients or staff
- Company offsite
Features
- Event reception for web users
- Event agenda
- Interactivity
- Awards, and leaderboards
- Networking
- Virtual event
- Interactive Floorplan
- Admin and event manager access
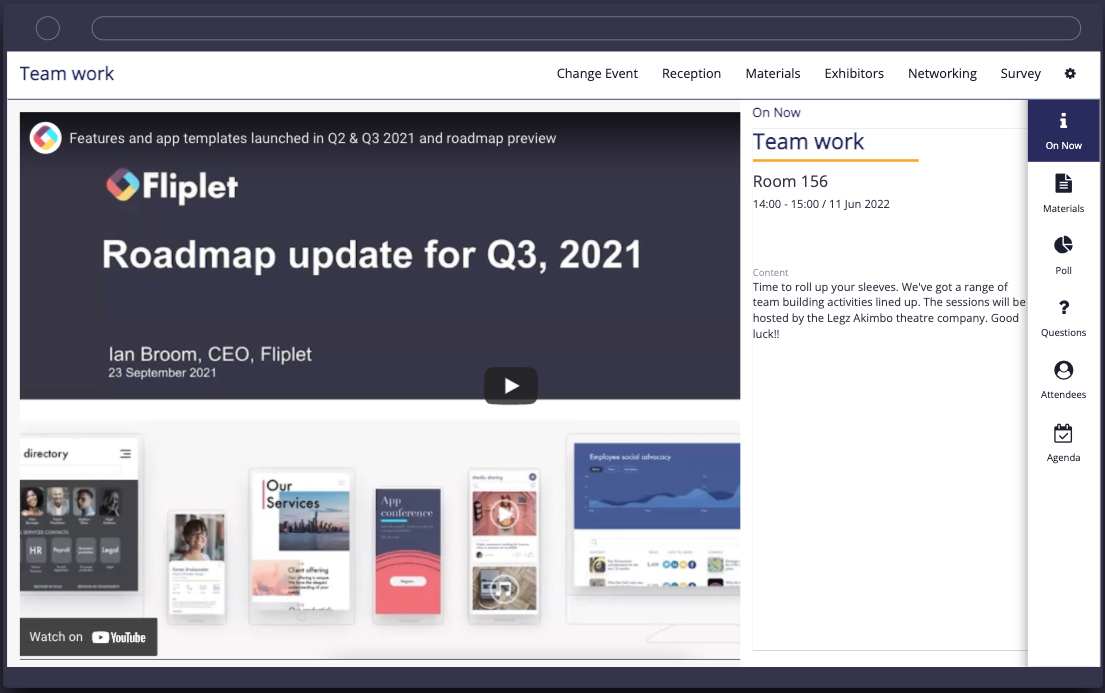
Event reception for web users
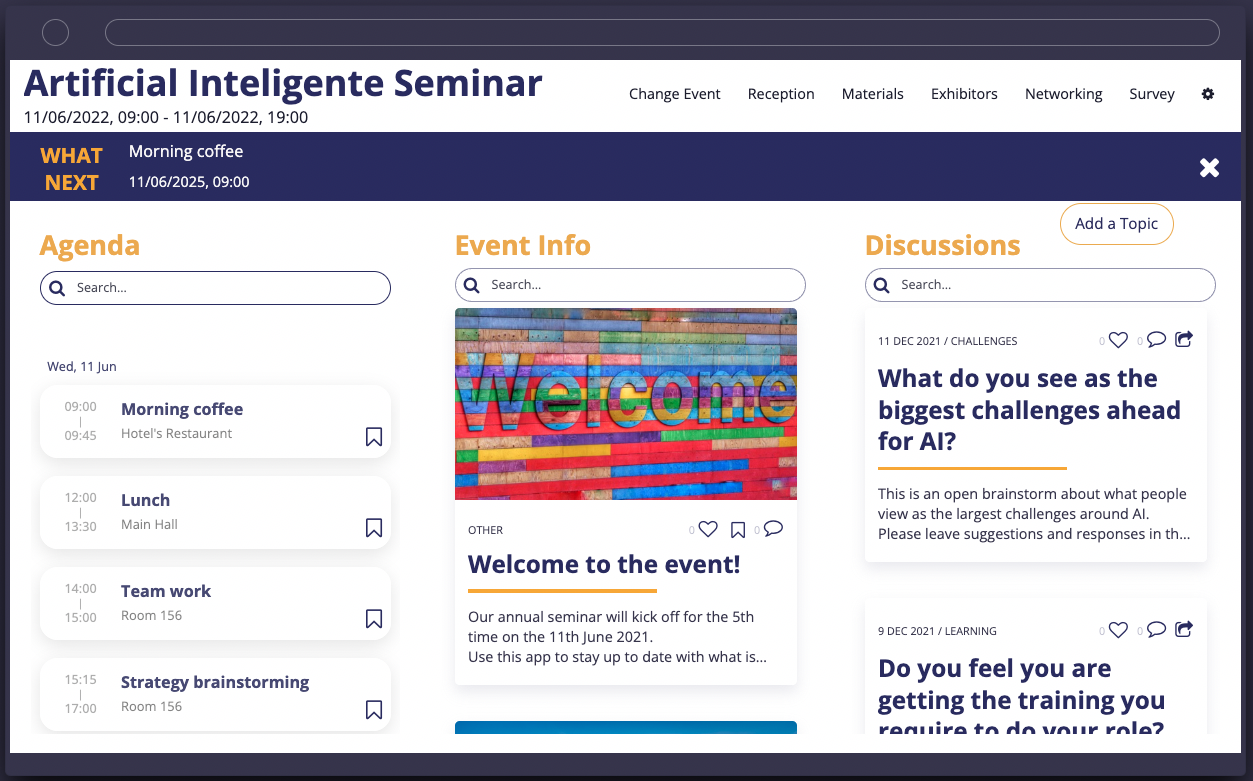
This screen is only visible when accessing the event on web. It will display all relevant event information in one place.
Event Agenda
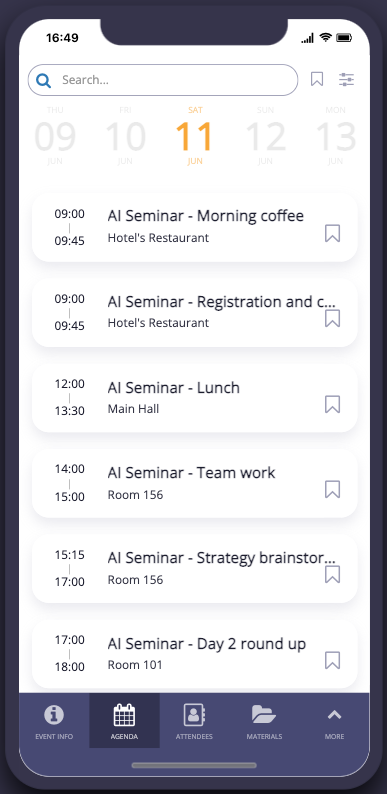
The event agenda enables users to see event times and sessions
Interactivity
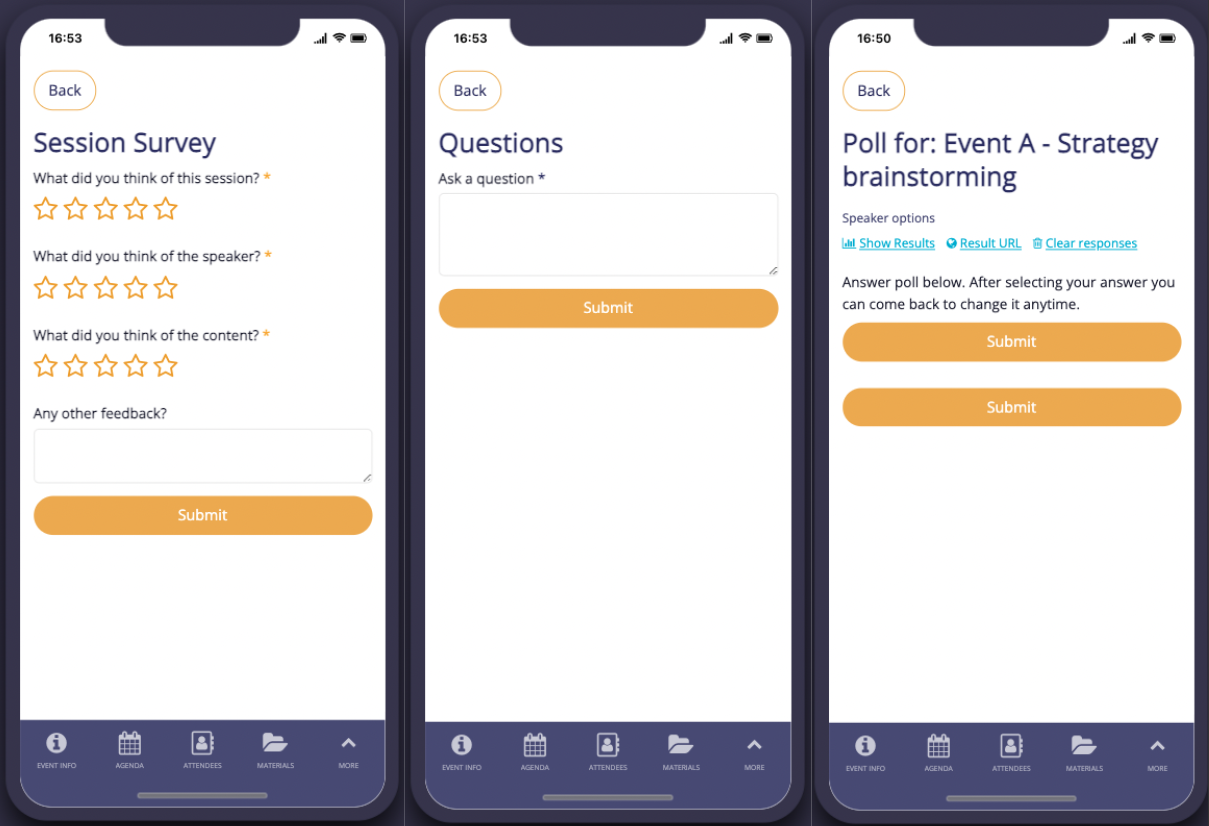
Enable interactivity within events by asking attendees to submit surveys and engage with polls and questions
Awards, and leaderboards
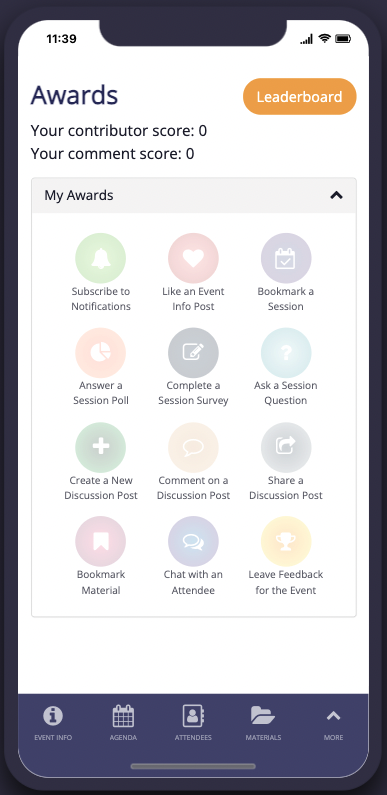
This functionality encourages contribution and engagement within the app, awarding users for interacting with the app
Networking
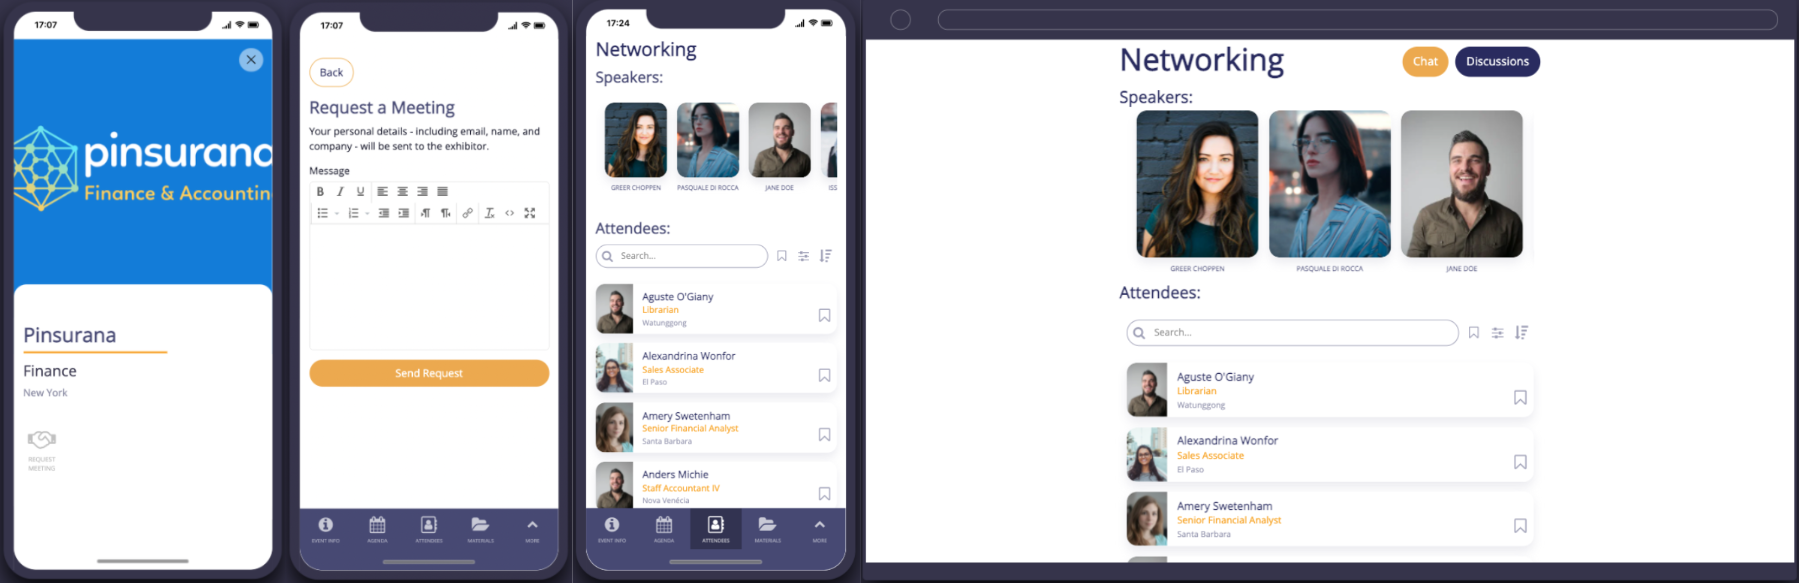
Encourage your attendees to network by chatting with speakers and requesting meetings with exhibitors. They can also use public discussion forums to chat with other attendees
Virtual event
Use the sessions screen on web to display a live event for virtual attendees
Interactive Floorplan
This feature allows you to display the floorplan with markers to label areas of the event helping users find sessions, exhibitors, and more
Admin and event manager access
Manage and update the event from the app. Admins and event managers can make live changes to the event from the event manager and admin menus. Meaning you do not need Fliplet Studio access to update the app
User roles
|
User Role |
Definition |
User specific features |
|
Admin only
|
Admin for the entire app |
|
|
Admin & event manager |
Can manage, edit and update specific events |
|
| Attendee | Access and engage with the event |
|
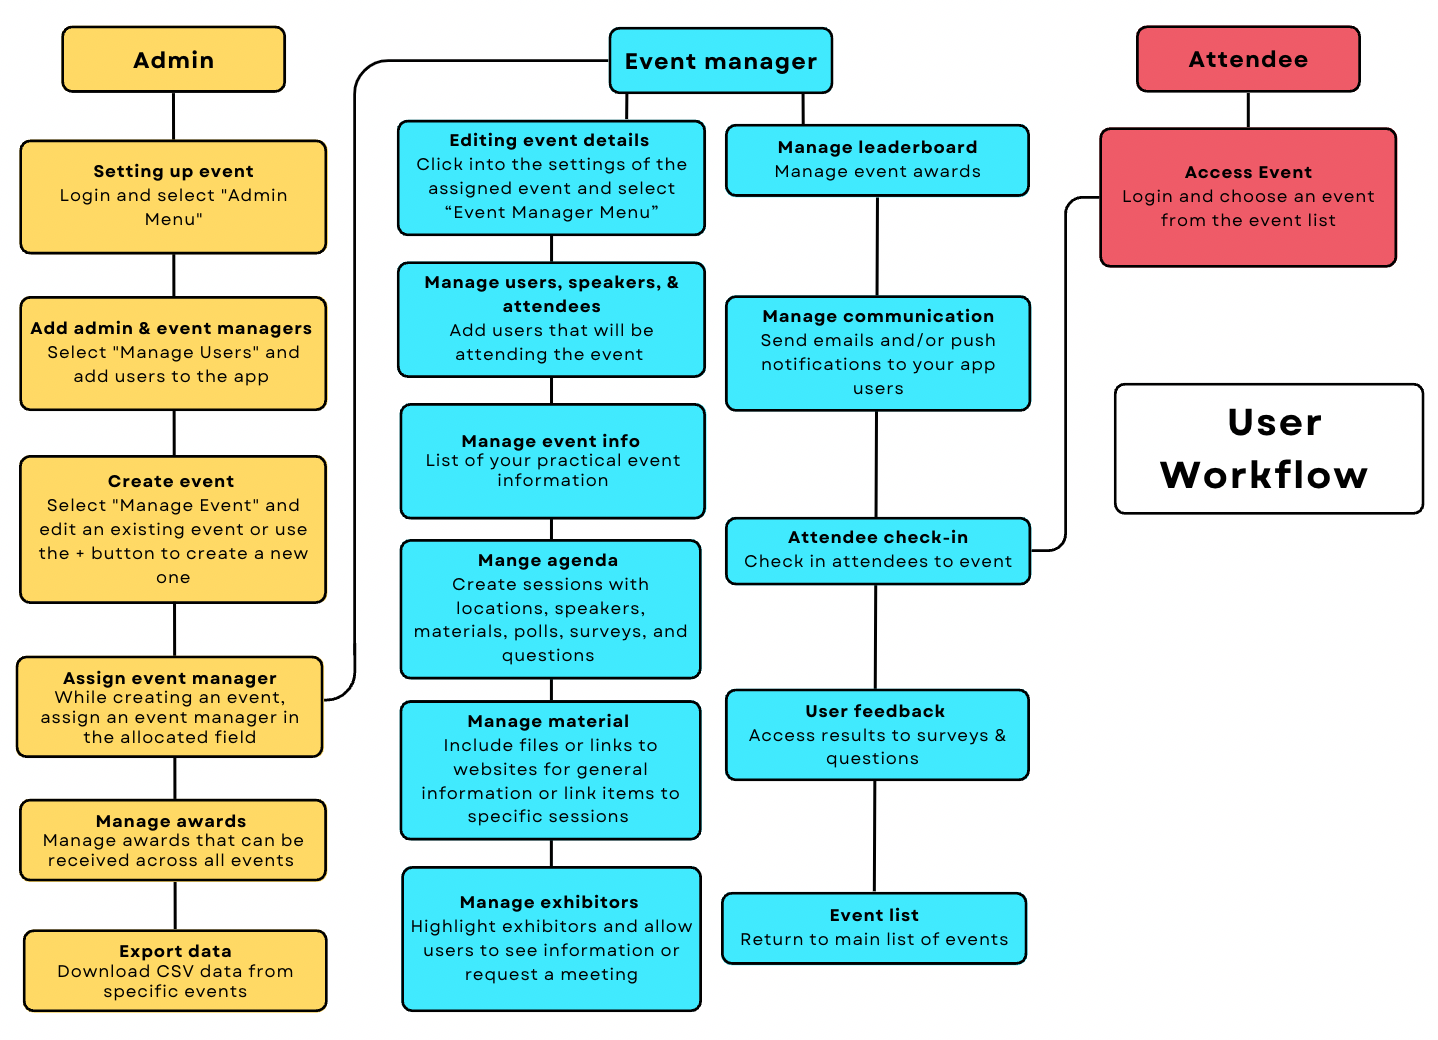
Workflow overview
The following image details the workflow of the Event Advanced solution
Solution set up
The following video will give you an overview of how to configure the event advanced solution
See below for more detailed instructions
How to add an event
An event can only be added by an admin user
To set up an event:
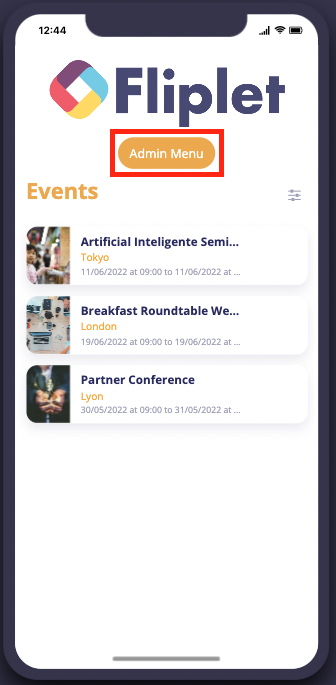
- Either in preview mode inside Fliplet Studio, or the live app, log into the app as an admin user, and from the event list, choose “admin menu”
- Before getting started and creating an event, you will need to ensure your apps users are set up so that you can assign an event manager. To do this, choose manage users, and ensure your event manager is in the list. If they are not choose the plus button and add their data
- If you are unsure who the event manager will be this can be updated at a later date by editing the event
- Next up, go back to the admin menu, choose “Manage events” and then select the plus button
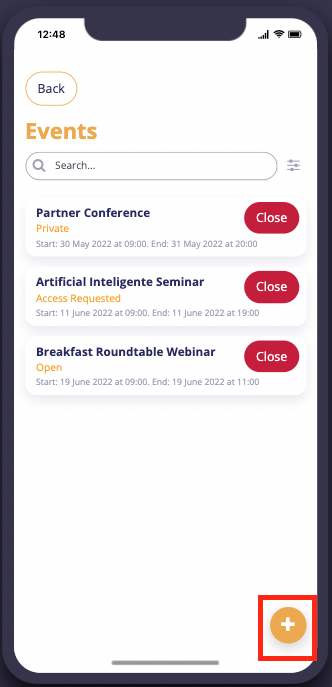
- Use the form to add your event details, when choosing your event type, select between the following:
Open – All users can see the event on the events list and can access it without restriction
Access required – Users can see the event on the event list but request access. Access can be granted by the event manager
Private – Users will not see this type of event listed on the events list. Only users added by the event manager to the specific event will have access - When adding the event details, make sure to add an event manager. To add multiple event managers make sure to add the user’s email addresses in a comma-separated list
Note: Users must already exist in the user list and to be given event manager permissions - When you have added all of your event details, select submit
- Your event will now be added to the event list, ready to be managed by the event manager
- To manage the event see here
How to manage an event
- Either in preview mode inside Fliplet Studio, or the live app, log into the app with event manager credentials
- On the event list, choose the event you are the event manager for
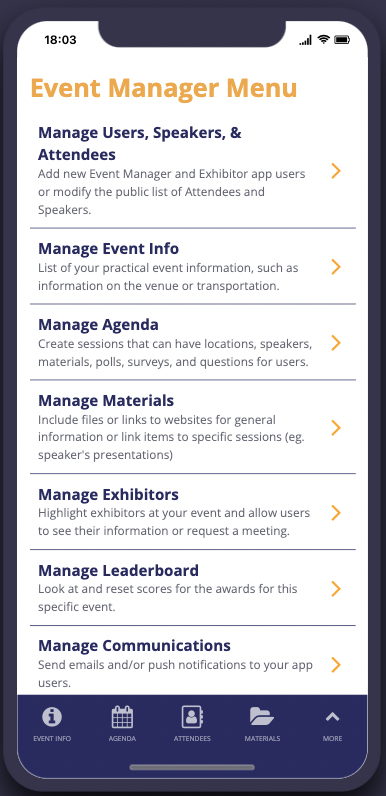
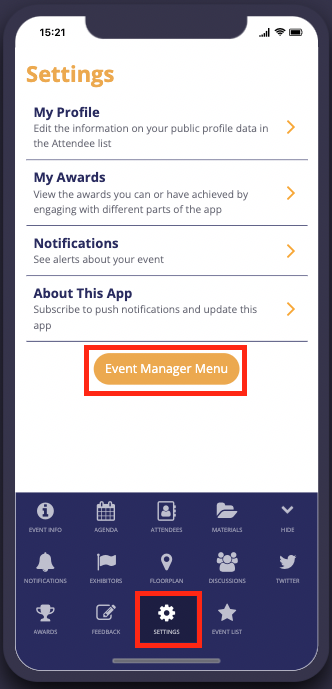
- To access the event manager menu, choose settings from the bottom bar menu, and then “Event manager menu”
- You will now open up the option to manage all event detail and content
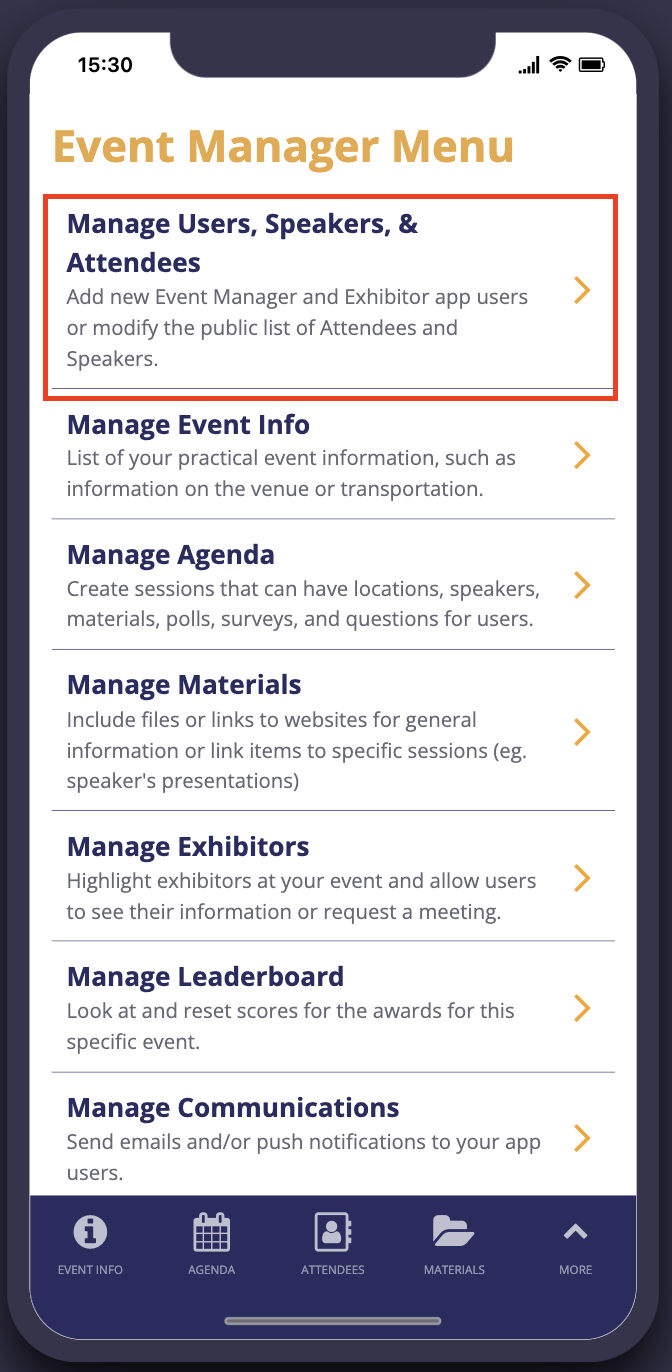
- Scroll through the list to manage the following:
- Manage users, speakers, and attendees – Add new event managers and exhibitor app users or modify the public list of attendees and speakers
- Manage event info – View and edit your practical event information, such as information on the venue or transportation
- Manage agenda – Create sessions that can have locations, speakers, materials, polls, surveys, and questions for users
- Manage materials – Include files or links to websites for general information or link items to specific sessions (eg. speaker’s presentations)
- Manager exhibitors – Highlight exhibitors at your event and allow users to see their information or request a meeting
- Manage leaderboard – Look at and reset scores for the awards for this specific event
- Manage communications – Send emails and/or push notifications to your app users
- Attendee check-in – Check in your attendees on the day of the event
- User feedback – Access the results of sessions’ surveys and questions as well as the overall event feedback
- Event List – Go back to the event list where you can see all your events
How to add users
- Either in preview mode inside Fliplet Studio, or the live app, log into the app with event manager credentials
- On the event list, choose the event you are the event manager for
- To access the event manager menu, choose settings from the bottom bar menu, and then “Event manager menu”
- Select “Manage users, speakers, and attendees”
- Here, you can choose whether to add a single user with the + button or add multiple users in one go using the bulk import option
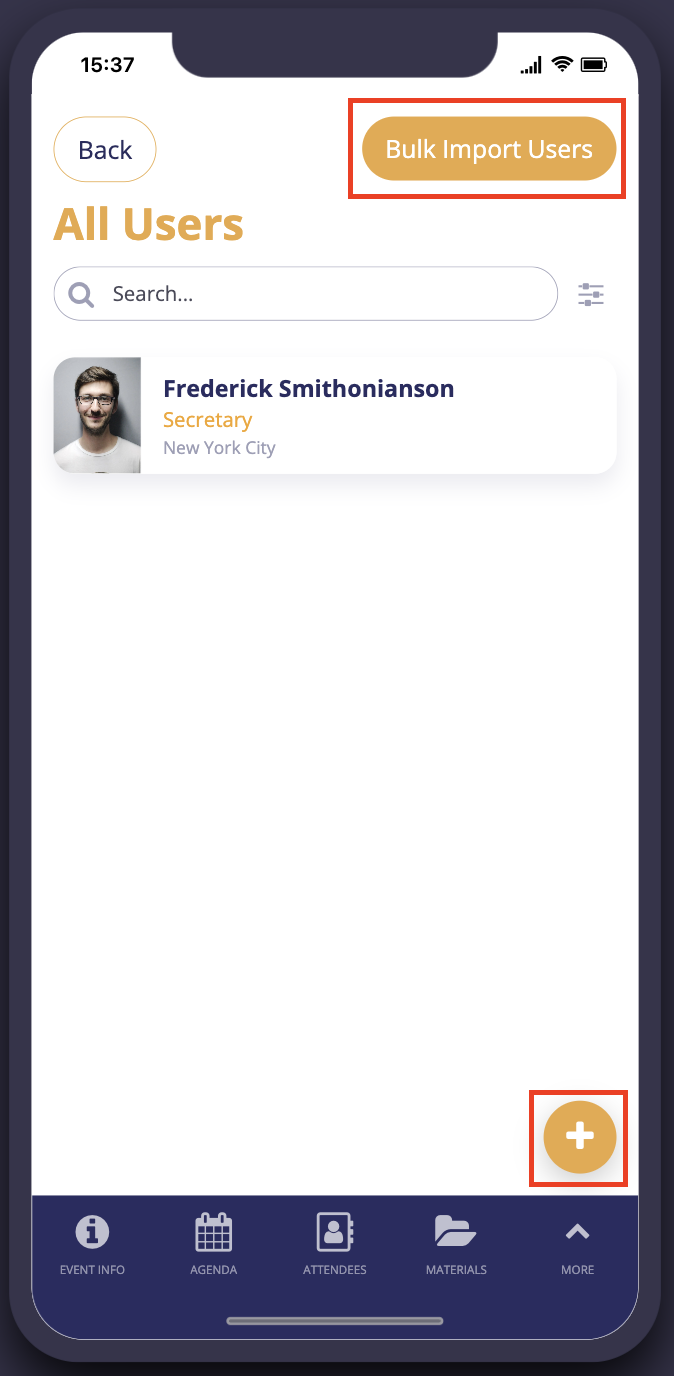
- To bulk import users, your CSV file must match the columns in the user’s data source exactly. You can find more instructions on the “Instructions – How to load data” and a Google sheet where you can upload your user data here
Additional information
Event types
- Open – All users can see the event on the events list and can access it without restriction
- Access required – Users can see the event on the event list but request access. Access can be granted by the event manager
- Private – Users will not see this type of event listed on the events list. Only users added by the event manager to the specific event will have access
Removing test data
To remove test data from the event app:
- Login in as an admin
- Navigate to the manage event screen
- Select the event you want to delete (do not click “close”)
- Select delete – this will delete all data associated with this event
- Confirm deletion
Related articles