It’s possible to change many of the appearance settings by selecting an element in Fliplet Studio and clicking the paint brush icon to open the Appearance Settings menu. You can style individual components this way. But you can also style all components in your app that are of the same type by using the Theme Appearance Settings eg, changing all text elements to use a certain font type (to do this you can edit one element and apply its styles to the theme styles by using the button at the bottom of its Appearance Settings).
However, occasionally you want to change a style that is not in the appearance menu. You can override any of Fliplet’s component styles using CSS in Fliplet Studio’s Developer Options.
Step 1: Open Fliplet’s Developer Options or go to the Preview screen
When opening the Developer Options or viewing your app in the Preview screen when run your app like it would be run when a user interacts with it. This is in contrast to viewing your app in the Edit screen where we add extra information to your app to help you with rearranging layouts and editing components. We want your app to be as clean as possible to make adding custom code as simple as possible.
You can remove the extra editing information in two ways:
- When in the Edit screen open the Developer Options, or
- Go to the Preview screen
Step 2: Find the HTML element you want to edit
This can be quite simple if you’ve created the HTML yourself or can quickly identify the element you want in the HTML of the Developer Options.
However, in certain cases, you may want to select an HTML element that is not referenced in the Developer Options. For example one of the HTML elements within a Fliplet Component. To do this you will need the help of your browser’s development tools.
Most modern browsers have developer tools so you can inspect the website you’re looking at to see it’s HTML Elements and CSS Styles. We’re going to use Chrome for this example but there is similar functionality in Edge, Firefox and other browsers.
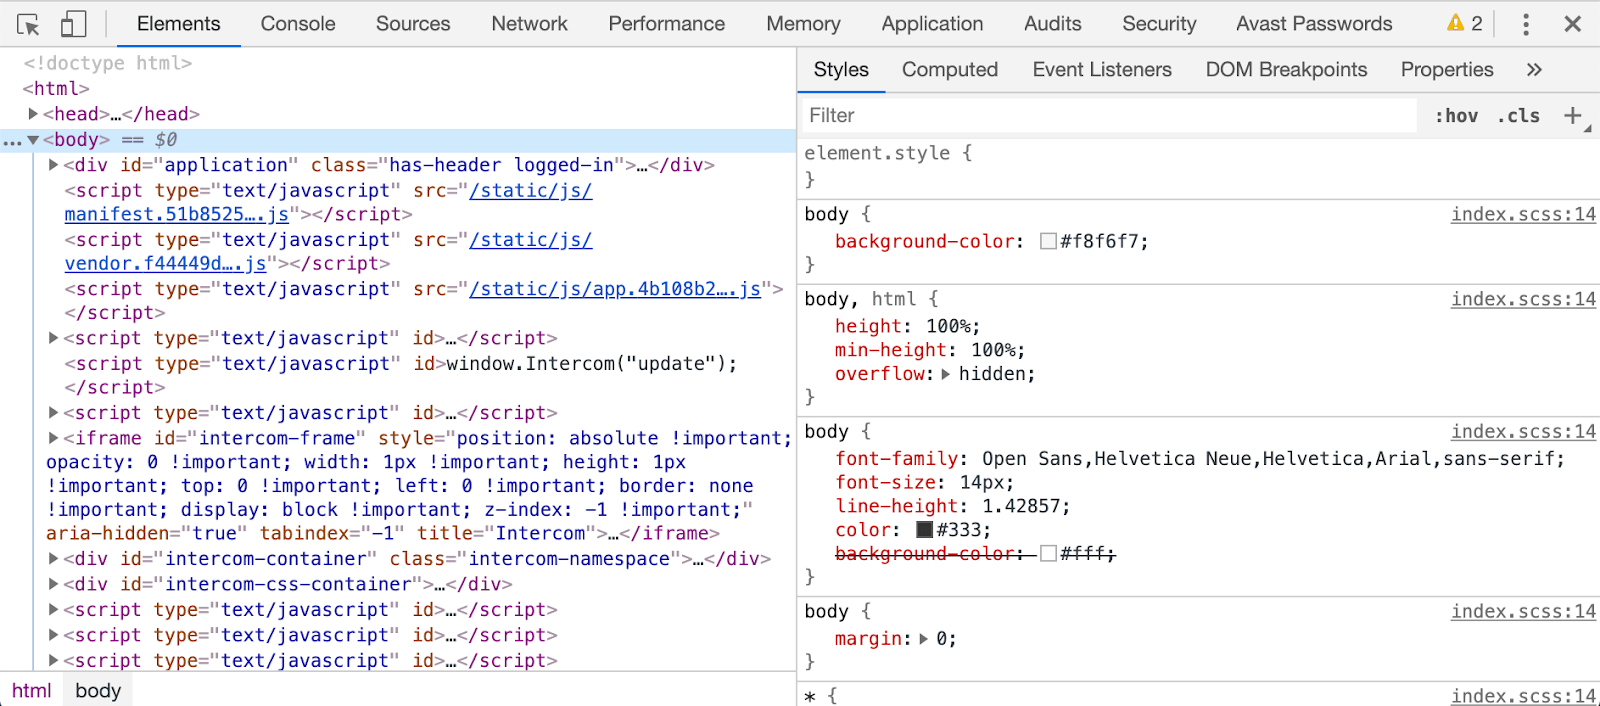
To open the Developer Tools in Chrome select View > Developer > Developer tools. A window like the one below will appear.
It can be difficult to view the Developer Tools and your app at the same time. To make this easier we advise minimising the Screens menu (on the left in Fliplet Studio) but not the Developer Options menu (you need this for Step 1 above).
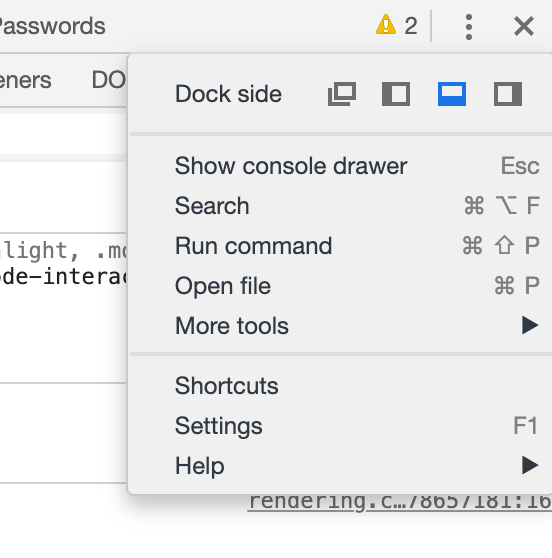
You can also put the browser’s Developer Tools in a separate window using the dock options. In Chrome the dock options are found in the top right by clicking the three dots (see below).
All the elements you see on a website have corresponding HTML code in the Elements tab (the technical term for this list of elements is the HTML DOM).
There are many elements on the screen so the Elements list can be a bit of a maze. There are a few ways to identify the element you want to style.
- By using the “Select an element” tool (top left icon – arrow pointing at a square) then clicking the element in the screen you want to edit.
- By clicking and expanding the elements in the ‘Elements’ tab until you’ve selected the one that corresponds to the element on the screen.
- A bit of both of the above: Click the app with “Select an element” to get the approximate location. Then use the keyboard arrow keys to get to exactly what you want.
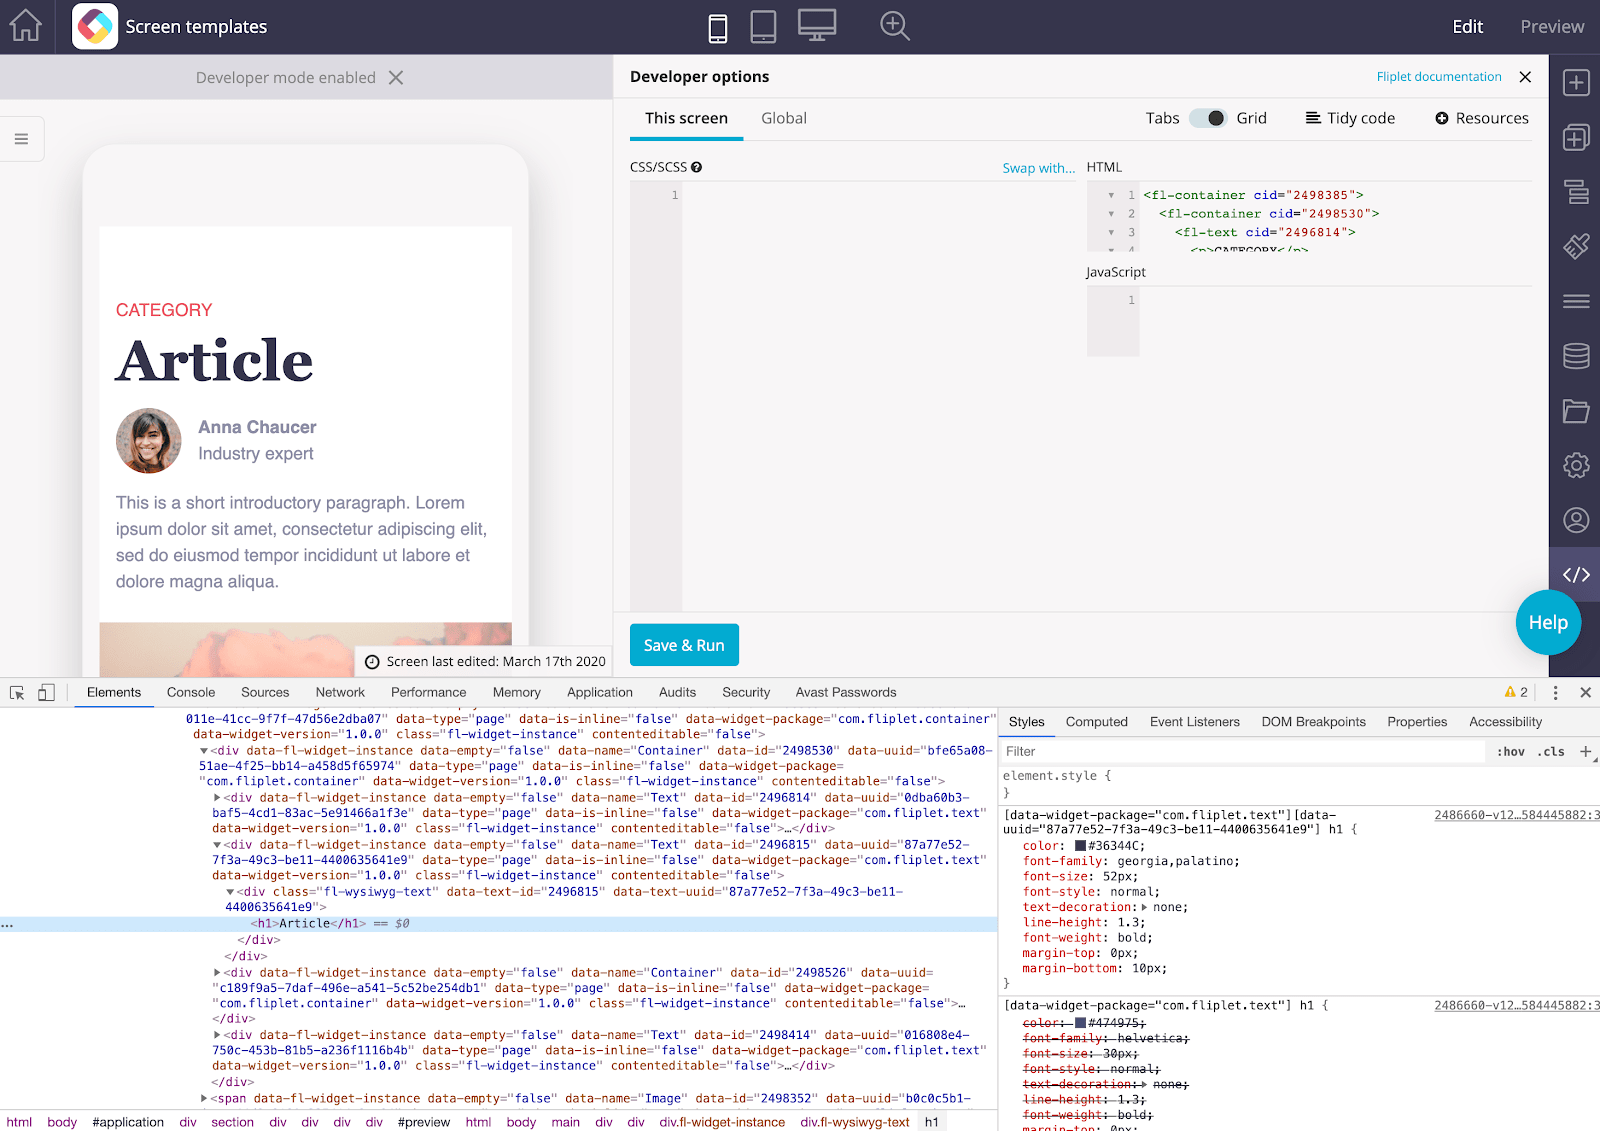
Once you’ve selected your element it should be highlighted on the screen and in the Elements list (see below).
Step 3: Editing the element’s styles
With your element highlighted you will be able to see its CSS styles under the Styles tab (often on the right hand side).
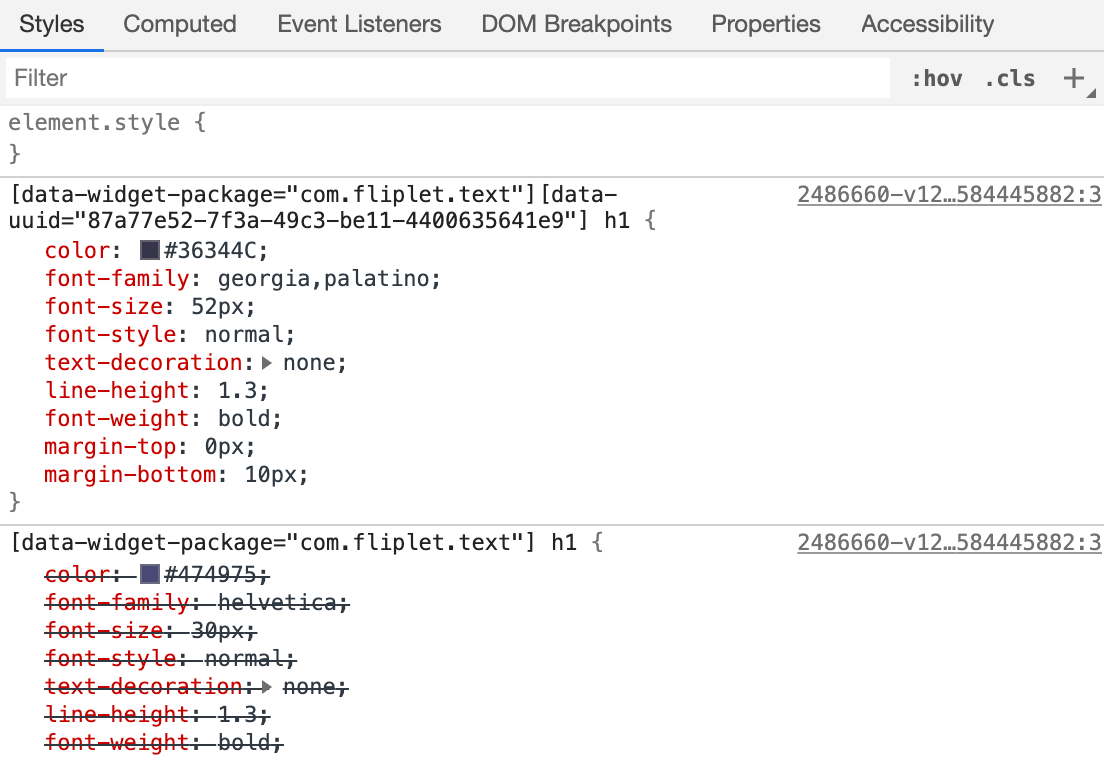
Ignore the ‘element.style { … }’ at the top. The CSS styles we’re interested in are in the rows below. Specifically we want the name of the style class (this is all the characters before the first ‘{‘). The example below is quite a complicated example. Class names can be much shorter than this.

Copy and paste this into the CSS window in Fliplet’s developer options. Add two curly braces (ie, ‘{ }’ ) and some space. You should have code that looks something like this.
[data-widget-package=”com.fliplet.text”][data-uuid=”87a77e52-7f3a-49c3-be11-4400635641e9”] h1 {
  /* Add your custom styles here */
}
You can now add any custom CSS styles that you want to that element. A full list of available CSS styles can be found here.
In the example below, we’ve added a color gradient background.
[data-widget-package=”com.fliplet.text”][data-uuid=”87a77e52-7f3a-49c3-be11-4400635641e9”] h1 {
  background-image: linear-gradient(45deg, #2acdcc, #5a85e0, #6839f2);
}