If you’d like to interact with data in a Fliplet Data Source using code you will need to do the following three things:
Get started
- Add the Fliplet data sources API to your app
- Add a reference to a specific data source to your app
- Get the ID of the data source so you can use it in your code
We’ll explain more about each one in the sections below.
Step 1 – Add the Fliplet Data Sources API to your app
The Fliplet Data Sources API gives you a series of commands to retrieve, sort, filter, and save data. To install the API you need to follow these steps:
- Open your app
- If you are only using this for one screen, ensure you are on the correct screen.
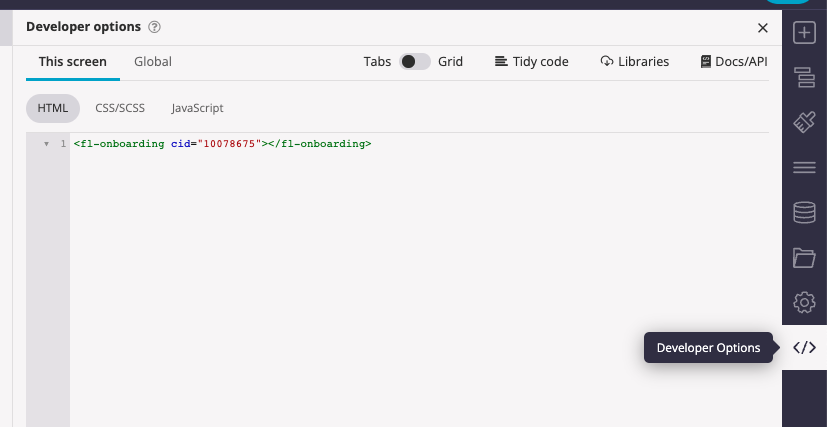
- Select the developer option icon from the right-hand menu

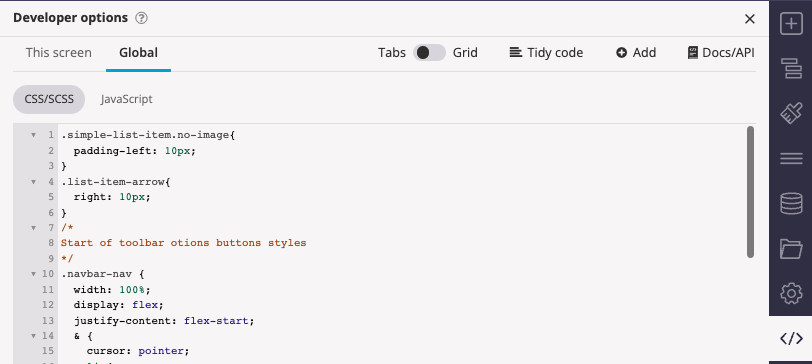
- If you want to use this across your whole app, select “Global”
- If you are adding to one screen, select libraries
- If you are adding to global, select add, and then choose libraries
- In the search bar type in “fliplet-datasources”
- Click the search result to select it
- Click save
Full details on the API can be found here.
Step 2 – Add a reference to a specific data source to your app
To access a data source you need to ensure that there is a reference to it in your app. You may already have a reference to the Data Source if one of your components already lists it in its settings. But if you’re unsure, you can include it by taking the following steps:
- Select the developer options again
- Select global

- Click add
- Select data sources
- Type the name of the data source you want to reference
- Click the search result to select it
- Click save
Step 3 – Get the ID of the data source so you can use it in your code
To refer to a data source in your code you will need to use its ID. The data source ID is listed in a few places in Fliplet Studio. You can find it listed in the data source manager, but if you’re already in the developer options in Fliplet studio, the fastest way to get the ID is to click the add menu option and make a note of the ID so that you can use it in your code later.