How to use the Action Builder
Creating an Automated Welcome Email
This guide walks you through the complete lifecycle of a Fliplet Action, from creation to monitoring. We will use a common scenario: Automatically sending a personalized welcome email when a new user signs up for your app.
By following this tutorial, you will learn how to build, test, update, publish, and monitor your app automations.
Prerequisites
Before you begin, ensure your app has a Registration screen with a registration form and it is using a Data Source to store the registration data. The Action Builder needs this data source to know who to email.
Step 1: Building the Action
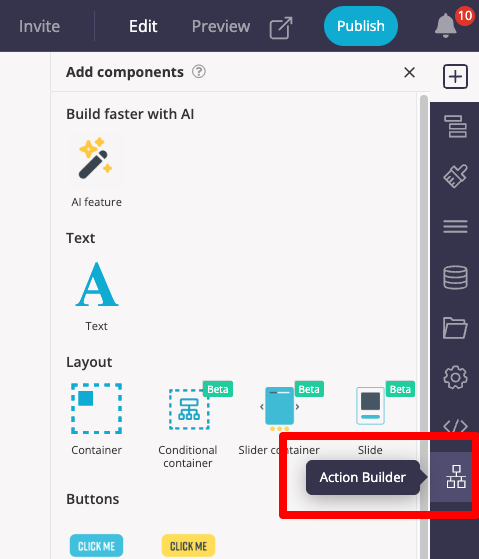
- Open the Action Builder: Inside Fliplet Studio, look at the right-hand tool panel (below the Developer Options) and click the Action Builder icon.
- Select a Template: On the Action Builder dashboard, locate the template boxes under the prompt input. Click the Welcome Email template.
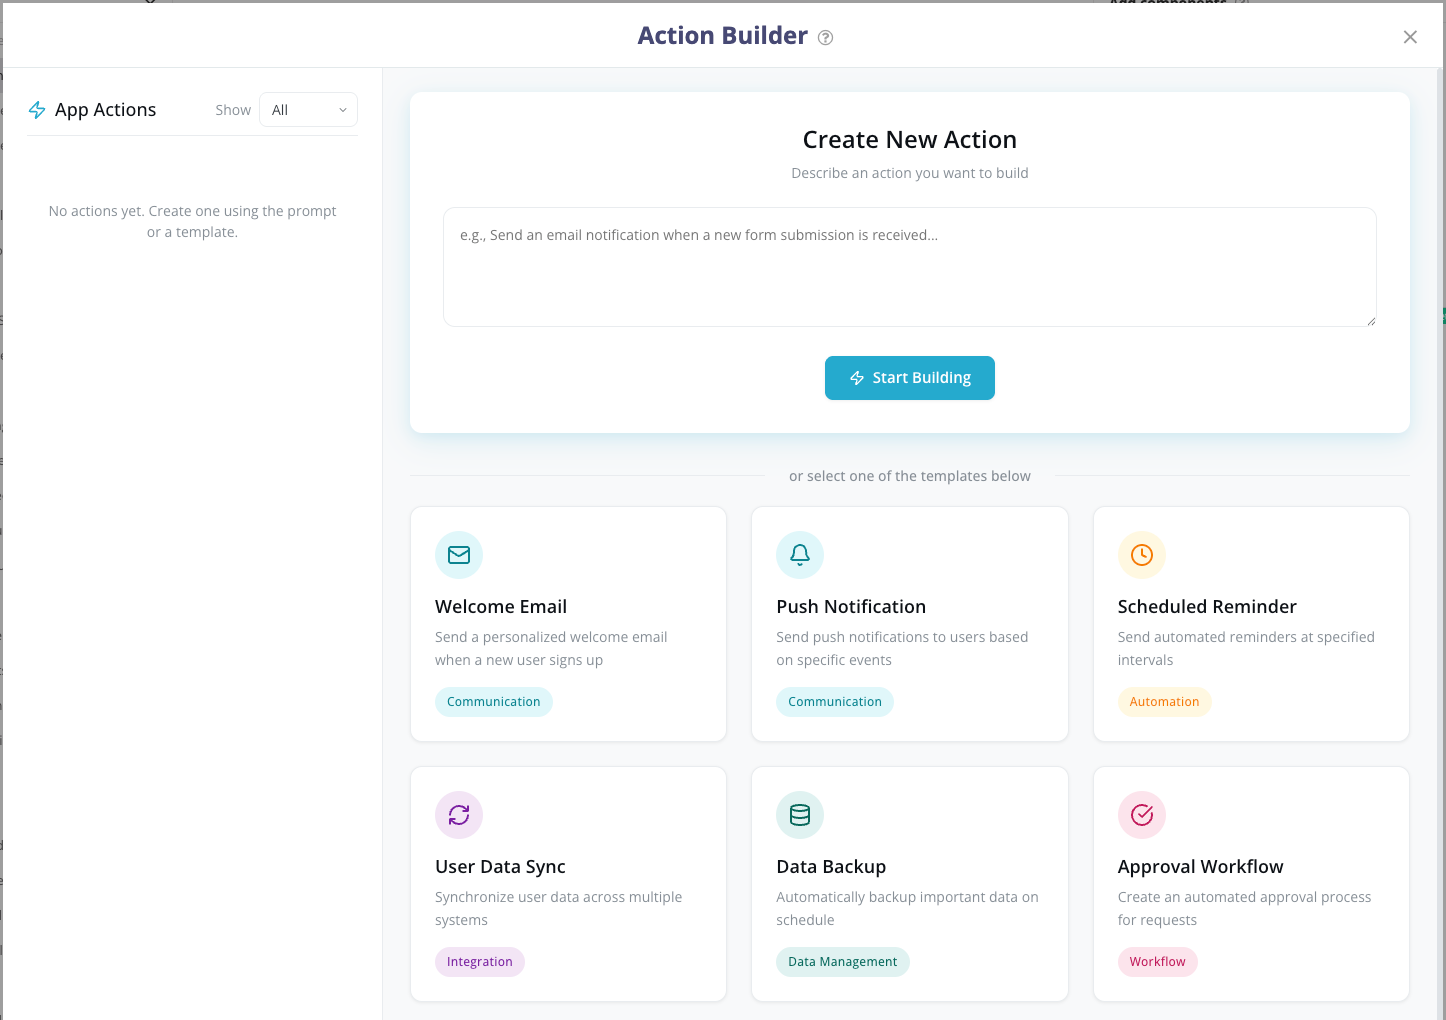
- Start Building: The prompt box will automatically populate with a standard request. Click Start Building.
- Chat with the AI: The AI will open a chat interface and ask you a few numbered questions to gather specific details.
- Answer the Questions: Type your answers in the chat box at the bottom (e.g., “1. Use the ‘App Users’ data source. 2. Make the subject ‘Welcome to our App!'”).
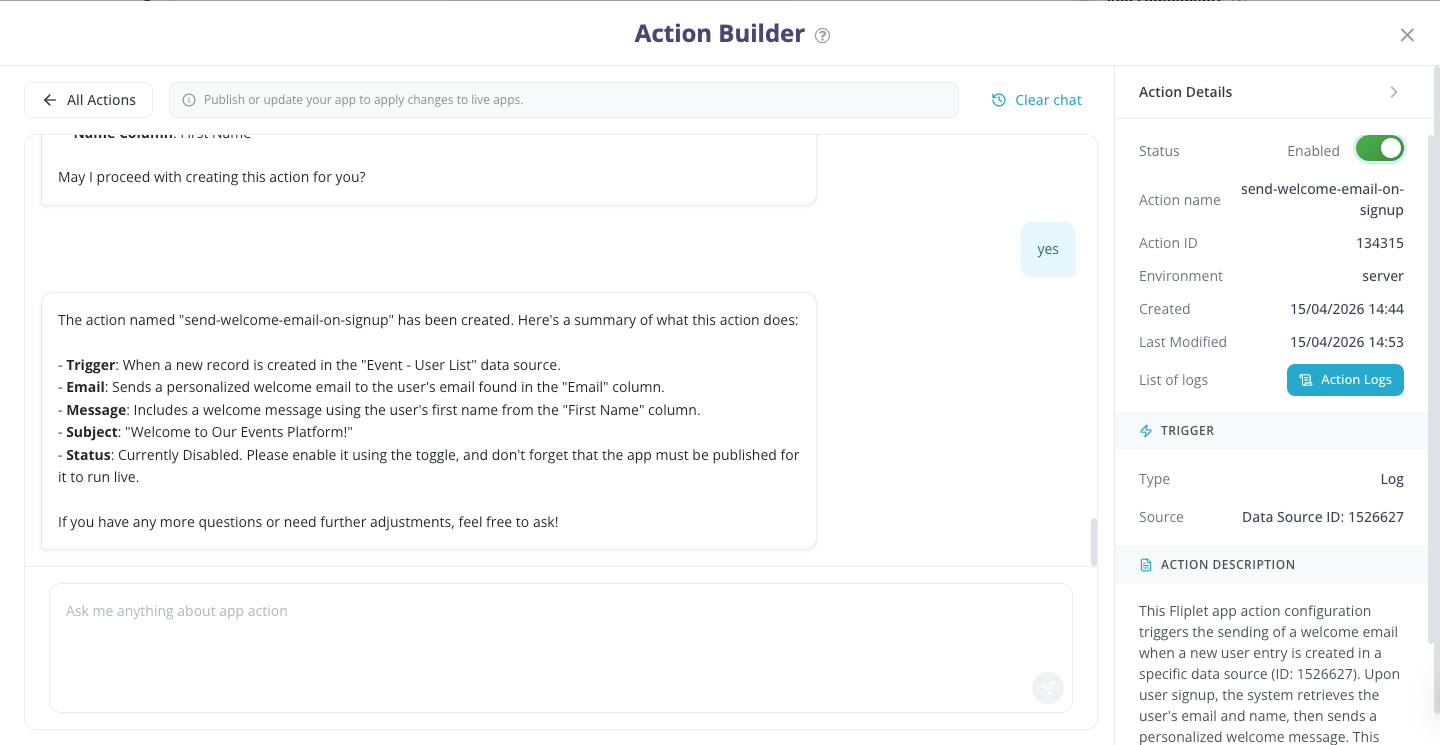
- Confirm: Once the AI has the information it needs, it will ask you to confirm. Type “Confirm,” and the AI will generate the action.
- Enable the Action: On the right-hand Action Details panel, switch the Status toggle from Disabled to Enabled.
Step 2: Testing the Action
Before making this live for your actual users, you should test it to ensure the email looks correct and fires properly.
- Close the Action Builder overlay to return to your Fliplet Studio canvas.
- Open Preview Mode in Fliplet Studio, or open your app using the Fliplet Viewer on your mobile device.
- Navigate to your app’s Registration/Sign-up screen.
- Fill out the form and create a test user with your own email address.
- Check your email inbox. You should receive the automated Welcome Email within a few moments!
Step 3: Updating the Action
If your test revealed that you want to change something—like updating the email body text or changing the subject line—you can easily update the action using the AI.
- Re-open the Action Builder.
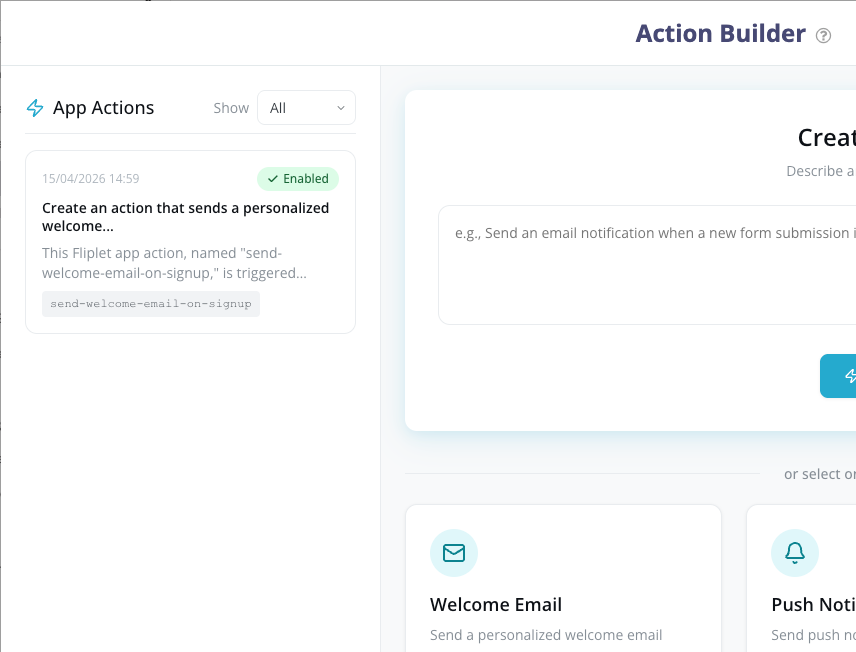
- Under the My Actions list on the left, click on your Welcome Email action.
- In the chat box at the bottom, tell the AI what you want to change.
- Example: “Please update the email body to include the text: ‘Be sure to complete your profile’.”
- The AI will process your request, update the action configuration, and ask you to confirm the changes.
- Re-test your Action to confirm your changes work correctly.
Step 4: Publishing
Actions run on Fliplet’s backend servers. While you can test them in Preview mode, they will not trigger for your live end-users until you publish the app.
- Close the Action Builder.
- Click the Publish button in the top right corner of Fliplet Studio.
- Complete the publishing process for your Web, iOS, or Android app.
- Important Note: Once published, your Action affects the live app immediately. If you ever update the action again in the future (like in Step 3), you must hit Publish again to push those updates to the live environment.
Step 5: Monitoring (Logs)
Once your app is live and users are signing up, you can monitor the action to ensure emails are sending successfully and troubleshoot any potential issues.
- Open the Action Builder and select your Welcome Email action.
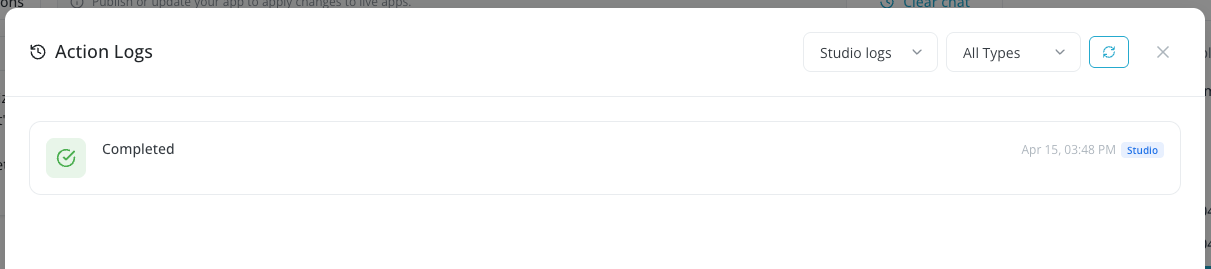
- In the right-hand panel, click the Action Logs tab (located right next to ‘Action Details’).
- Here, you will see a list of every time the action was triggered.
- Successes: Logs will show when an email was successfully sent.
- Errors: If an email failed to send (e.g., if a user entered an invalid email address), the log will flag the error and provide technical details.
- Advanced Troubleshooting: If you encounter recurring errors and need to dive deeper into the technical data provided in the logs, refer to our App Actions v3 Developer Documentation or contact Fliplet Support.
See also: